Journey with Udacity & Self Driving Cars
Self Driving Car Nano degree from Udacity & Deep Learning : My journey from zero to I mildly understand things..haha
I try and make this article entertaining and informative. I hope this inspires you and gives you an idea of what is possible despite challenges you may face.
In this article, I am going to explain my experience in 2017 as a Udacity student. I am going to go over what it took for me to graduate and briefly detail all the projects and things that occurred while going through the program, both personally and educationally. I hope you enjoy because I sure did!
I am going to start with what I think is the funniest part. The new PC build that I actually did at the end. So keep in mind this piece is out of order, but I just wanted to start with a fun story. Below is a kind of sneak peak at what the new system looked after it was up and running and me on Udacity's website going over the course material gearing up to learn.
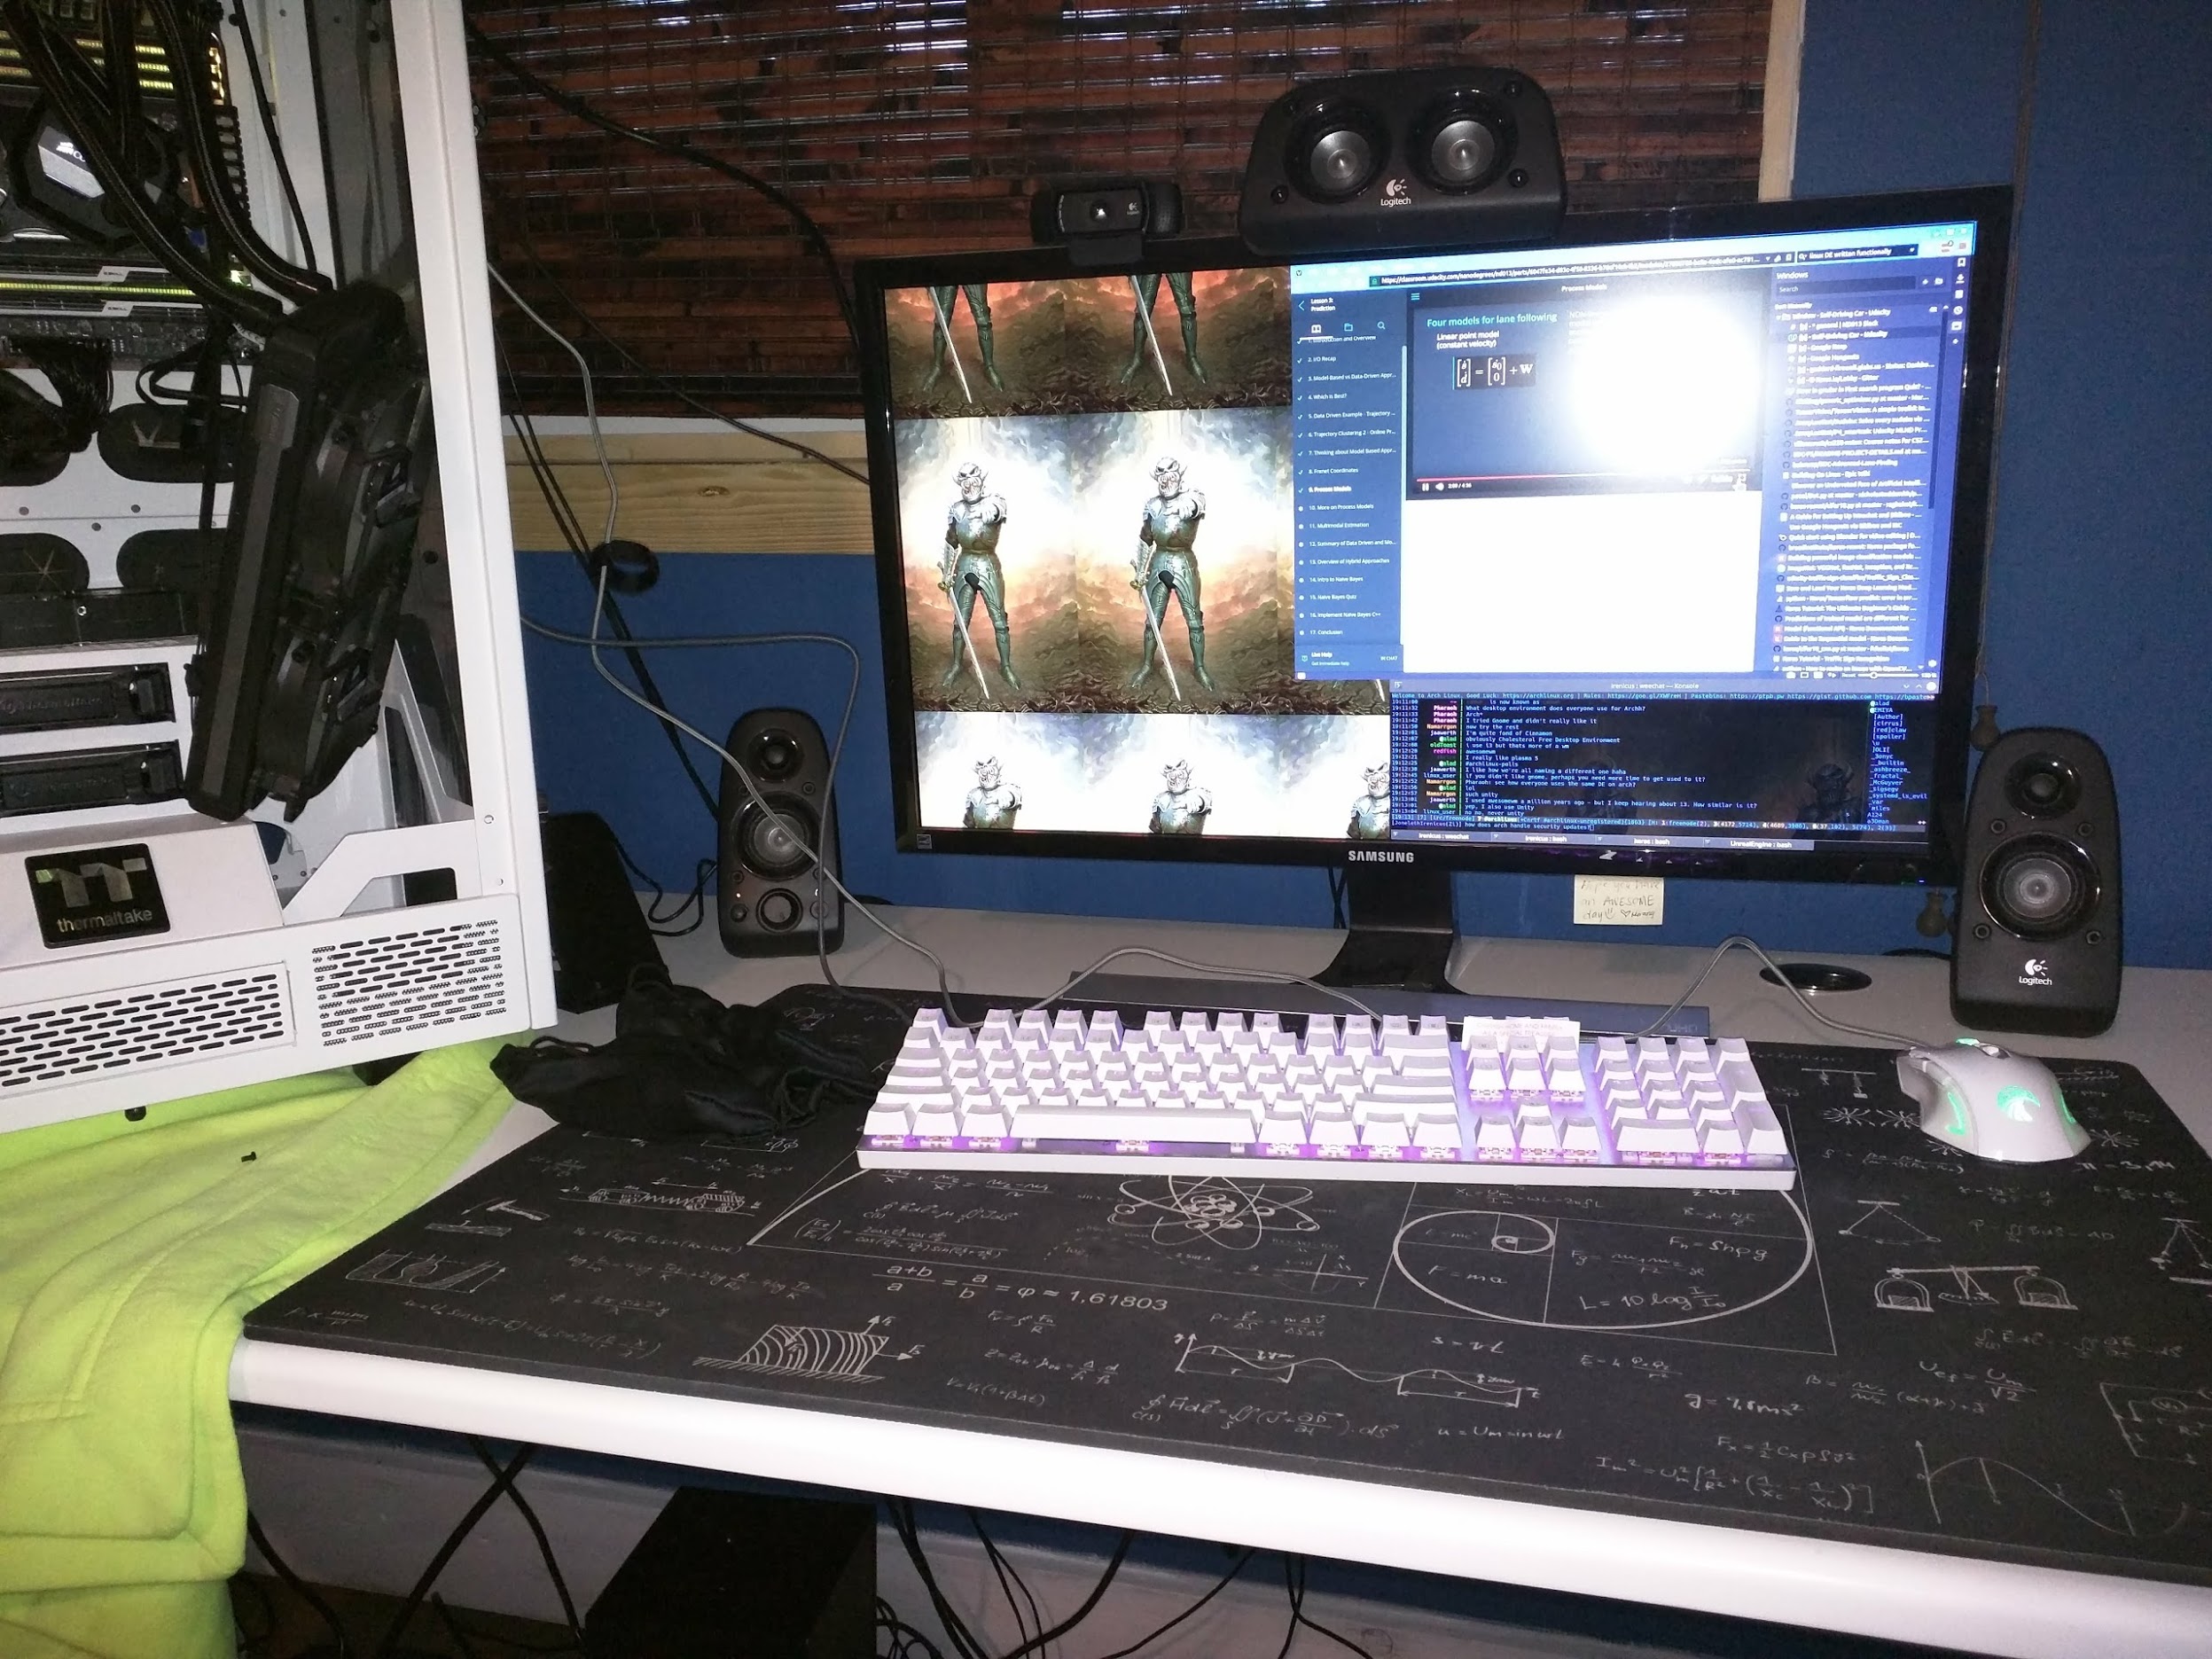
What is in a build name?
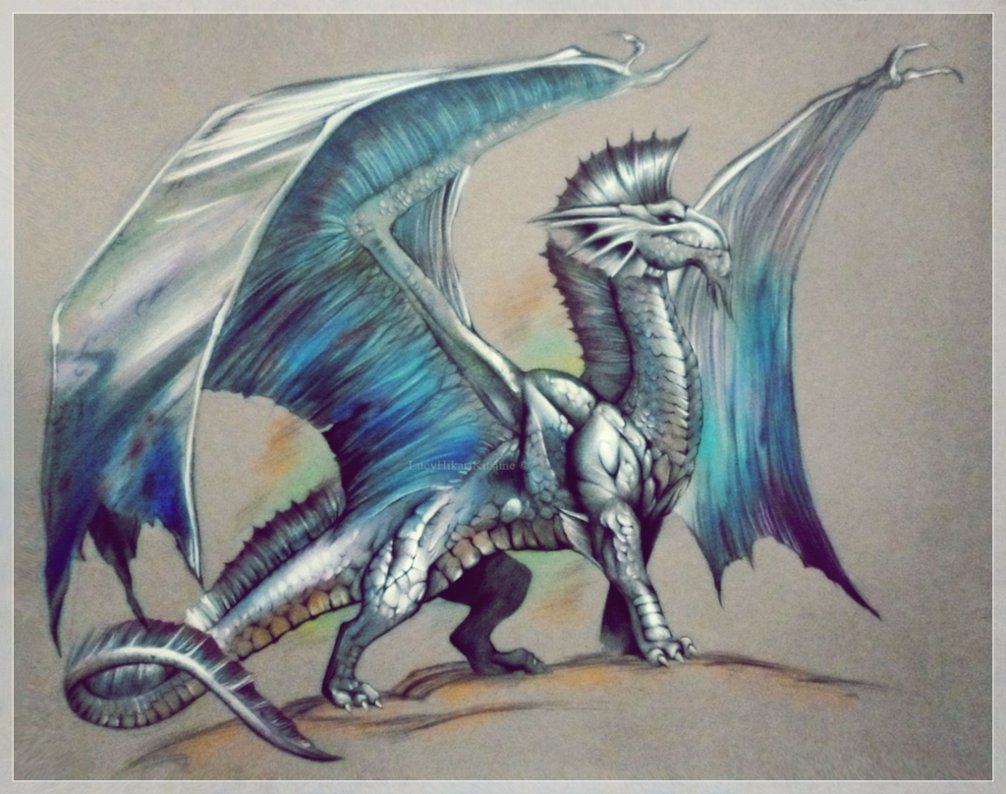
The prismatic dragon as most dragons is fierce in any encounter. (psst this is a D&D - Prismatic-Dragon) This dragon sometimes appears white, or even shifts colors randomly. One attack you should watch out for if you accidentally cross it's path is their Cone of prismatic spray. It can spray up to 70 feet! That is about 21 meters for the metric folks. The good thing is, they are usually neutral. So don't tick them off and you won't have to worry about a cone of beautiful colors spraying your body into oblivion.
All credit for the dragon images goes to - biov-xen
That is the inspiration for the build name. Thought everyone would like a little fiction before I tell you the story of this eventual Deep Learning rig/my journey and desire to learn more about deep learning.
How did I get here?
About a year and a half ago I really wanted to learn more about this new thing I kept hearing about called Deep Learning, Artificial Intelligence, Machine learning, etc..etc.. I was working as a freelancer doing various web and application development with a very rare instance of desktop development or automation. It paid the bills, but is pretty boring to me. I wanted to do something a bit more challenging, or at the very least new. I have been building websites since I was 16 years old and in the web development space the wheel gets reinvented constantly so you spend much of your time just learning some new framework or tool that basically does the same thing as before, but has some kind of "new" feature. Don't get me wrong some new features are good, but it was just really annoying. That is when I decided to start learning this new thing(deep learning).
Initially I started by just listening to videos in the background while I worked, or a podcast. During my lunch I would also read a few free prime ebooks I found that explained gradient decent. At that time I had no idea what any of the words meant and I was getting lost in jargon. I guess it wasn't really jargon, but at the time it felt that way. The concepts really are many mathematical and detailed concepts that need their own specific "jargon", but hey that is just what I thought at the time. Maybe slightly pessimistic, but I am being honest here. :D Ok back to the ebook I read. As I said, I started reading free ebooks from Amazon since I have Prime and they explained back-propagation, gradient decent, rectified linear unit, sigmoid, and other topics I probably should of remembered from various math classes like standard deviation and matrix multiplication. Needless to say, I remember re-reading these terms and concepts over and over again. It was hard for me to understand at first and pretty uncomfortable. I was going from an area I knew pretty well to some strange new mumbo jumbo that had a deep vein of flowing knowledge. In retrospect it seems silly. I did some lessons on Khan Academy to try and get a grasp on some of the things I should of remembered from school that dealt with matrix multiplication, standard deviation calculations, and even some trigonometry that I hadn't used in awhile. I can say that this helped, but it still didn't get me over the hump. I still didn't feel confident I knew what I was doing. I was starting to fit the pieces together and understand the jargon a little, but still not completely.
This is when I learned about Udacity. I saw Udacity before, but really thought nothing of it. It seems like a nicely designed website, which strangely enough is how I base if I am going to use something...silly, but with my background I think you might understand. It wasn't until I saw a video of this new thing about Self Driving Cars. I was immediately on the hook. I wanted in on this. It sounded like a challenge and honestly a good chance to get out of the office and into a vehicle. Previously I had gone to an auto show for fun so I started to look into things like OSCC and heard rumblings from so many companies this was going to be a huge industry. I was pretty much sold at this point. I told my wife what I wanted to do and that I wanted to scale back from having so many clients and maybe just stop advertising my services all together. She agreed and seemed very happy for me.
At this point I signed up. I applied to join the first round, but didn't get accepted until the third cohort. It is understandable I didn't make it to the first or second. I mean I didn't know anything about the auto industry, or AI/DL/ML...
Preparation
When I started the program I was living in Oregon. My wife was applying for jobs in the Georgia/Florida area where my sister lived and the weather was much nicer. On a side note, I like gardening and cycling. By moving to these areas it offered me the ability to do much more of those things considered the longer summer season and 100 days of less rain. Anyway, after the first term of the program I had to also move. I was working for my last client. I told my other clients I was no longer accepting any new work. I was packing and also I was doing home improvements such as installing some new hardwood flooring and painting and doing landscaping myself. Needless to say we were gearing up to move while I was also trying to juggle learning a pretty complex topic in my mind. She got a job and we had to move within ninety days. That gave me enough time to complete the first term and start the second, but I would have to complete the move in between my clients work and also Udacity. Luckily since I did a lot of preparation leading up to this point such as taking Intro to Descriptive Statistics, Programming Foundations with Python(since I used PHP for websites), Linear Algebra Refresher Course, Intro to Machine Learning, Introduction to Computer Vision, Intro to Artificial Intelligence, Machine Learning Unsupervised, Intro to Inferential Statistics, Intro to Statistics, and finally Deep Learning. I mixed and matched many of these things and skipped over anything I felt overlapped.
Term 1
When I started the first term it wasn't that everything was easy because it wasn't. It was just that I wasn't caught off guard by a giant rabbit hole of terms I didn't understand. The material had an established base of expected prior knowledge that I was able to meet.(mostly) During the course one of the first projects you worked on was "Finding Lane Lines".
The Finding Lane Lines Project
This project was easy and fun. It showed me some different ways to think about things. It wasn't just this course that taught me different ways to look at how to solve a problem. It was also the previous courses leading up to this course. I learned about how to represent data in different ways to make it easier to manipulate for example hough space with m, b versus x, y. I learned how to work with things that I had previously played with such as OpenCV and doing some image edge detection. These things are a few simple function calls away in Python, but they are truly amazing feats if you actually look at the source code for these things. I looked at the original work done by Dana Ballard and who knows if we would be in this situation or how to do this with out his effort and many others in the computer vision world. I was standing on the shoulders of giants and learning to do something so simple in my eyes, but amazed me. The linear transform used is
[ y = mx + b ]
which with straight lines can be represented as a point (b, m), although for computational reasons polar coordinates are used r and θ instead. OpenCV makes using cv2.HoughLinesP easy. I didn't upload the whole project to GitHub on the first project, but here is a small gist below of one function. To wrap this into a nice little bow, this project is basically refined into a few short words; color threshold, region restriction, edge detection, and hough transformation. After the first project we moved to "Traffic Sign Classifier".Below is a sample function from my code since you cannot see the entire project. It helps draw the lane lines.
[embedGist source="https://gist.github.com/Goddard/309e647071a30ff35752f9ca6116c502"]
https://www.youtube.com/watch?v=Jnpu8Jr3X9Q
The Traffic Sign Classifier Project
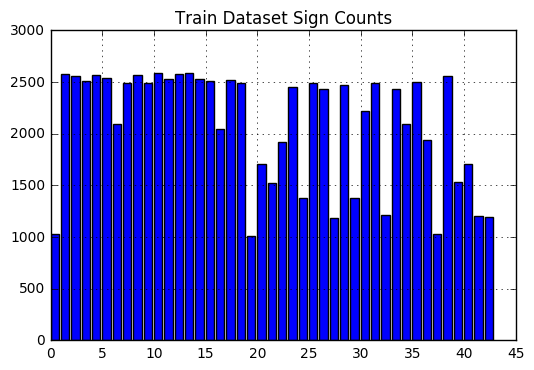
This project was a lot of fun as well. The course work leading up to this project was pretty intense, but since I was pushing to learn before taking the course and I read those free ebooks on Amazon it made it a bit easier. In preparation to train I did data augmentation to make it more uniform in count. Basically repeated certain actions such as normalization, warping, or adding extra edge pixelation. Once I reached one thousand per class I stopped. Some classes have greater then that, but I didn't bother preventing that as I got the result I needed without it. The graph below is an example.
 I designed my own neural network from scratch and went through how those functions worked. The project itself let us have the opportunity to use a simple network to see how well we could classify a data set and to attempt to demystify back-propagation along with differentiable graphs. To quickly explain backprop, it is just going backwards in the network to update the weights. It happens several times as training progresses. Differentiable graphs are useful to calculate derivatives. They are also easier to visualize. Before I learned those concepts it is important to understand what a neural network is though. I am not going to go into extreme detail about what neural networks are, but here is a brief overview. A neural network is a graph. A graph consists of nodes, also called vertices's. Those nodes have mathematical functions. Nodes also have connections, or edges. A network consists of an input layer, zero to infinity hidden layers, and an output layer. Edges can also perform operations on the data traveling through it such as applying weights or a bias. Each time we send data through our network it is called a forward pass. For example the input layer could have x, y values passed into it and the hidden layer could perform an operation on the node, also the edges could apply a weight and bias which then gets sent to the output layer. To prepare us I was taught LeNet and GoogLeNet[^1^]{#qnkrp30gHo3BDiC9aQCD2 .abt-citation .noselect .mceNonEditable data-reflist="["1187159768"]" data-footnote="undefined"} architecture. I was finally using a real library used by professionals, Tensorflow, and I was actually classifying a real data set you could actually use. My project is public here - https://github.com/Goddard/udacity-traffic-sign-classifier/blob/master/Traffic_Sign_Classifier.ipynb
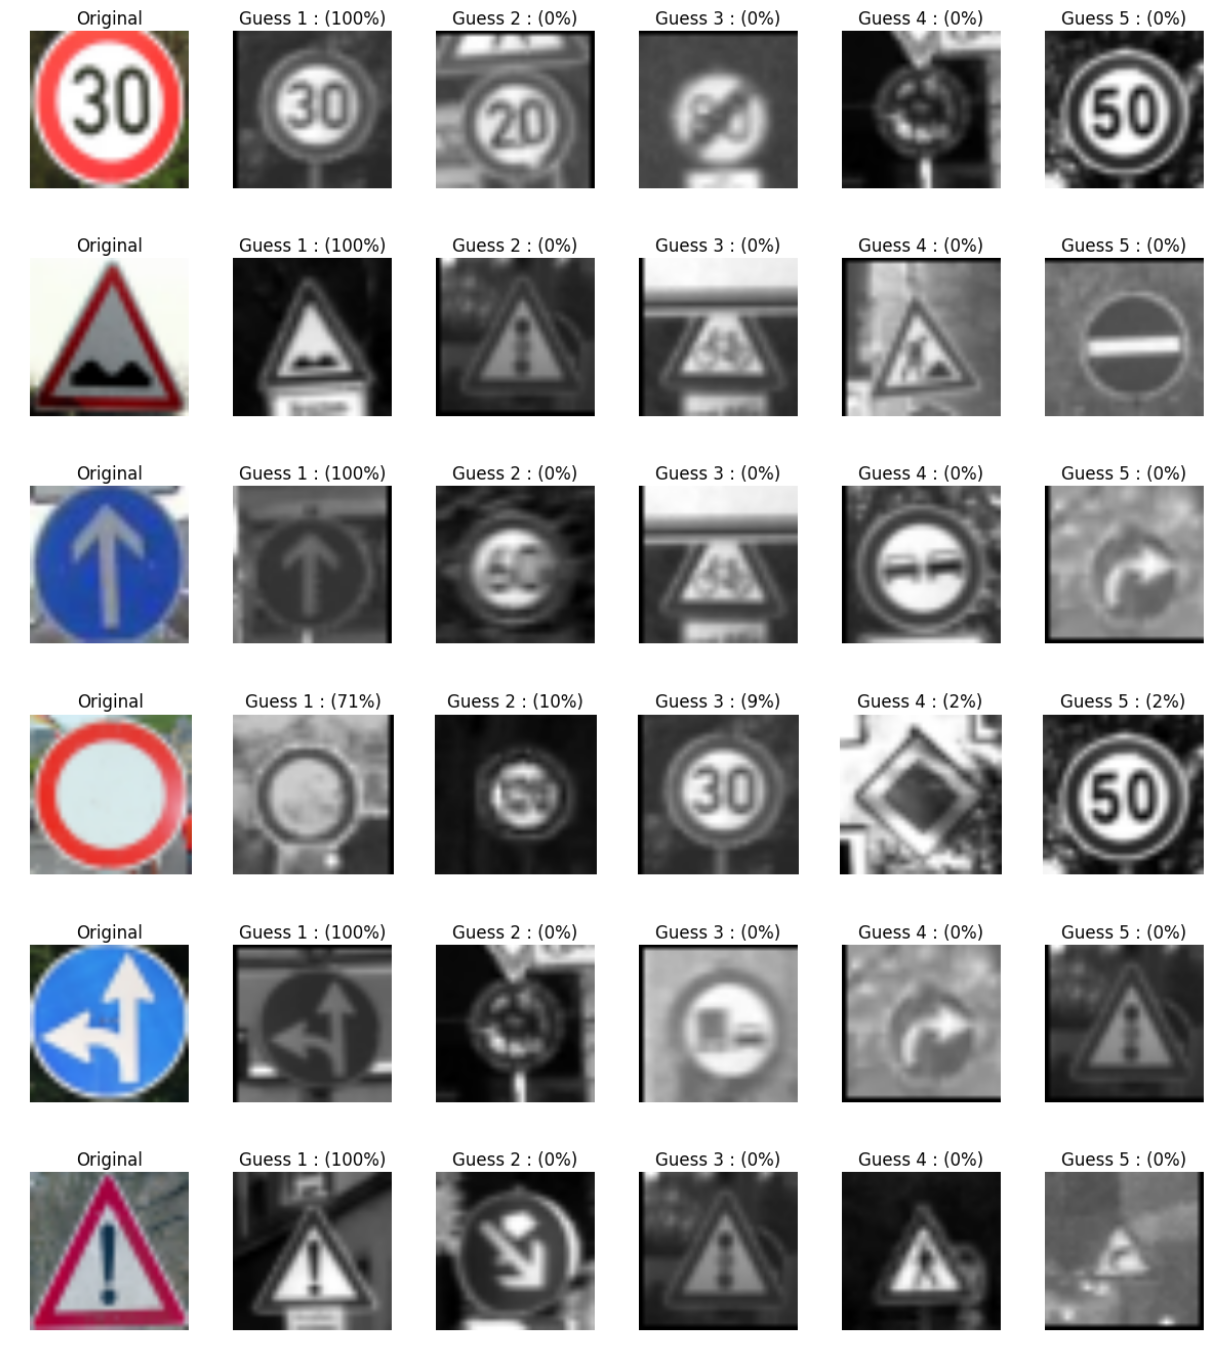
I am sure I made some mistakes and could undoubtedly improve this in hindsight, but I was very proud of it at the time. I spent many hours of work on this, but time was limited in my situation so I moved on once I had gotten results I wanted. The third project was called "Behavior Cloning".
The Behavior Cloning Project
This project was the first chance we got to use the Udacity Self Driving Car simulator built on the Unity 3D engine. It was part of the reason I was attracted to the course. It seemed like a tangible way to test things quickly without spending money on a bunch of hardware. I used a controller I had laying around to generate my data and got the car to copy my behavior and make it around the track. It was some what jerky and you would never want to have that experience in an actual car, but it worked. It was truly amazing to see. My model was a convolutional network with depths from 32 to 128 and filter size of 3x3. I also use RELU[^2^]{#sDtweeBZMv4UnbF_Bd5__ .abt-citation .noselect .mceNonEditable data-reflist="["2917458268"]" data-footnote="undefined"} activation to introduce nonlinearity. Also before a normalization step is used at the start of the network. Here is a quick look at the data set that was created. These are random images from the training set left, center, and then right.
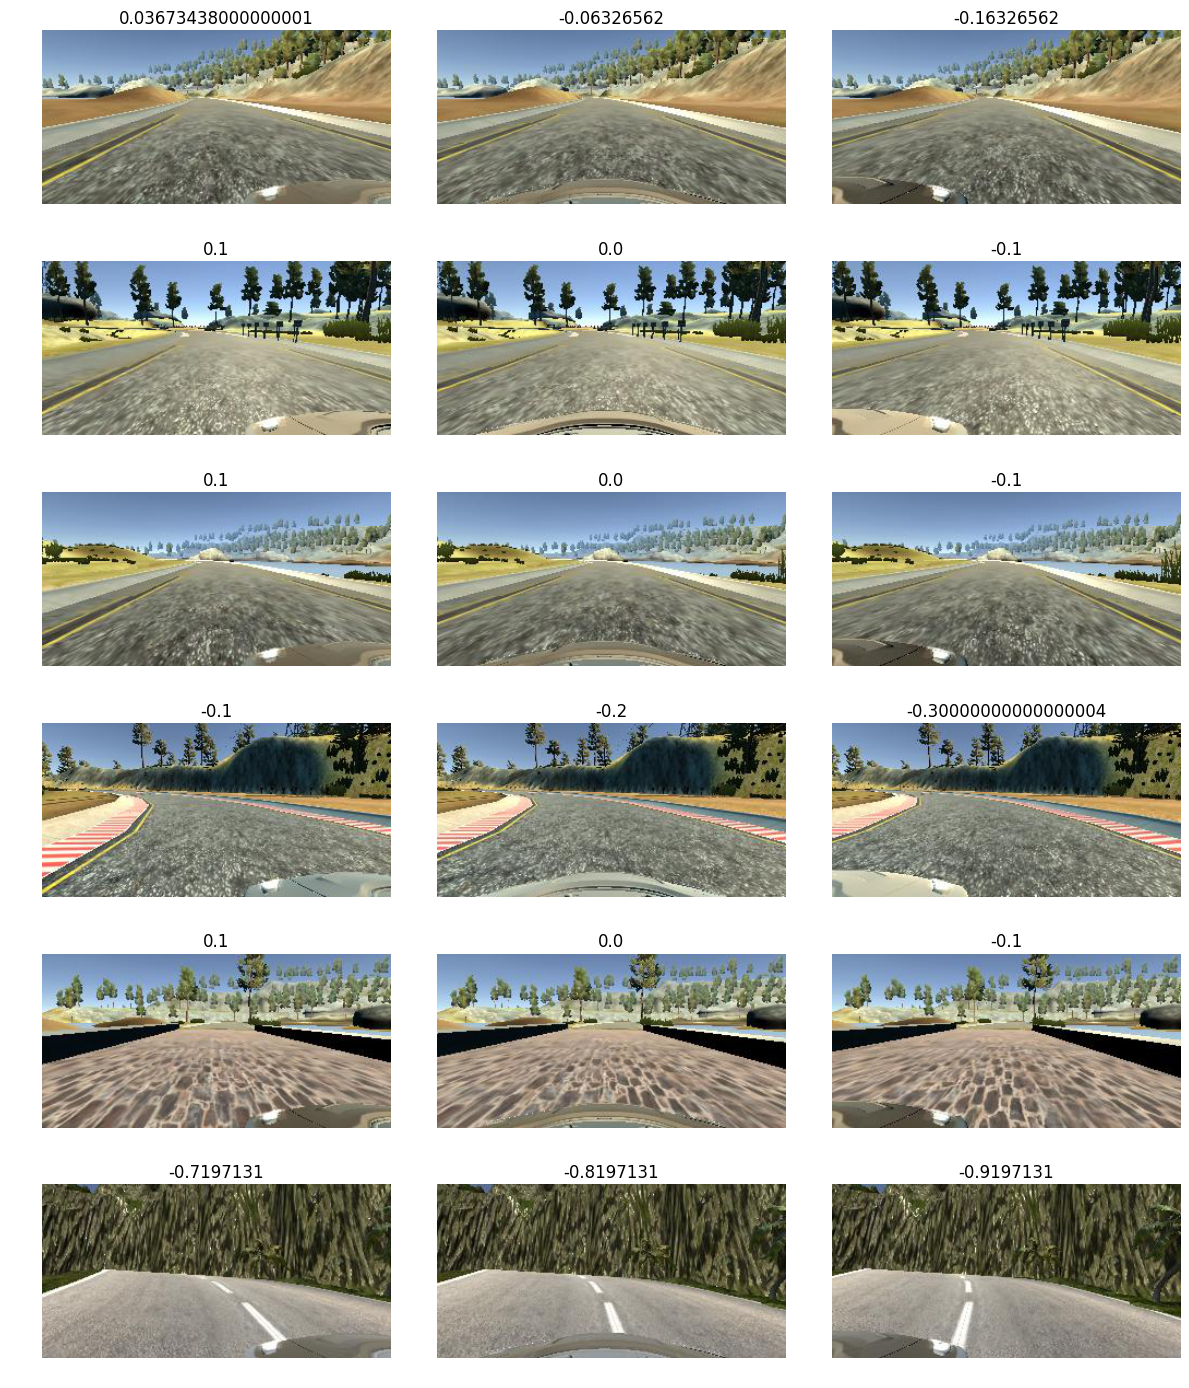
My network was inspired by End to End Learning for Self Driving Cars[^3^]{#nezcEImnSna6sDqa7HXfE .abt-citation .noselect .mceNonEditable data-reflist="["4178983824"]" data-footnote="undefined"} from Nvidia. Here is my submission - https://github.com/Goddard/udacity-project3-behavior-cloning The fourth project of the term was "Advanced Lane Finding".
The Advanced Lane Finding Project
This project gave an additional challenge compared to the first lane finding project. It had twists, turns, shadows, and sporadic lane line markings. I quickly learned this was a more complicated problem then before that needed some additional care, but I also learned it was manageable. It required a change of perspective, edge detection and threshold tinkering along with some averaging and what I like to remember as tiling or a kind of shifting box. All those pieces added up to, unlike in the first project, something that could handle curves. It could handle greater distances with real accuracy. Shadows were still a challenge, but it could manage. Now is when I felt like everything was starting to build on other lessons and I was getting slightly more confident I could truly do some interesting things if given the time to tinker on a real car. You can look at that project here - https://github.com/Goddard/Perspective-Transform-Convolution-Lane-Finding The fifth and final project of the term was "Vehicle Detection & Tracking".
The Vehicle Detection & Tracking Project
This project was also a combination some what of the previous lessons. I had to build on the things I learned leading up to the project and also the previous lessons. I used a Histogram of Oriented Gradients (HOG), which was originally a patented technique[^4^]{#beMP6PcG4u8pFrGN8ZBej .abt-citation .noselect .mceNonEditable data-reflist="["4056228281"]" data-footnote="undefined"} on labeled data to train a Linear SVM classifier. The HOG method finds features through gradient occurrences. The Linear SVM is simply classification using straight lines to find the best fit for a given set of data. To be slightly more technical, you want to maximize the margin given a set of support vectors to have the greatest distance for the hyper plane. If you want to see the results I have the project made public here - https://github.com/Goddard/vehicle-detection-linear-svc I also have a couple graphs you can look at to see color space differences on two classes.
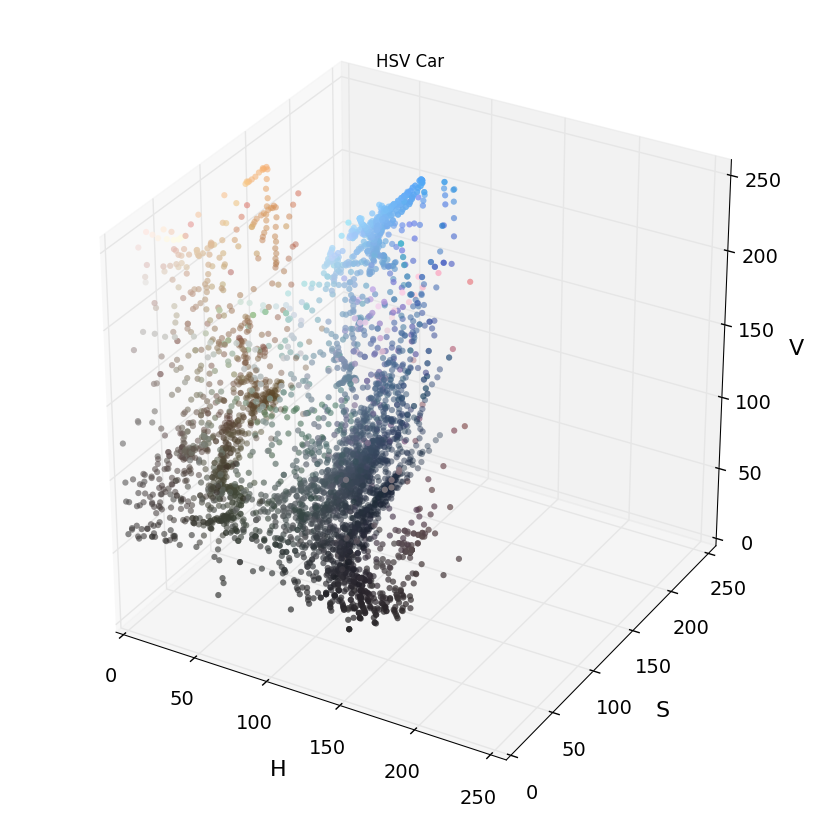
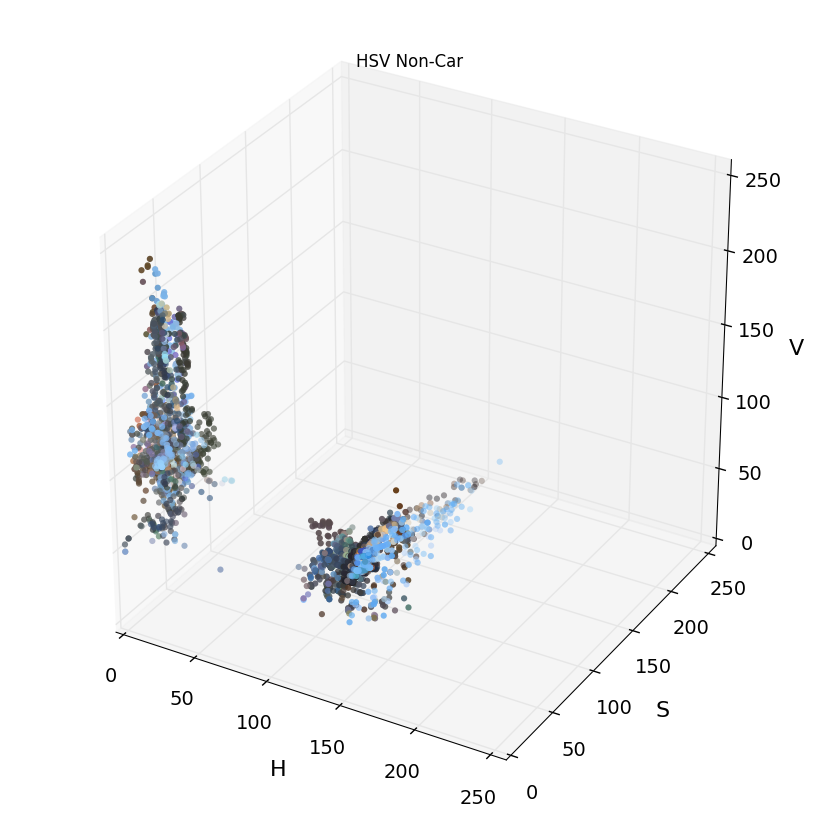
Also here is a nice HOG example.
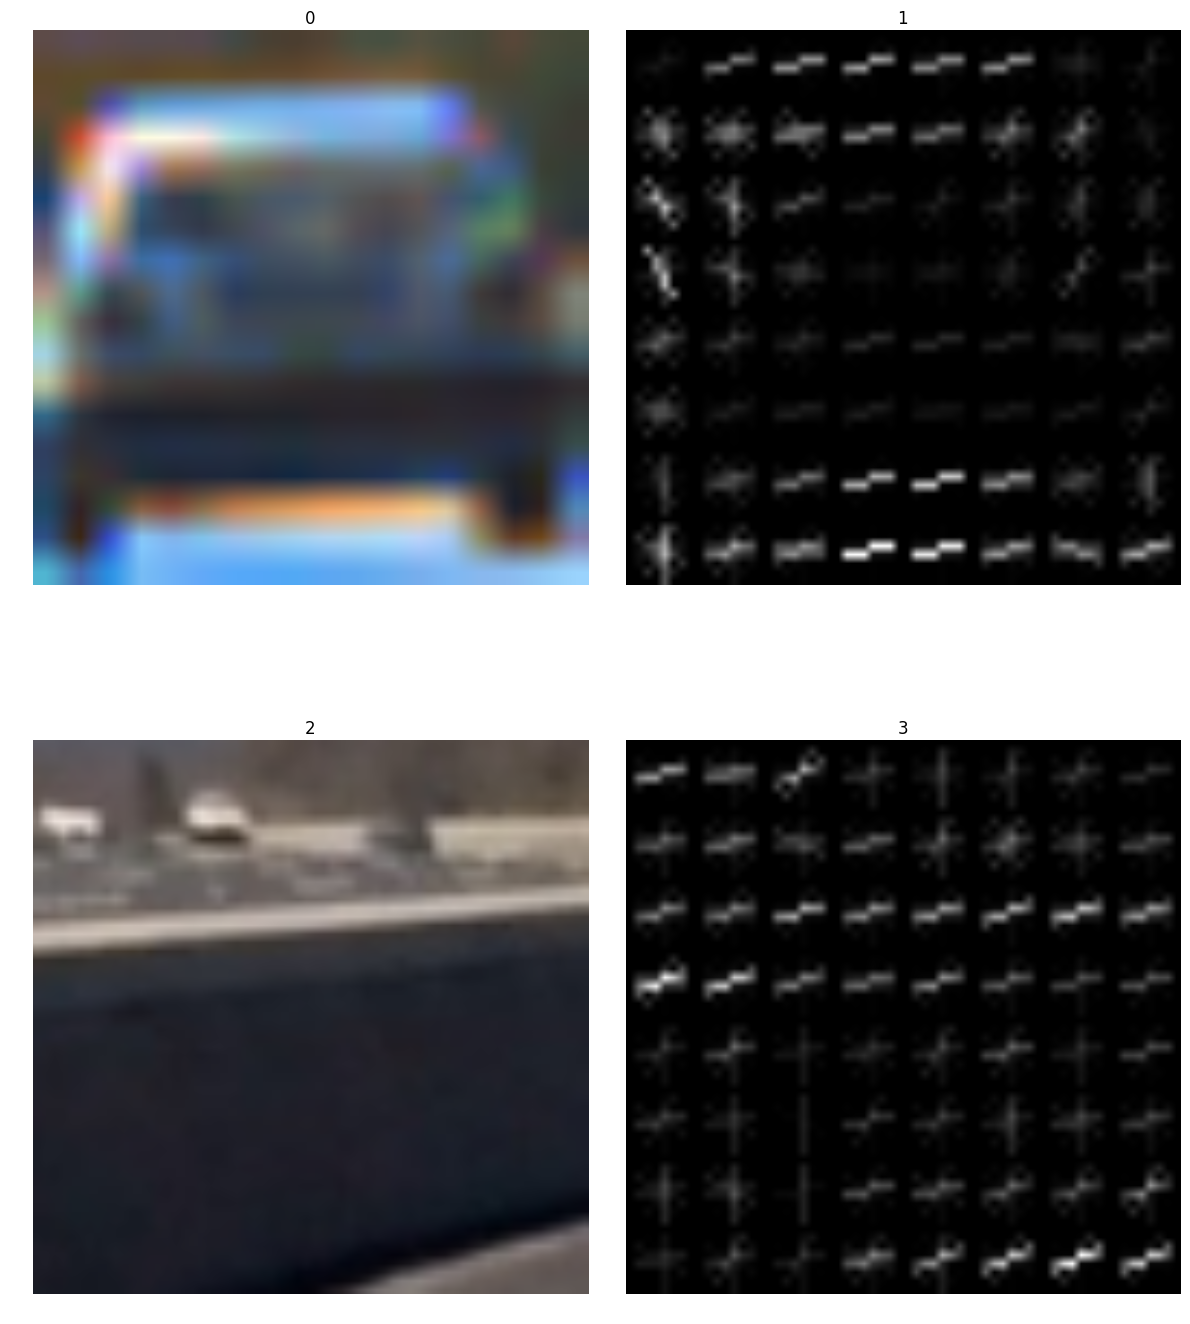
The required detections were made in the provided images as seen here.
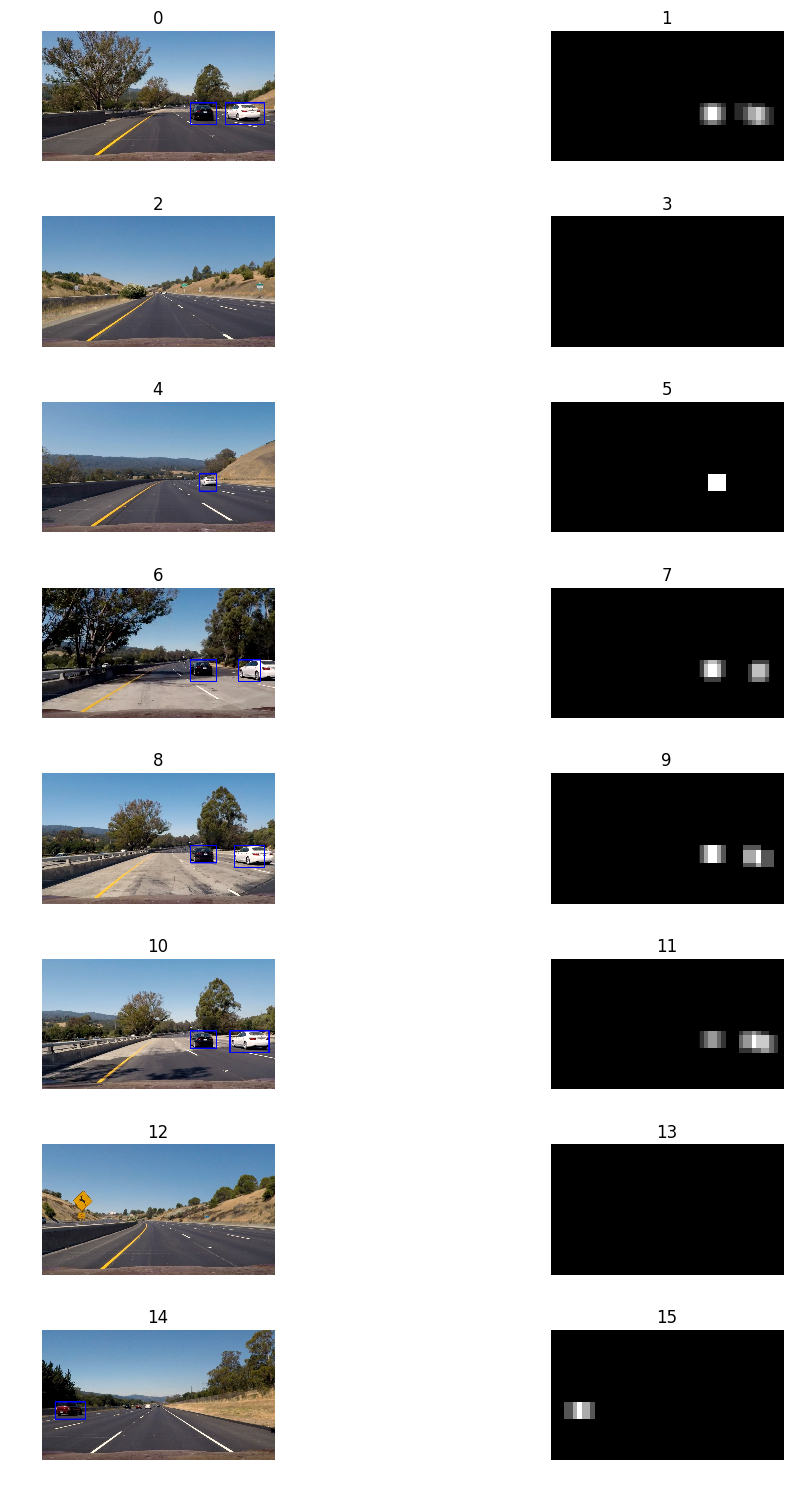
The last project I did felt a little rushed given my schedule, but I did manage to detect the vehicles. I was pretty impressed at the time, but looking back I think I could improve this considerably, maybe reduce the false detections and track vehicles better by integrating some memory saving arrays, or something to that effect.
The Journey to the Florida Georgia Line from Oregon
At this point the first term was over. I was ready for a break, but unfortunately that didn't mean I was going to get one, although I wouldn't have it any other way. I had to get my affairs in order. I would be driving across country. My journey started in Salem, Oregon. I traveled the southern route to get to Kingsland Georgia where I now live. Here a quick look at the map. To get to that point I had to replace flooring in my house, paint, and do a bit of landscaping. I have two huge dogs and they love to dig so the amount of landscaping was rather large. I spent two weekends moving bark dust into my back yard to fix that problem. On top of that, I lived on a hill so it was a challenge to get everything organized. Luckily I had done a bit during the summer to prepare and while I was studying to manage this. You can view the video below to see my garden progress before the move.
On the inside I have a few pictures of the flooring work I did, you can see here.
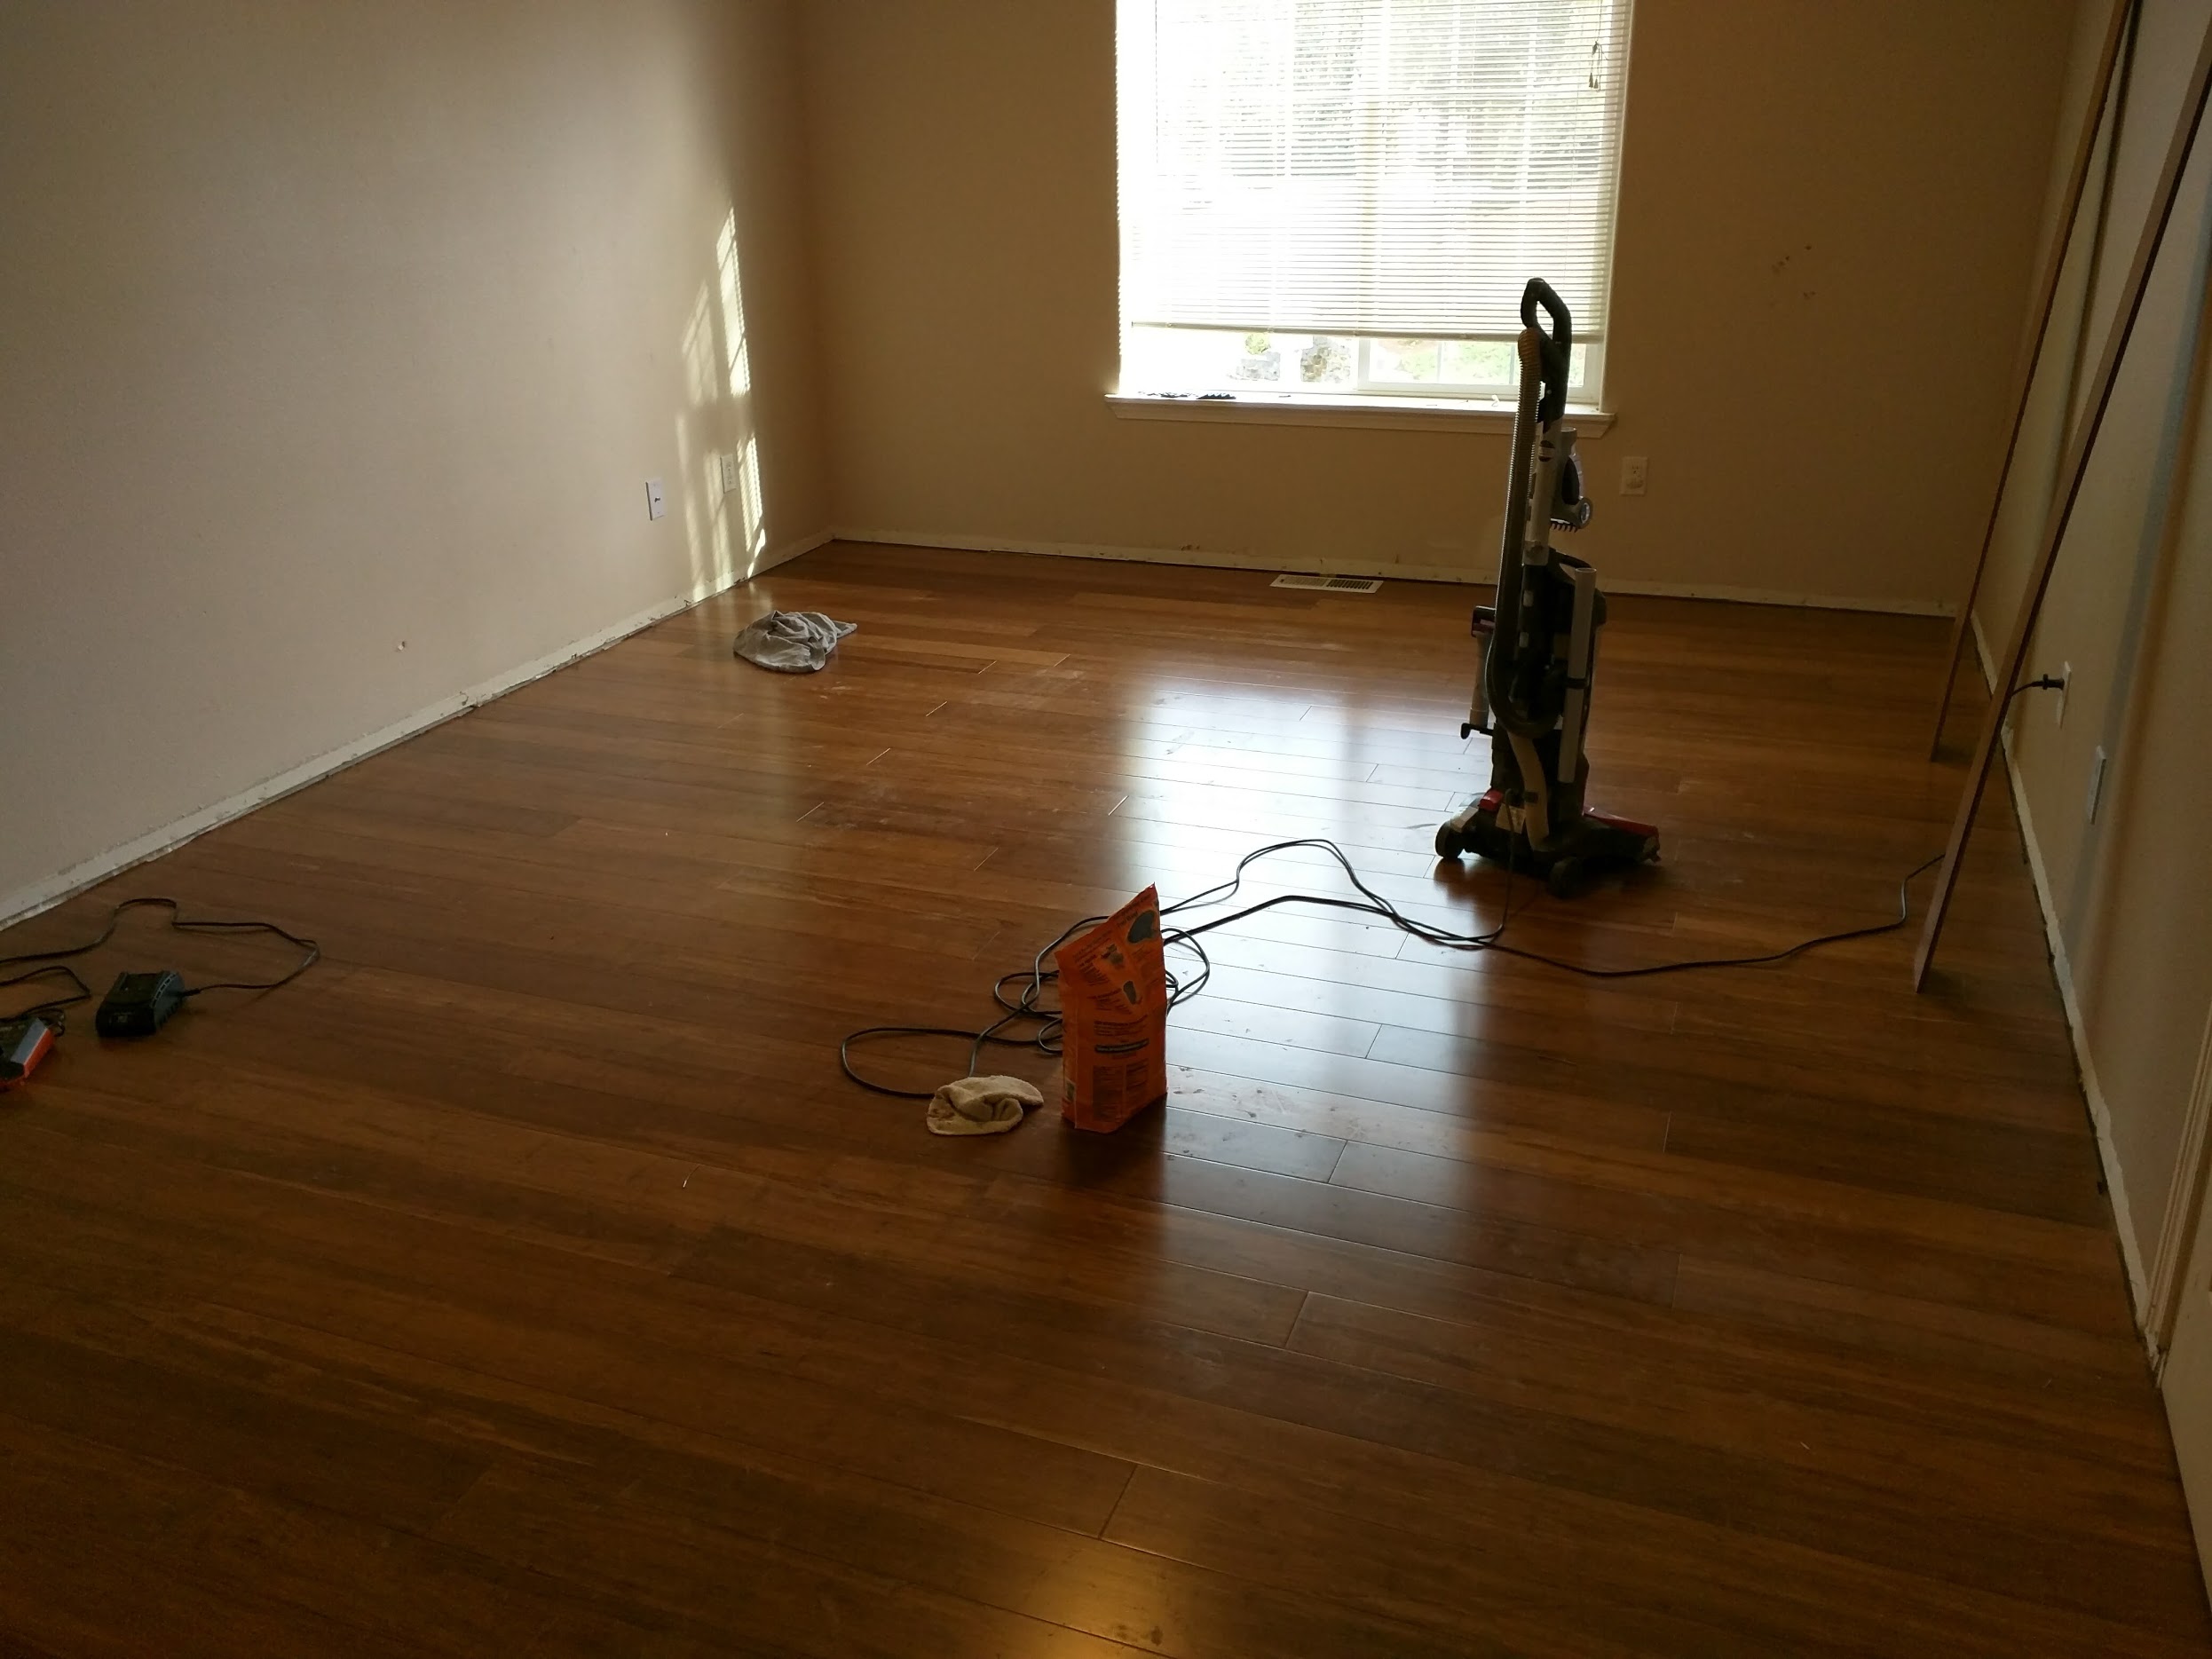
The flooring is bamboo and I made the choice to glue it down...haha(poor me). I really should of just done floating or nail down. For some reason the sales associate at the store convinced me this would be the best way to avoid creaking noises, while he was right, it was probably the more difficult method for a flooring newbie. I don't want to double derail from the story here. I mean most people that read this probably are more interested in technology.
So back to the trip. I only took a couple photos and videos of the trip because I honestly didn't spend much time enjoying it. Funds were tight and I only rented the truck for five days. I also rented a trailer to haul my precious 66 mustang.(side note I restored this...it took me 7 years here is a video although I really didn't know much then..it is fun to look back)

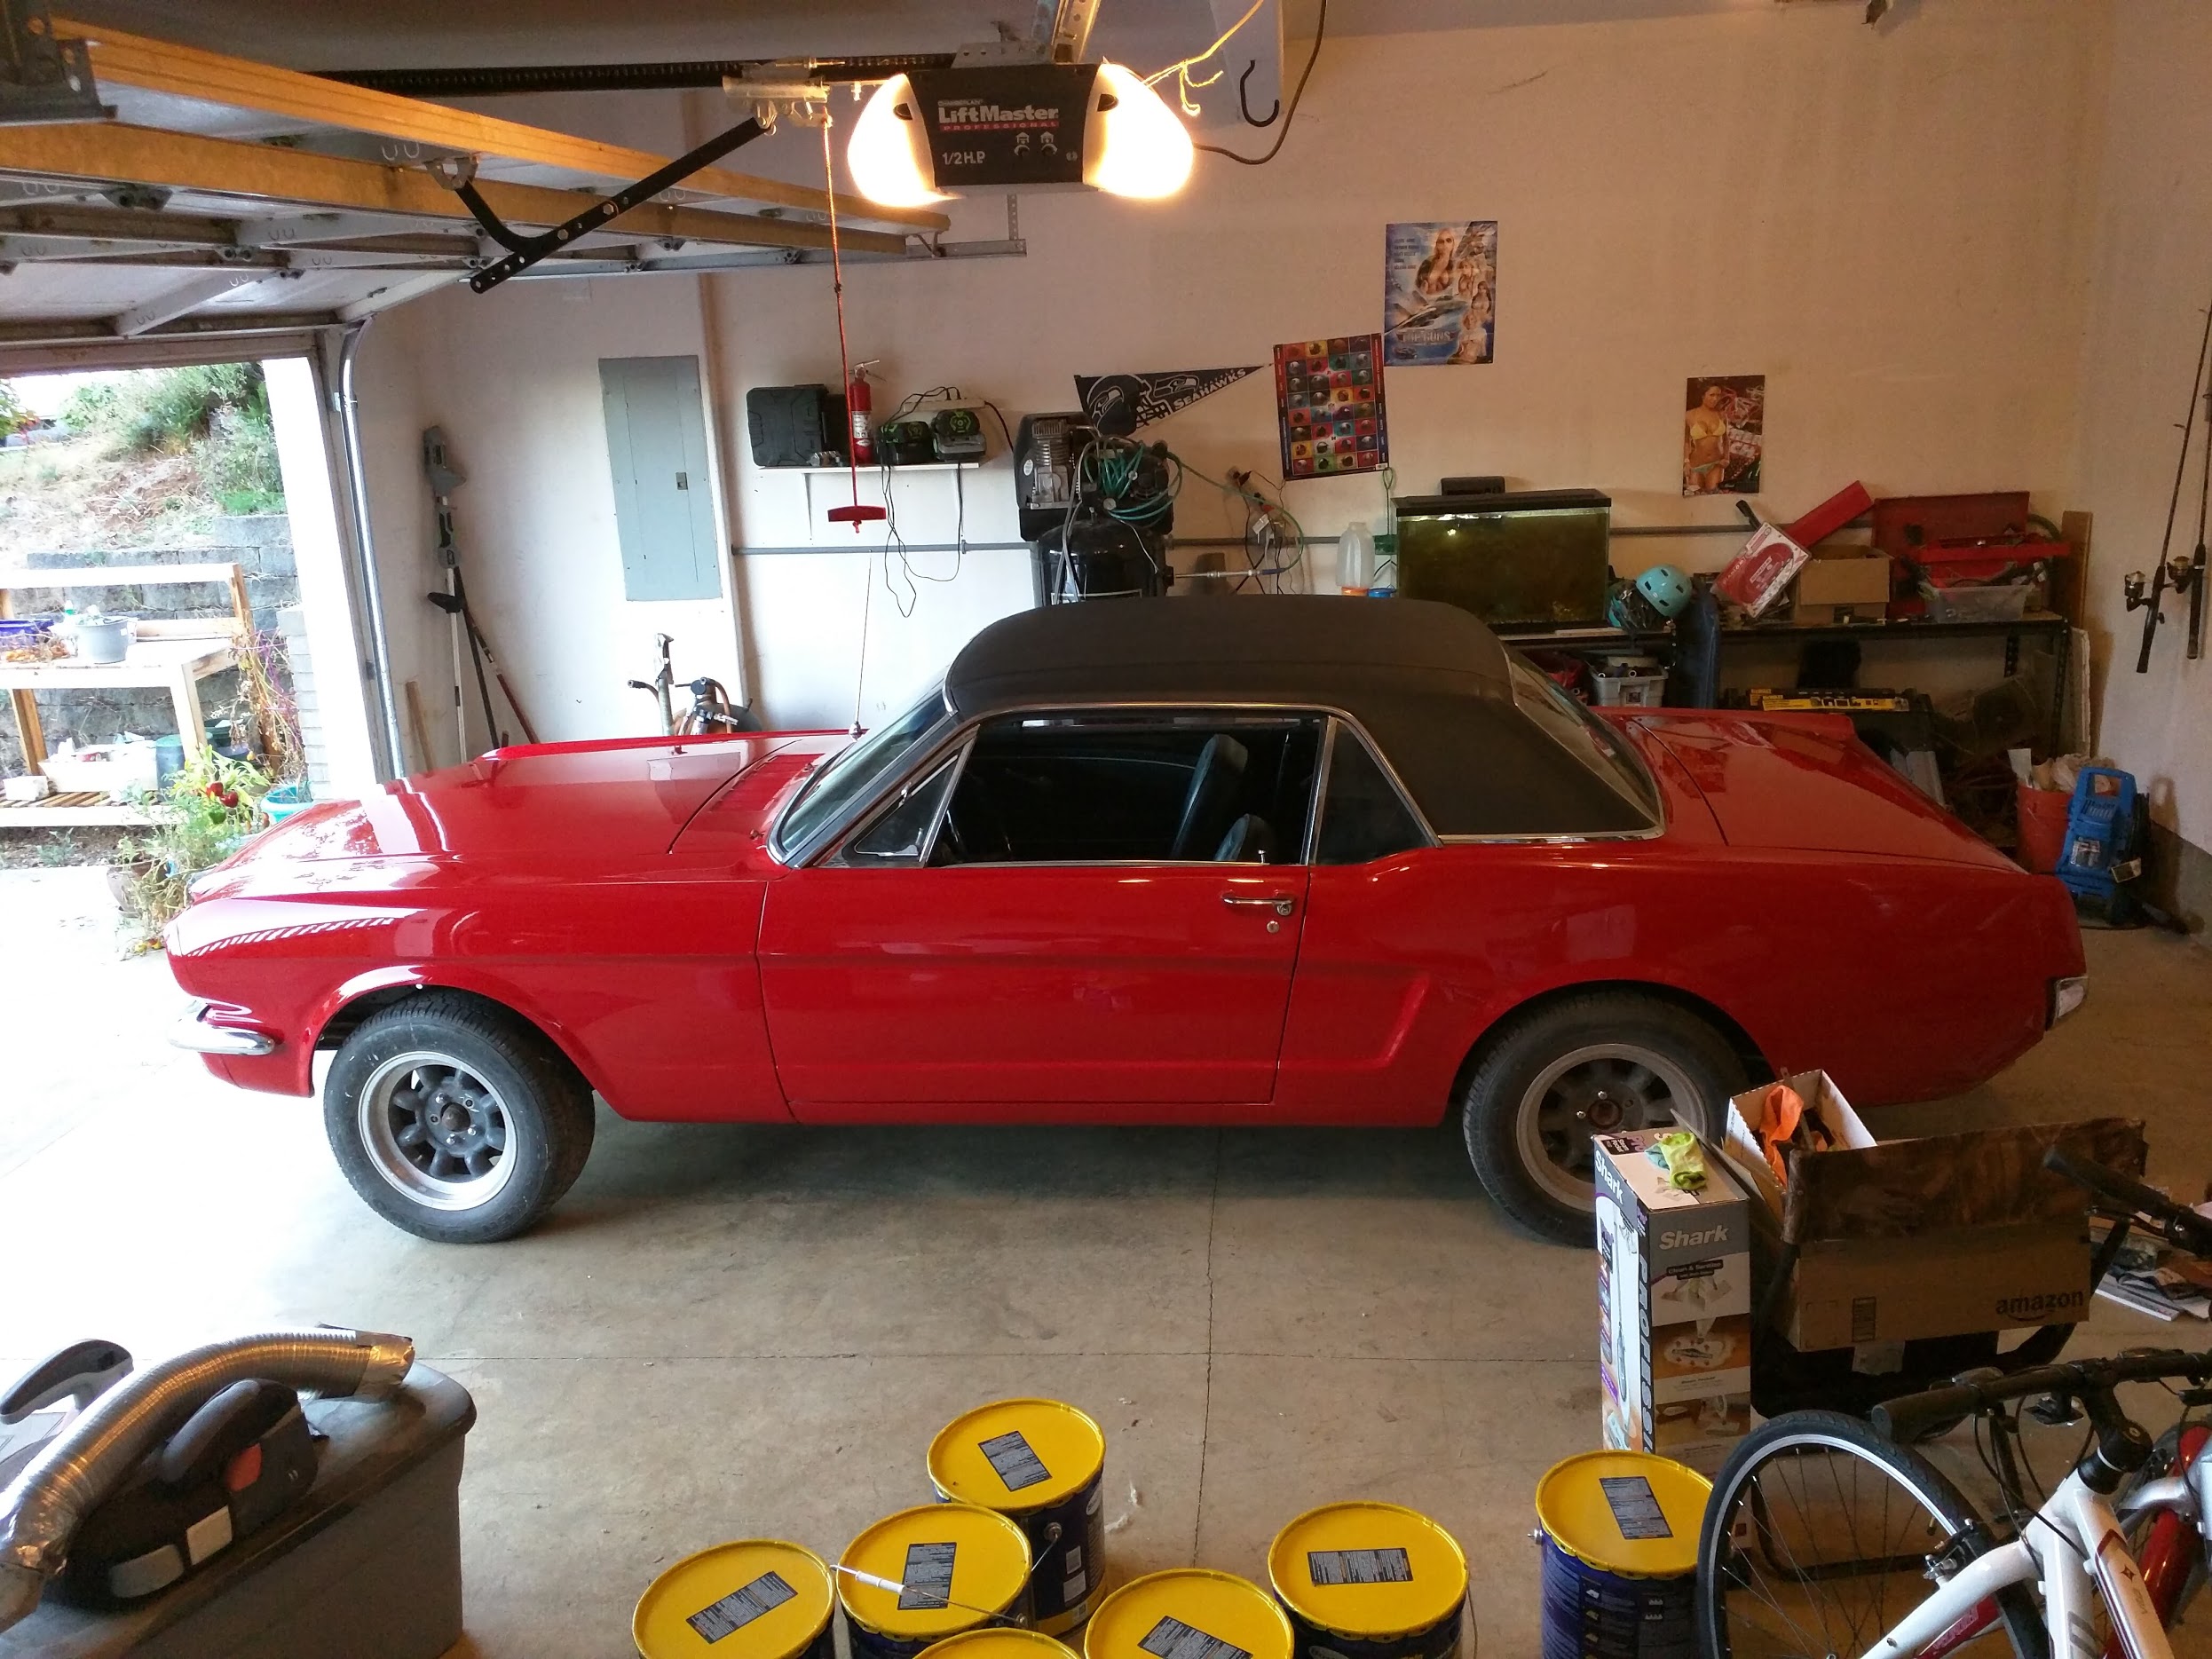
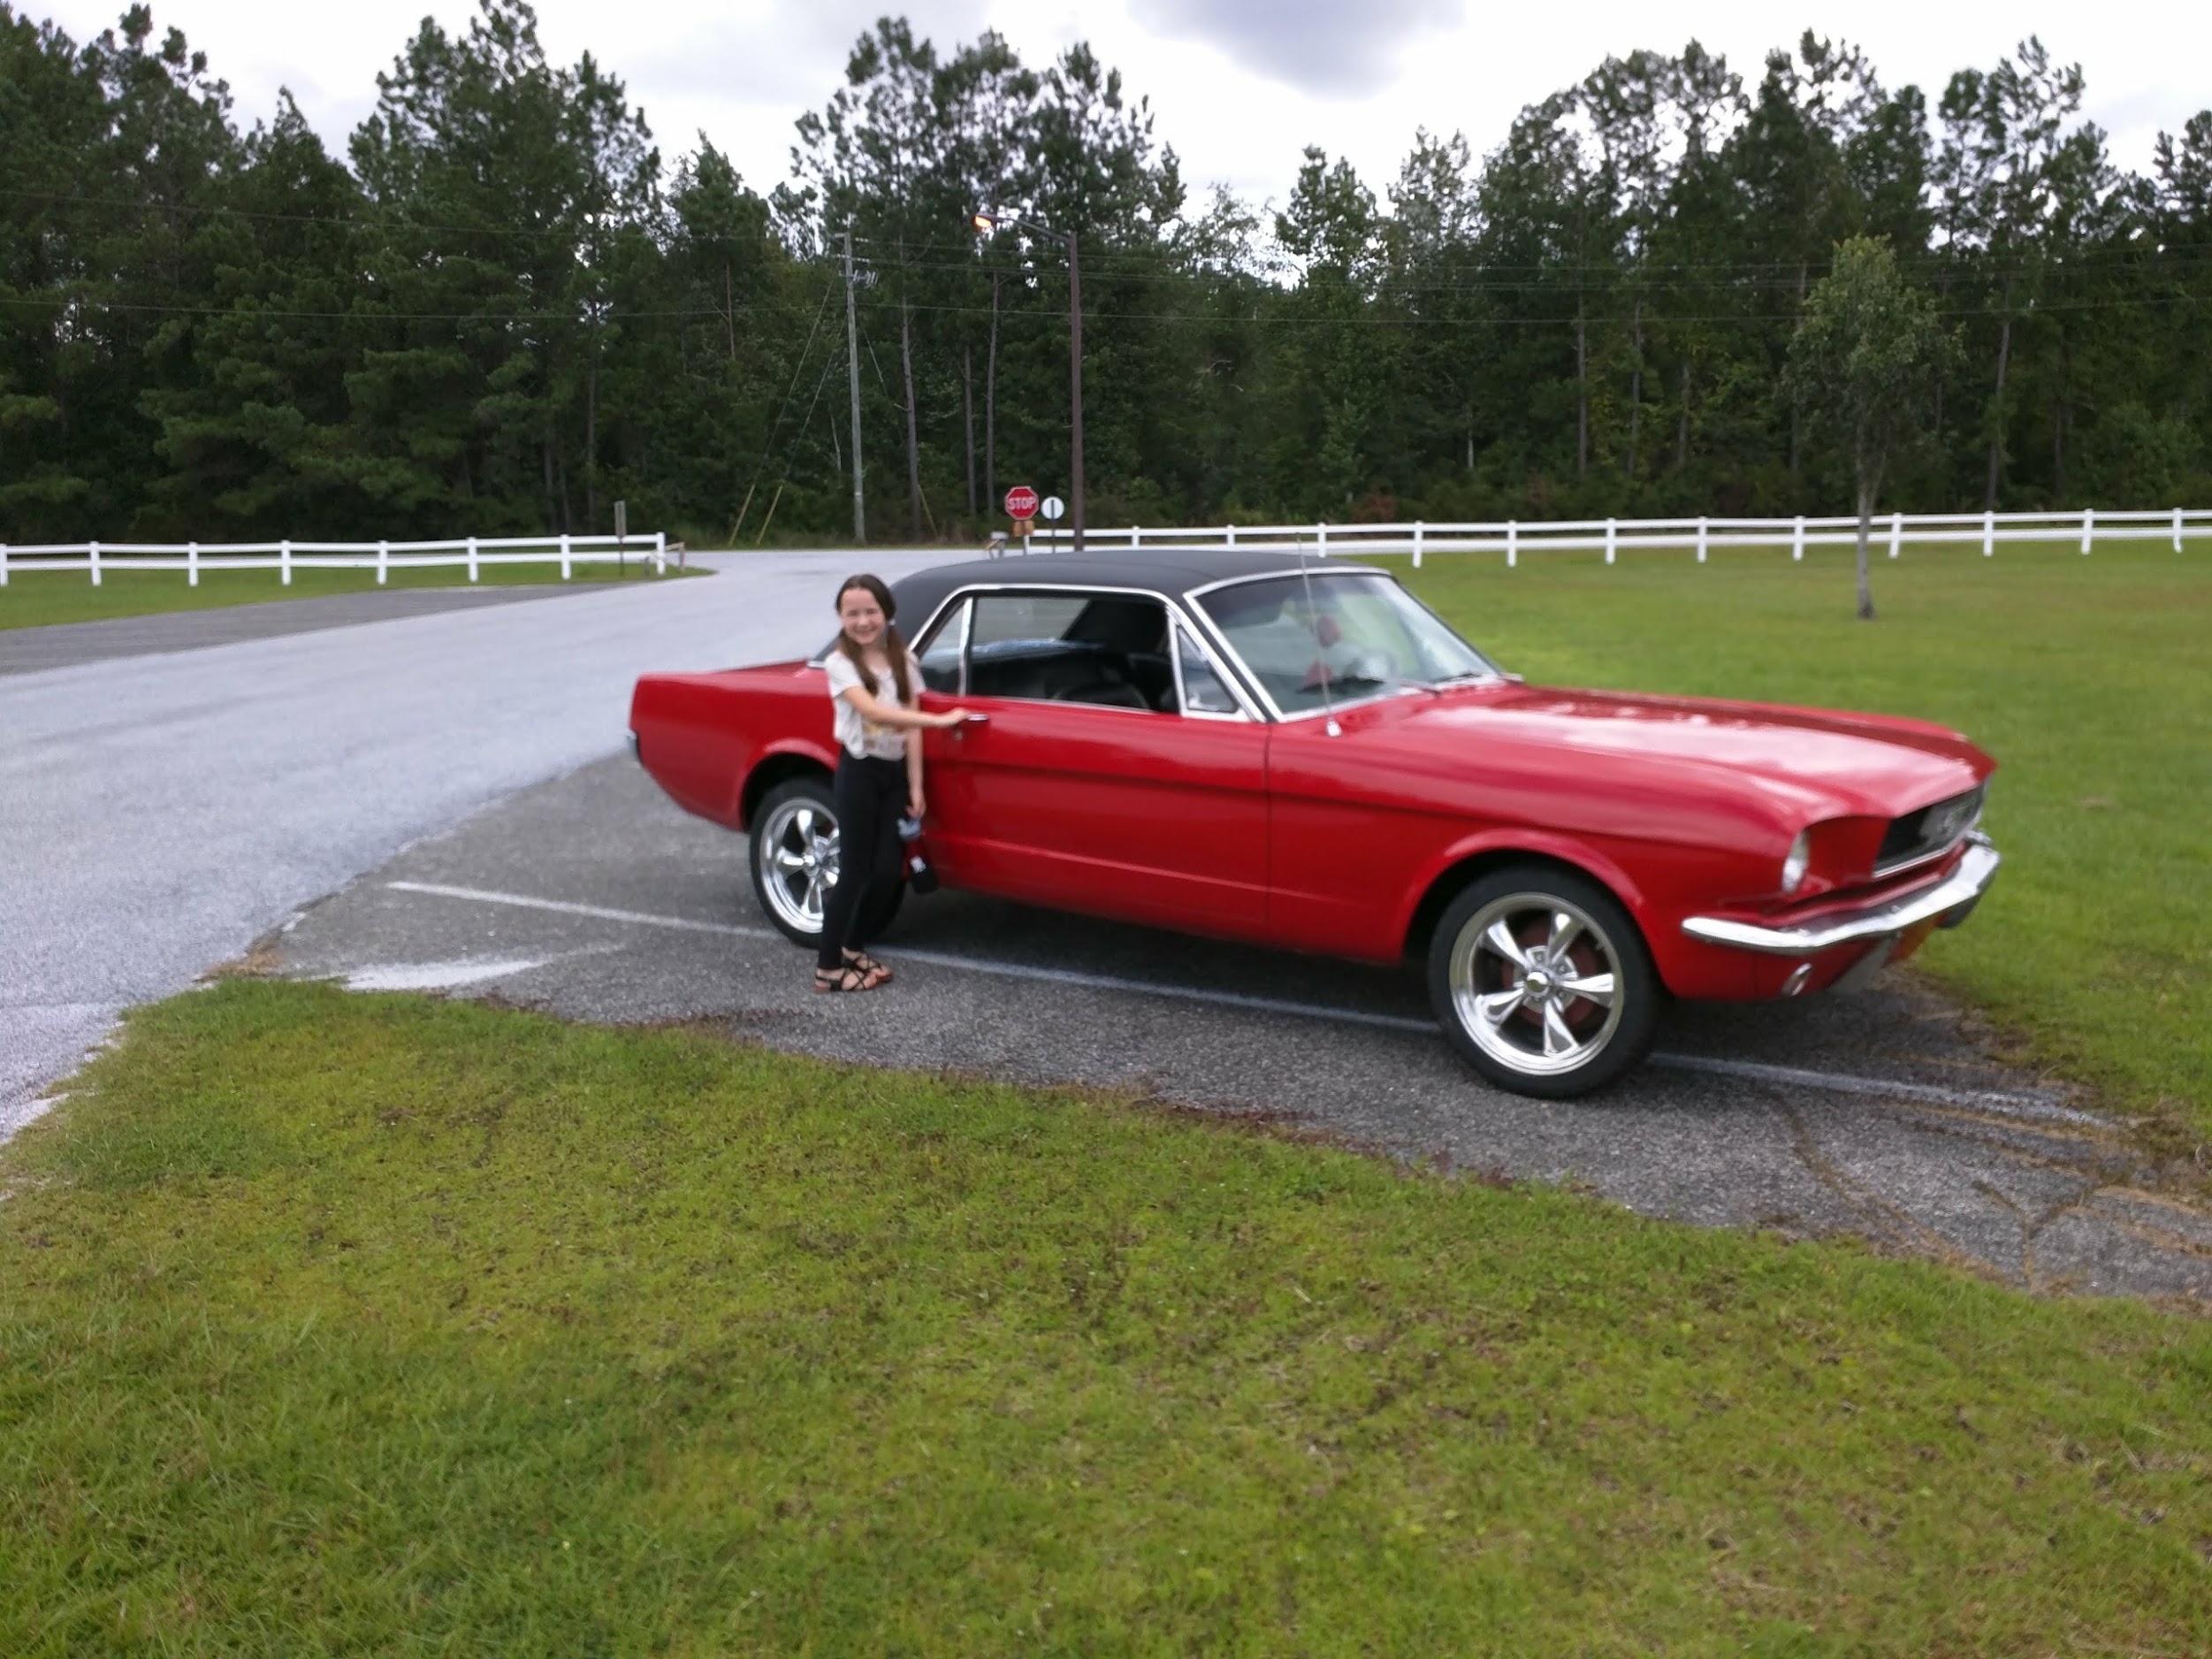
I managed to get the mustang on the trailer even though it was the first time I had ever done it. I got the house buttoned up and all my stuff packed with the help of a friend(Wade) and my Dad.(side note, those yellow buckets are glue for the floor...) Now was the difficult task of loading my two large huskies into the truck cab with me. This is another reason I didn't want to take the scenic route with extended breaks. The dogs were crammed. Although after this reexamination I am not so sure that was a legitimate excuse.
When I started driving I made it to Scottsdale Arizona in just 23 hours. I was extremely tired, I mean slapping myself awake tired, thankfully I made it safely. I was able to stay with some relatives on my wifes side that were very kind and even made me some Vegan food which was very nice and good. The dogs got to sleep outside in the cool Arizona night sky and I slept in a nice comfortable bed. When I woke up they had made me some more food that I quickly gulped down and ran out the door with the dogs. Thanks Kebei and Dave.
I traveled all the way through New Mexico and into Texas. Here is a short clip of that so you can get an idea of the condition in the cab. The other dog was between the seats on the floor.
I was trying to avoid having to spend too much money so I didn't stay at a hotel until I had to. I think I eventually stopped at East Texas(sorry forgot the exact city). Then Alabama. On the 4th day I made it to Kingsland Georgia to my sisters house. Thankfully my wife was already at the house. She got to fly because she had to be at work while I got to do all the fun stuff..you know like packing, fixing the house, and driving across the country with large animals! I joke, but it was great to finally be able to relax. I didn't get much relaxation time because I had a lot to do still. My wife and I had to find a place to live. I needed to move the stuff in the truck into a storage unit, then I needed to do work for my client and also study some Udacity course work soon. I reminded myself, I had to stay on top of things. Thankfully with some help from my sister, Alexis, and my brother-in-law, Lucas, it wasn't too bad, although coming from Oregon to southeast Georgia the weather was much warmer and humid. :D
Term 2
I managed to solve all those issues and a short while later the 2nd term started. This entire term deals heavily with localization. This is an important thing for a car and a person for that matter. When you are walking down the street and see a crack in the sidewalk, people, or runners your brain performs some localization of its own. The simulations and videos maybe aren't as dazzling as the full simulator with the car, nevertheless it is still an extremely important piece of the self driving car puzzle. It was onto the first project of the 2nd term called "Extended Kalman Filter".
The Extended Kalman Filter Project
This project was I think the first project we got to use c++ which I personally really like. Python is fantastic and I love it as well, but c++ feels like real programing. In this project I utilize a kalman filter to estimate the state of a moving object of interest with noisy lidar and radar measurements. The objective was to make the car traverse a path with the data points as the guide and also stay within tolerance. Here is the project you can see - https://github.com/Goddard/extended-kalman-filter The intended usage for this was apart of the sensor fusion work. Using this data we could track pedestrians and other objects. If we had multiple sensors each sensor would asynchronously update to give timely non-blocking updates and at each time step I would switch from an update to prediction while rotating each sensors measurement update independently at each individual time step. If both updated at once I would just update twice instead of rotating between update and prediction. Here is a break down of the math formulas used in this extended kalman filter update and prediction steps.
Prediction
- x - An objects location and velocity vector.
[ P^{1} ]
- Is the uncertainty.
\[ x^{1} = fx + 1 \]
\[ P^{1} = F P F^{T} \]
Update
- y - compare and update position based on sensor data.
- K - Is the kalman filter gain.
- R - Is the uncertainty of the sensor measurement.
- z - sensor measurement weight after R and
[ P^{1} ]
comparison.
\[ y = z - H x^{1} \]
\[ S = H P^{1} H^{T} + R \]
\[ K = P^{1} H^{T} S^{-1} \]
\[ x = x^{1} + K y \]
\[ P = (I - K H) P^{1} \]
If you watch the video the green dots represent the localization prediction.
This isn't all the functions needed, but it is most of them. Now it is onto the "Unscented Kalman Filter".
The Unscented Kalman Filter Project
This was a similar project to the extended kalman filter, but of course has key differences. The similarities of course are, utilize an Unscented Kalman Filter to estimate the state of a moving object of interest with noisy lidar and radar measurements. The unscented kalman filter is based on the unscented transformation. It uses sigma points to gather heuristics on the system. It is extremely useful as it doesn't sacrifice accuracy even with complicated states. It also differs from the extended kalman filter because it doesn't not expect the speed to be a constant. You can see my project here - https://github.com/Goddard/Unscented-Kalman-filter
The green dots represent the prediction.
Next project is the "Particle Filter".
The Particle Filter Project
This project uses particle filters. Particle filters are used to figure out likely vehicle location. Varying distances between particles along with importance weights allows you to calculate the location of your vehicle within a reasonable error rate. Particles can outlast other particles in the calculations given a high enough importance weight when resampling. During the resampling to figure out the probability of weight importance I calculate using a Gaussian. When we do this probability calculation we need to iterate over the entire particle space. One thing that happens during the resampling process is particles are redrawn and often times redrawn more then once. This project was intriguing and has direct application in the field. This project has many more functions to understand, but I will have leave it to you to learn the rest if your are interested.
Measurement Updates
This represents the resampling function which is proportional to the weights times the particles.
\[ P(X | Z) \propto P(Z | X) P(X) \]
Motion Updates
This represents particles at time step t+1 and a randomized particle
[ X^{1} ]
from the particle set along with adding the noise.\[ P(X^{1}) = \Sigma P(X^{1} | X) P(X) \]
In this video you can think of success being when the blue circle stays around the vehicle. Basically you want to "localize" where your vehicle is located based on the landmarks.
The next project is the "PID Controller" project.
The PID Controller Project
This project was another fun project we got to use the more realistic looking simulator. The goal was to use lane position data to get the car around the track. I think this project had more jerkiness compared to the behavior cloning project. Part of the reason for the jerkiness is the correction using the cross track error. I do use derivatives to compensate for the car overshooting though along with the difference from the current and previous cross track error. Here is a comparison of before and after adding the difference with two graphs.
In the example of just using the cross track error, blue line, and the difference between the time steps is the green line. Also we have a twiddle implementation here. The twiddle implementation is an iterative parameter tuner.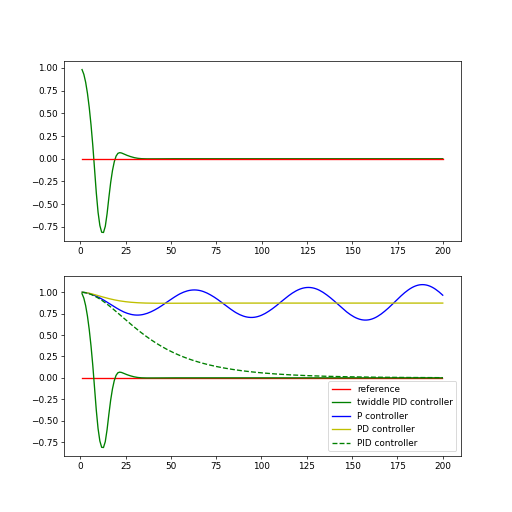
Here is the PID control formula.
\[ \alpha = -\tau_p \text{CTE} - \tau_D \frac{d}{dt} \text{CTE} - \tau_I \sum \text{CTE} \]
Here is my project submission - https://github.com/Goddard/PID-Controller
The last project of term 2 was the "Model Predictive Control".
The Model Predictive Control Project
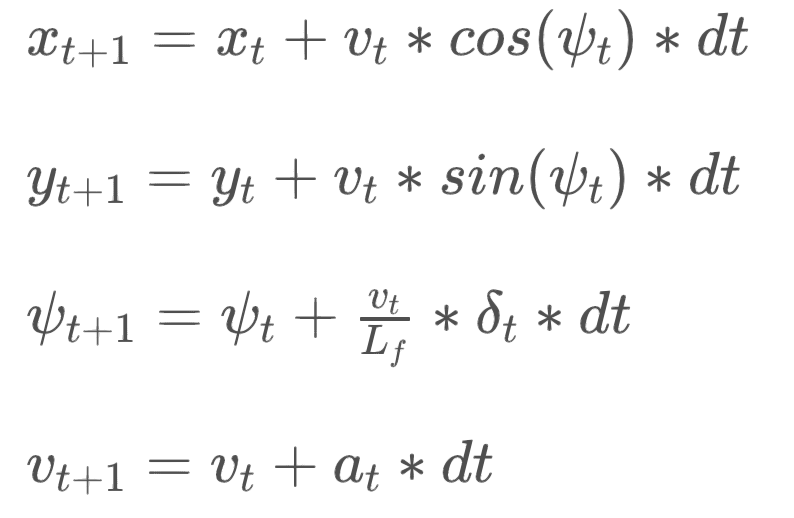
This project was the pinnacle for the term. Again we got to do it in the "real" driving simulator and we took actual way points and then fit a path. Here is the project - https://github.com/Goddard/MPC-Controller In this implementation I used the global kinematic model. This model ignores some vehicle forces such as drag and tire forces along with gravity and mass. This implementation is more simple compared to a dynamic model, but it is accurate enough for the vehicle in the simulation even traveling in excess of 80 "Mph". I am unsure how this would translate to a real vehicle, but in the simulator it works pretty well with less steering stutter when contrasted with the PID controller. If you are interested in the implementation of this method I suggest you look at my project files. Many more project details in the read me, but here are some required equations for the kinematic model.
Brief Side Track(found a place to live)
Not sure if you remember, but during this time I was living with my sister temporarily until we could find a home. We managed to find a nice place only one block from my sister. Now I don't want to get too far side tracked, but we spent a lot of time looking before the move and after, but given the fact we had never actually been to the area made it that much more difficult to discern. Ultimately we settled on a slightly greater commute time, but peace and quite outside the city limits. Now was the fun task of moving all the stuff from the storage unit into the house. My dogs were happy, my wife was happy, my daughter was happy who just moved in with me from her mom's, and ultimately I was happy. That means I didn't have to use the slow, small screened Macbook air I was using during term 2 which I think really made that term less fun for me and slightly more challenging given I was coming from a nice desktop and a 34 inch screen.
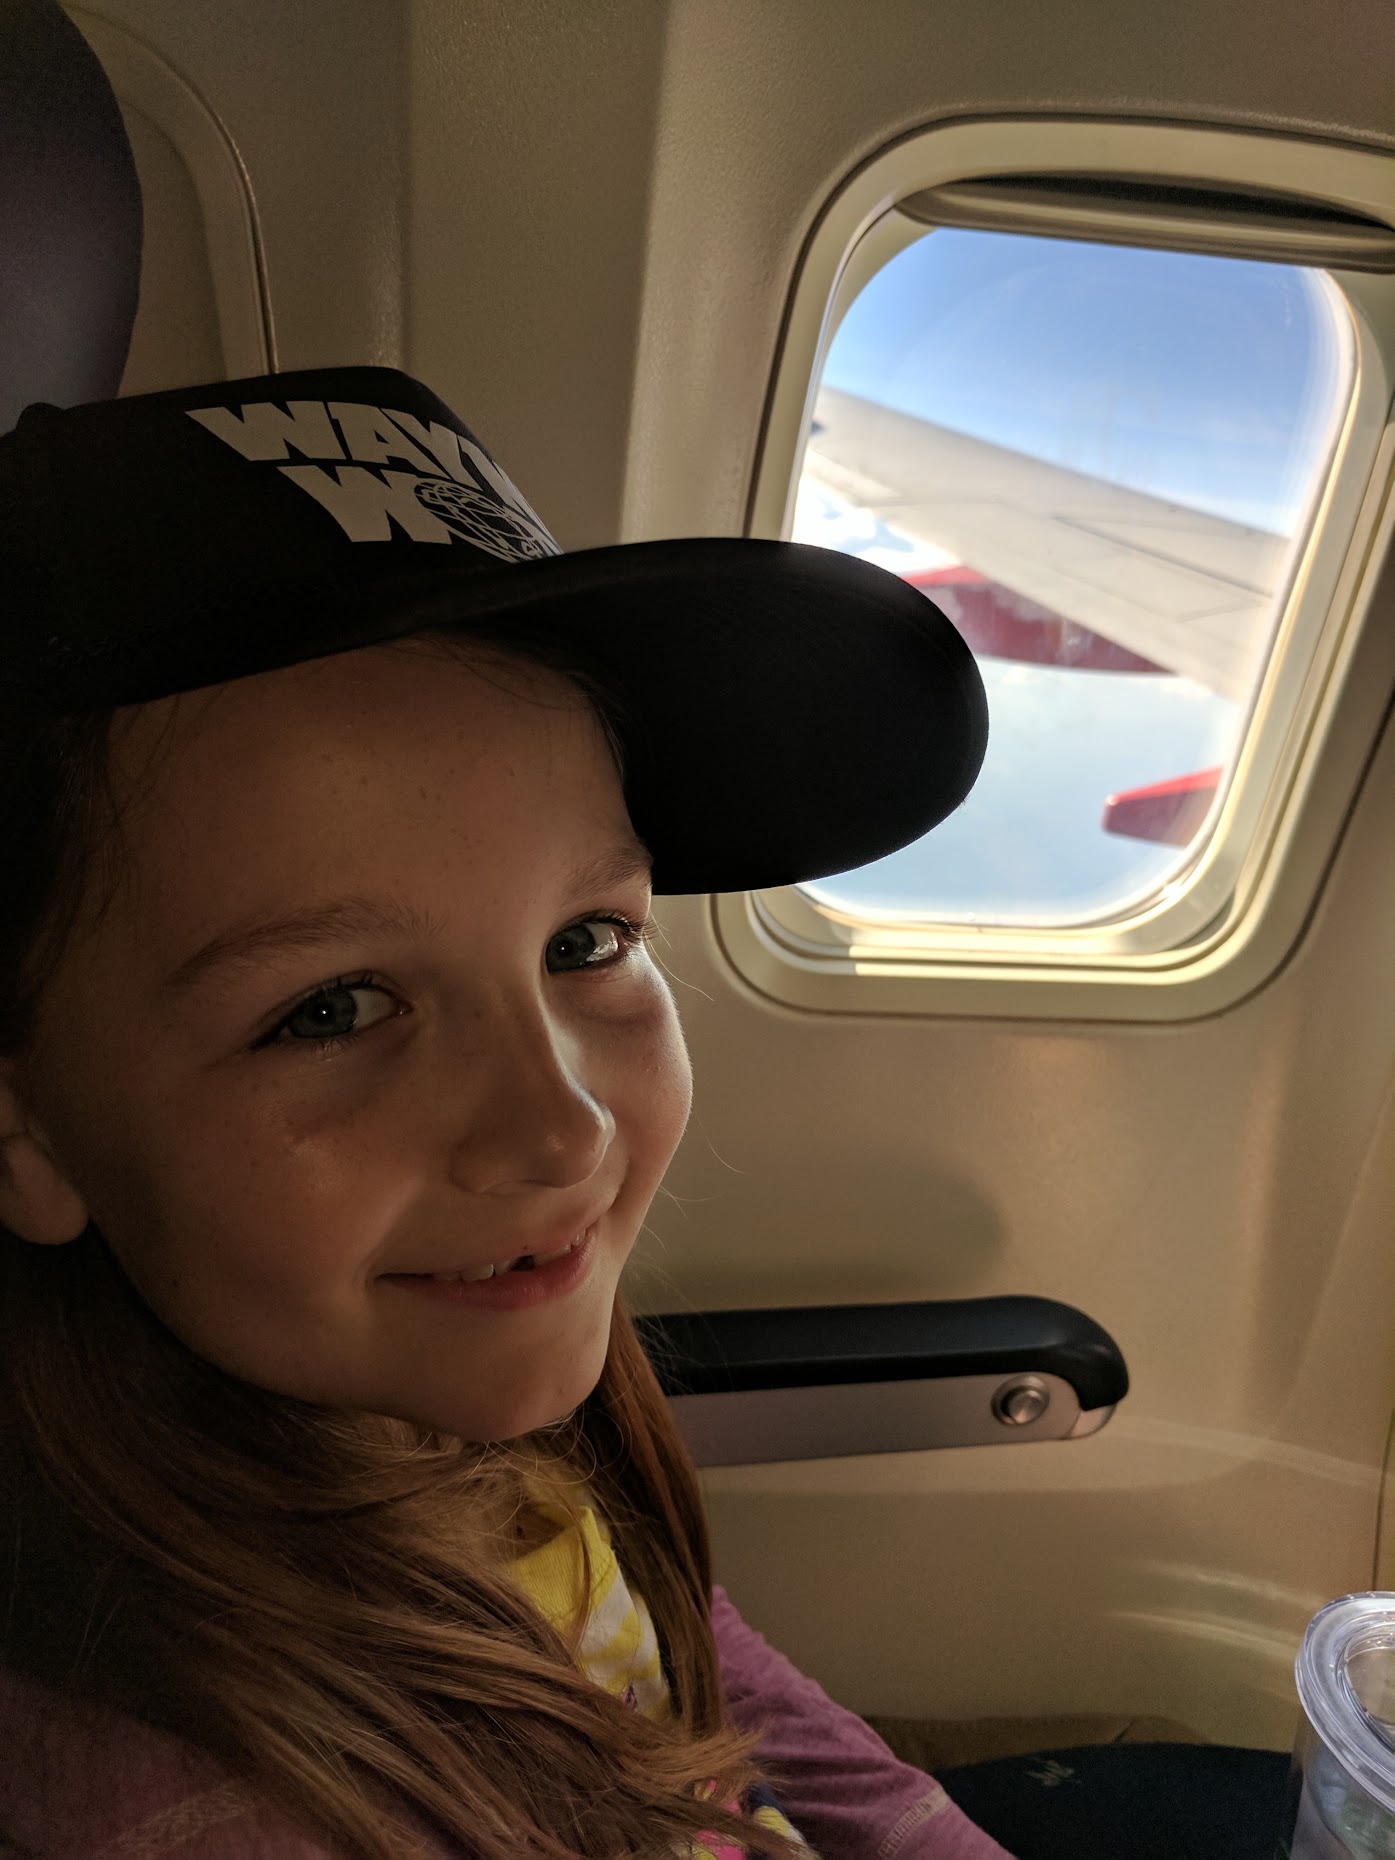
My daughter comes from Oregon.
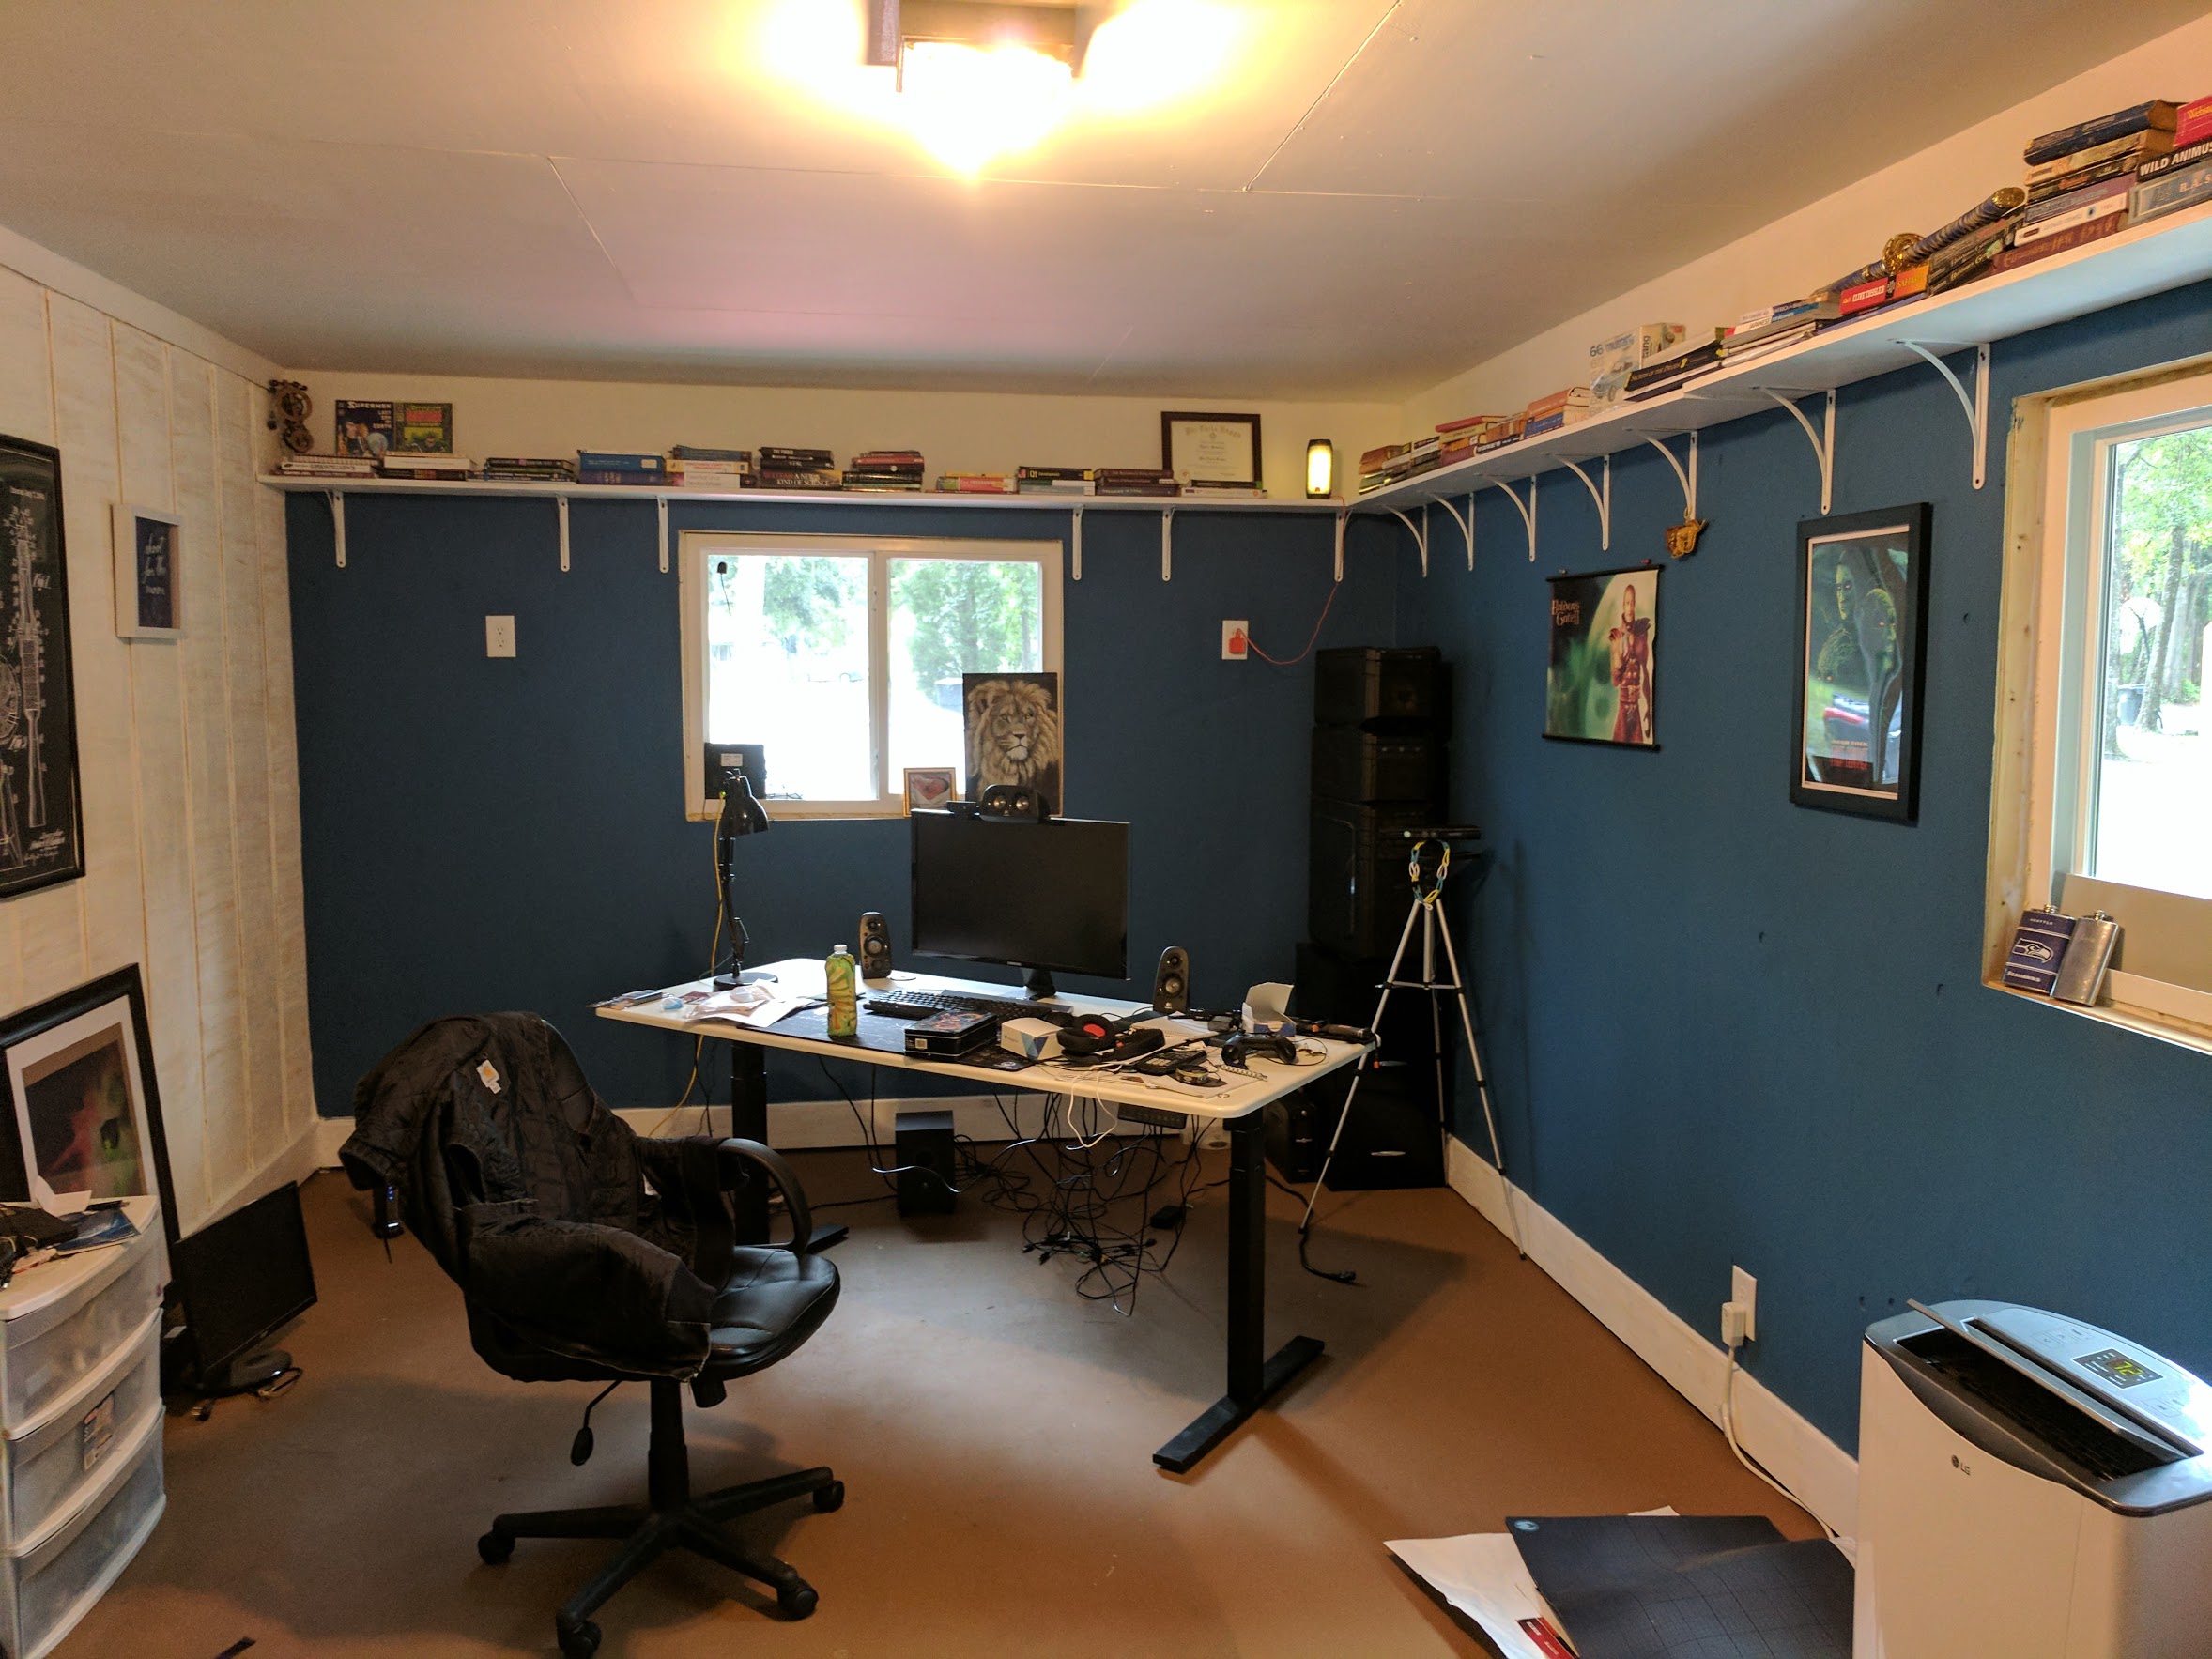
Then I started work on my office.
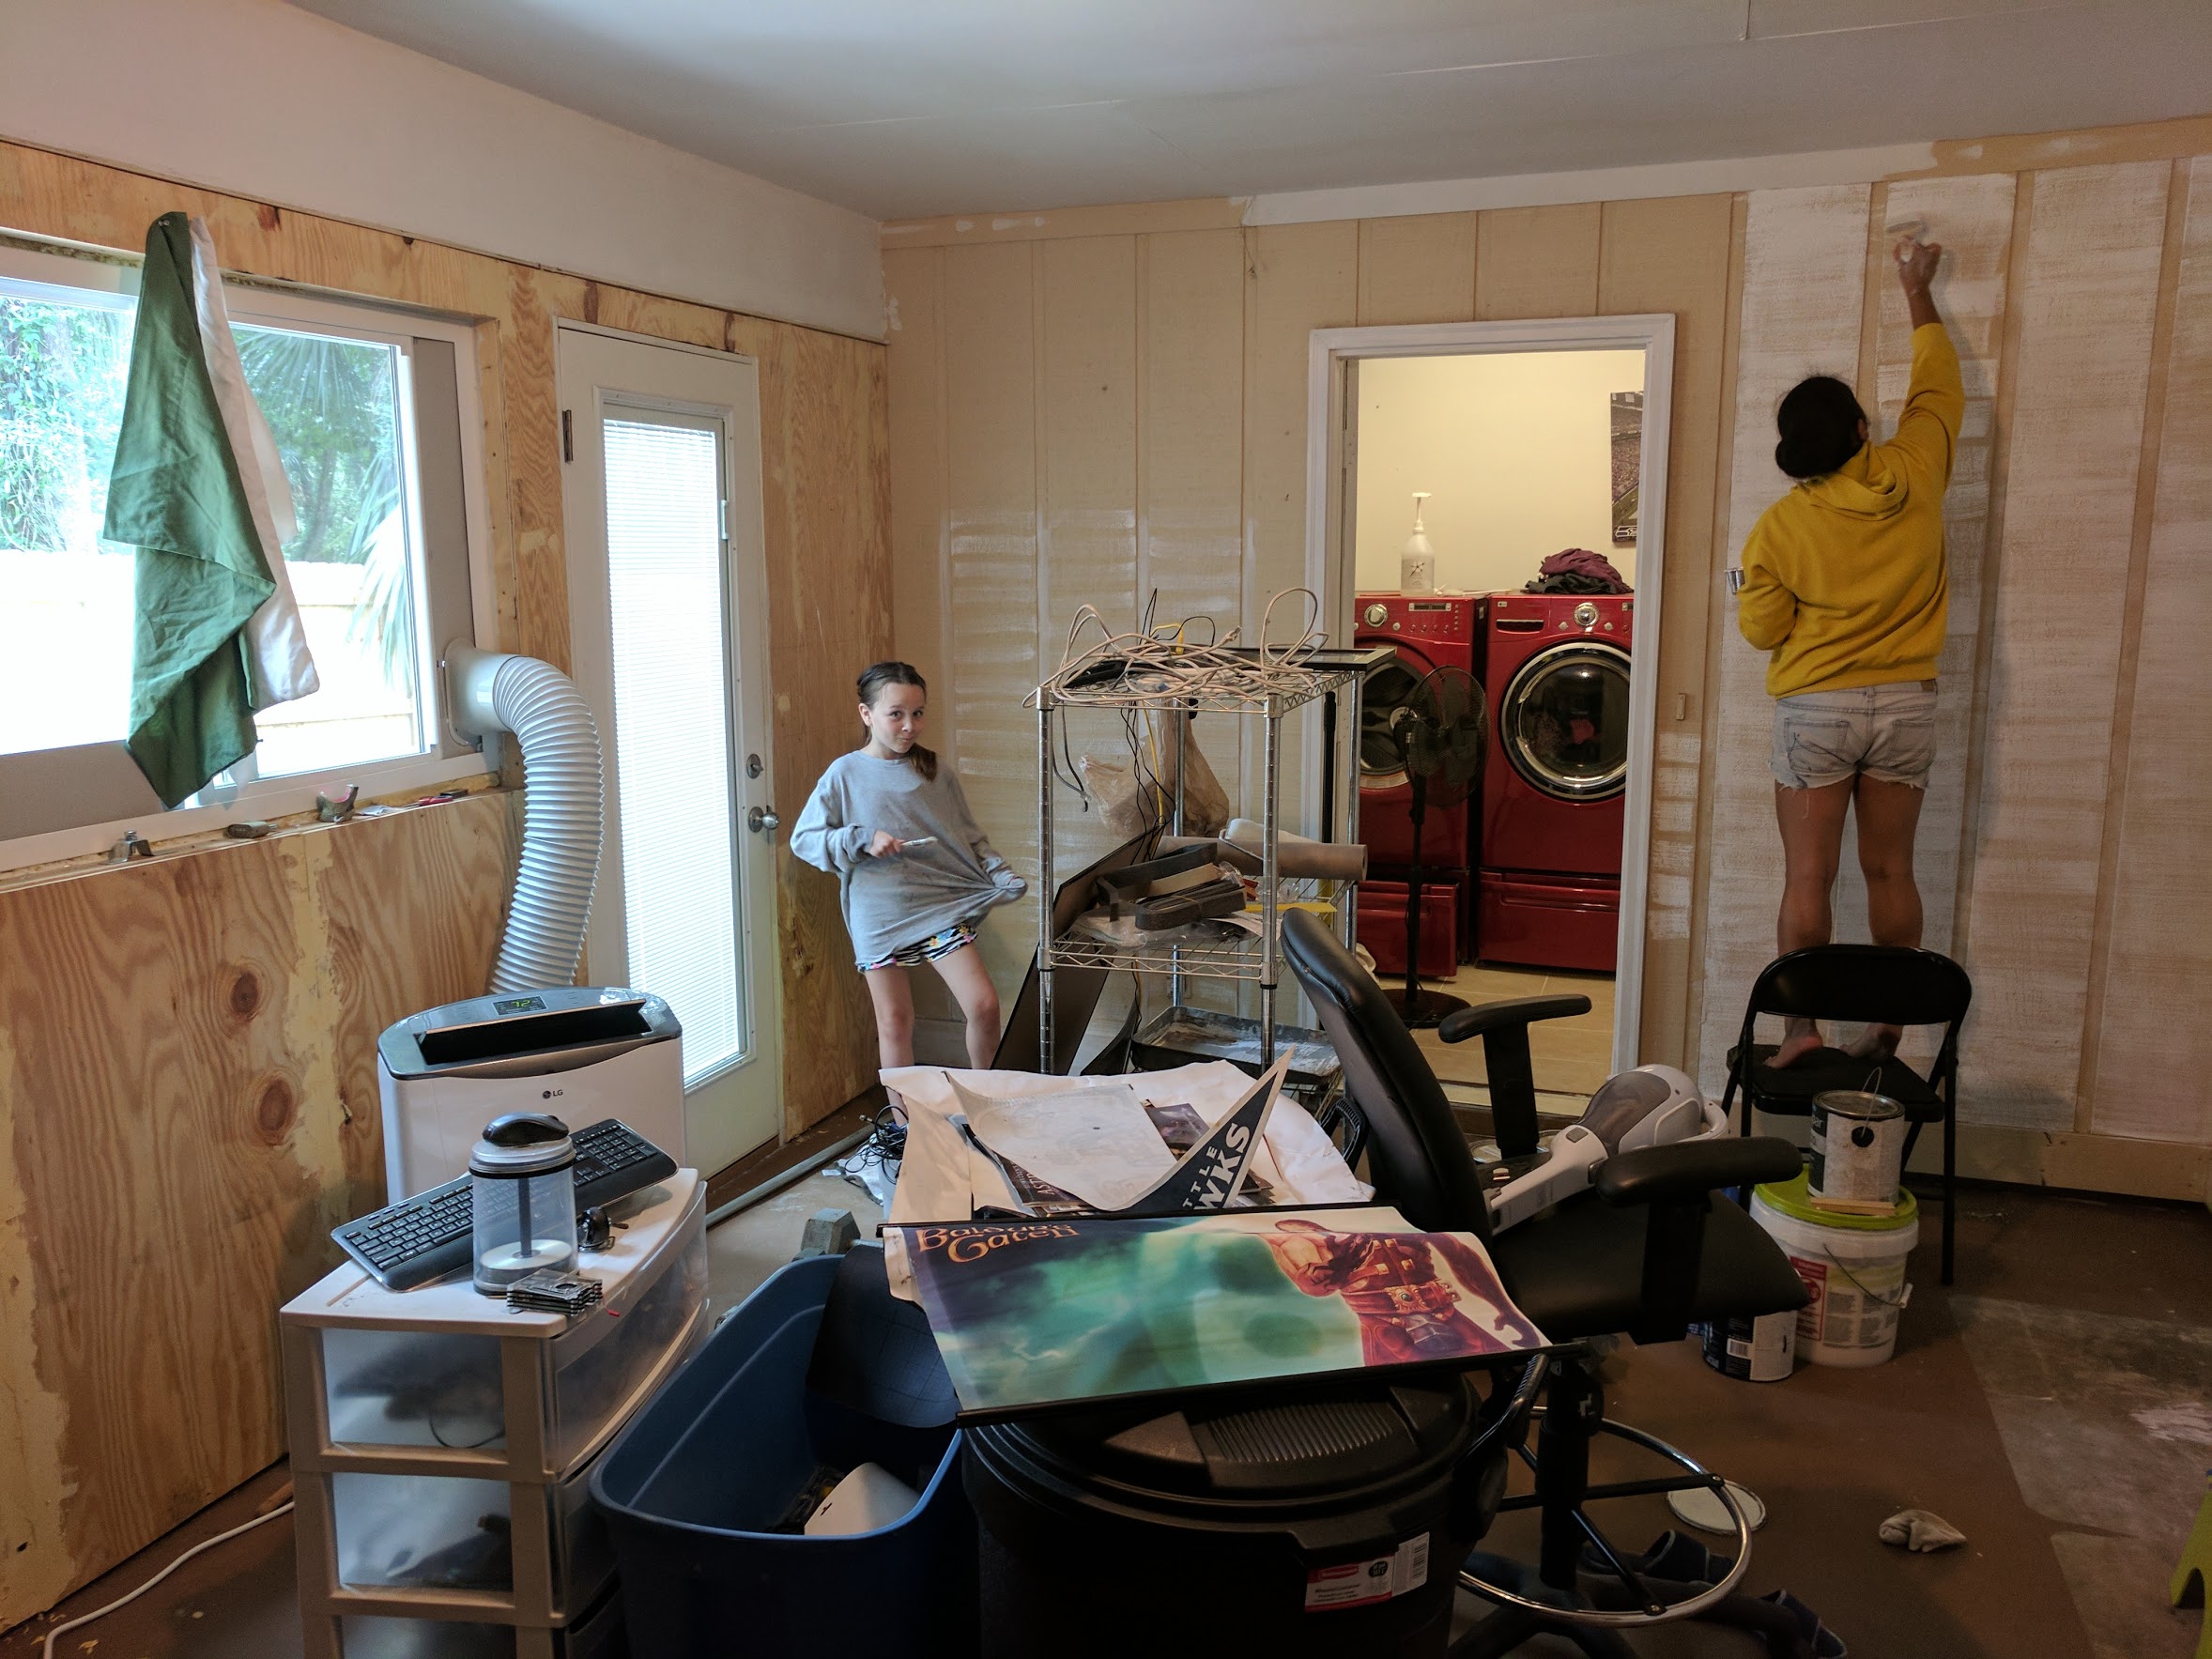
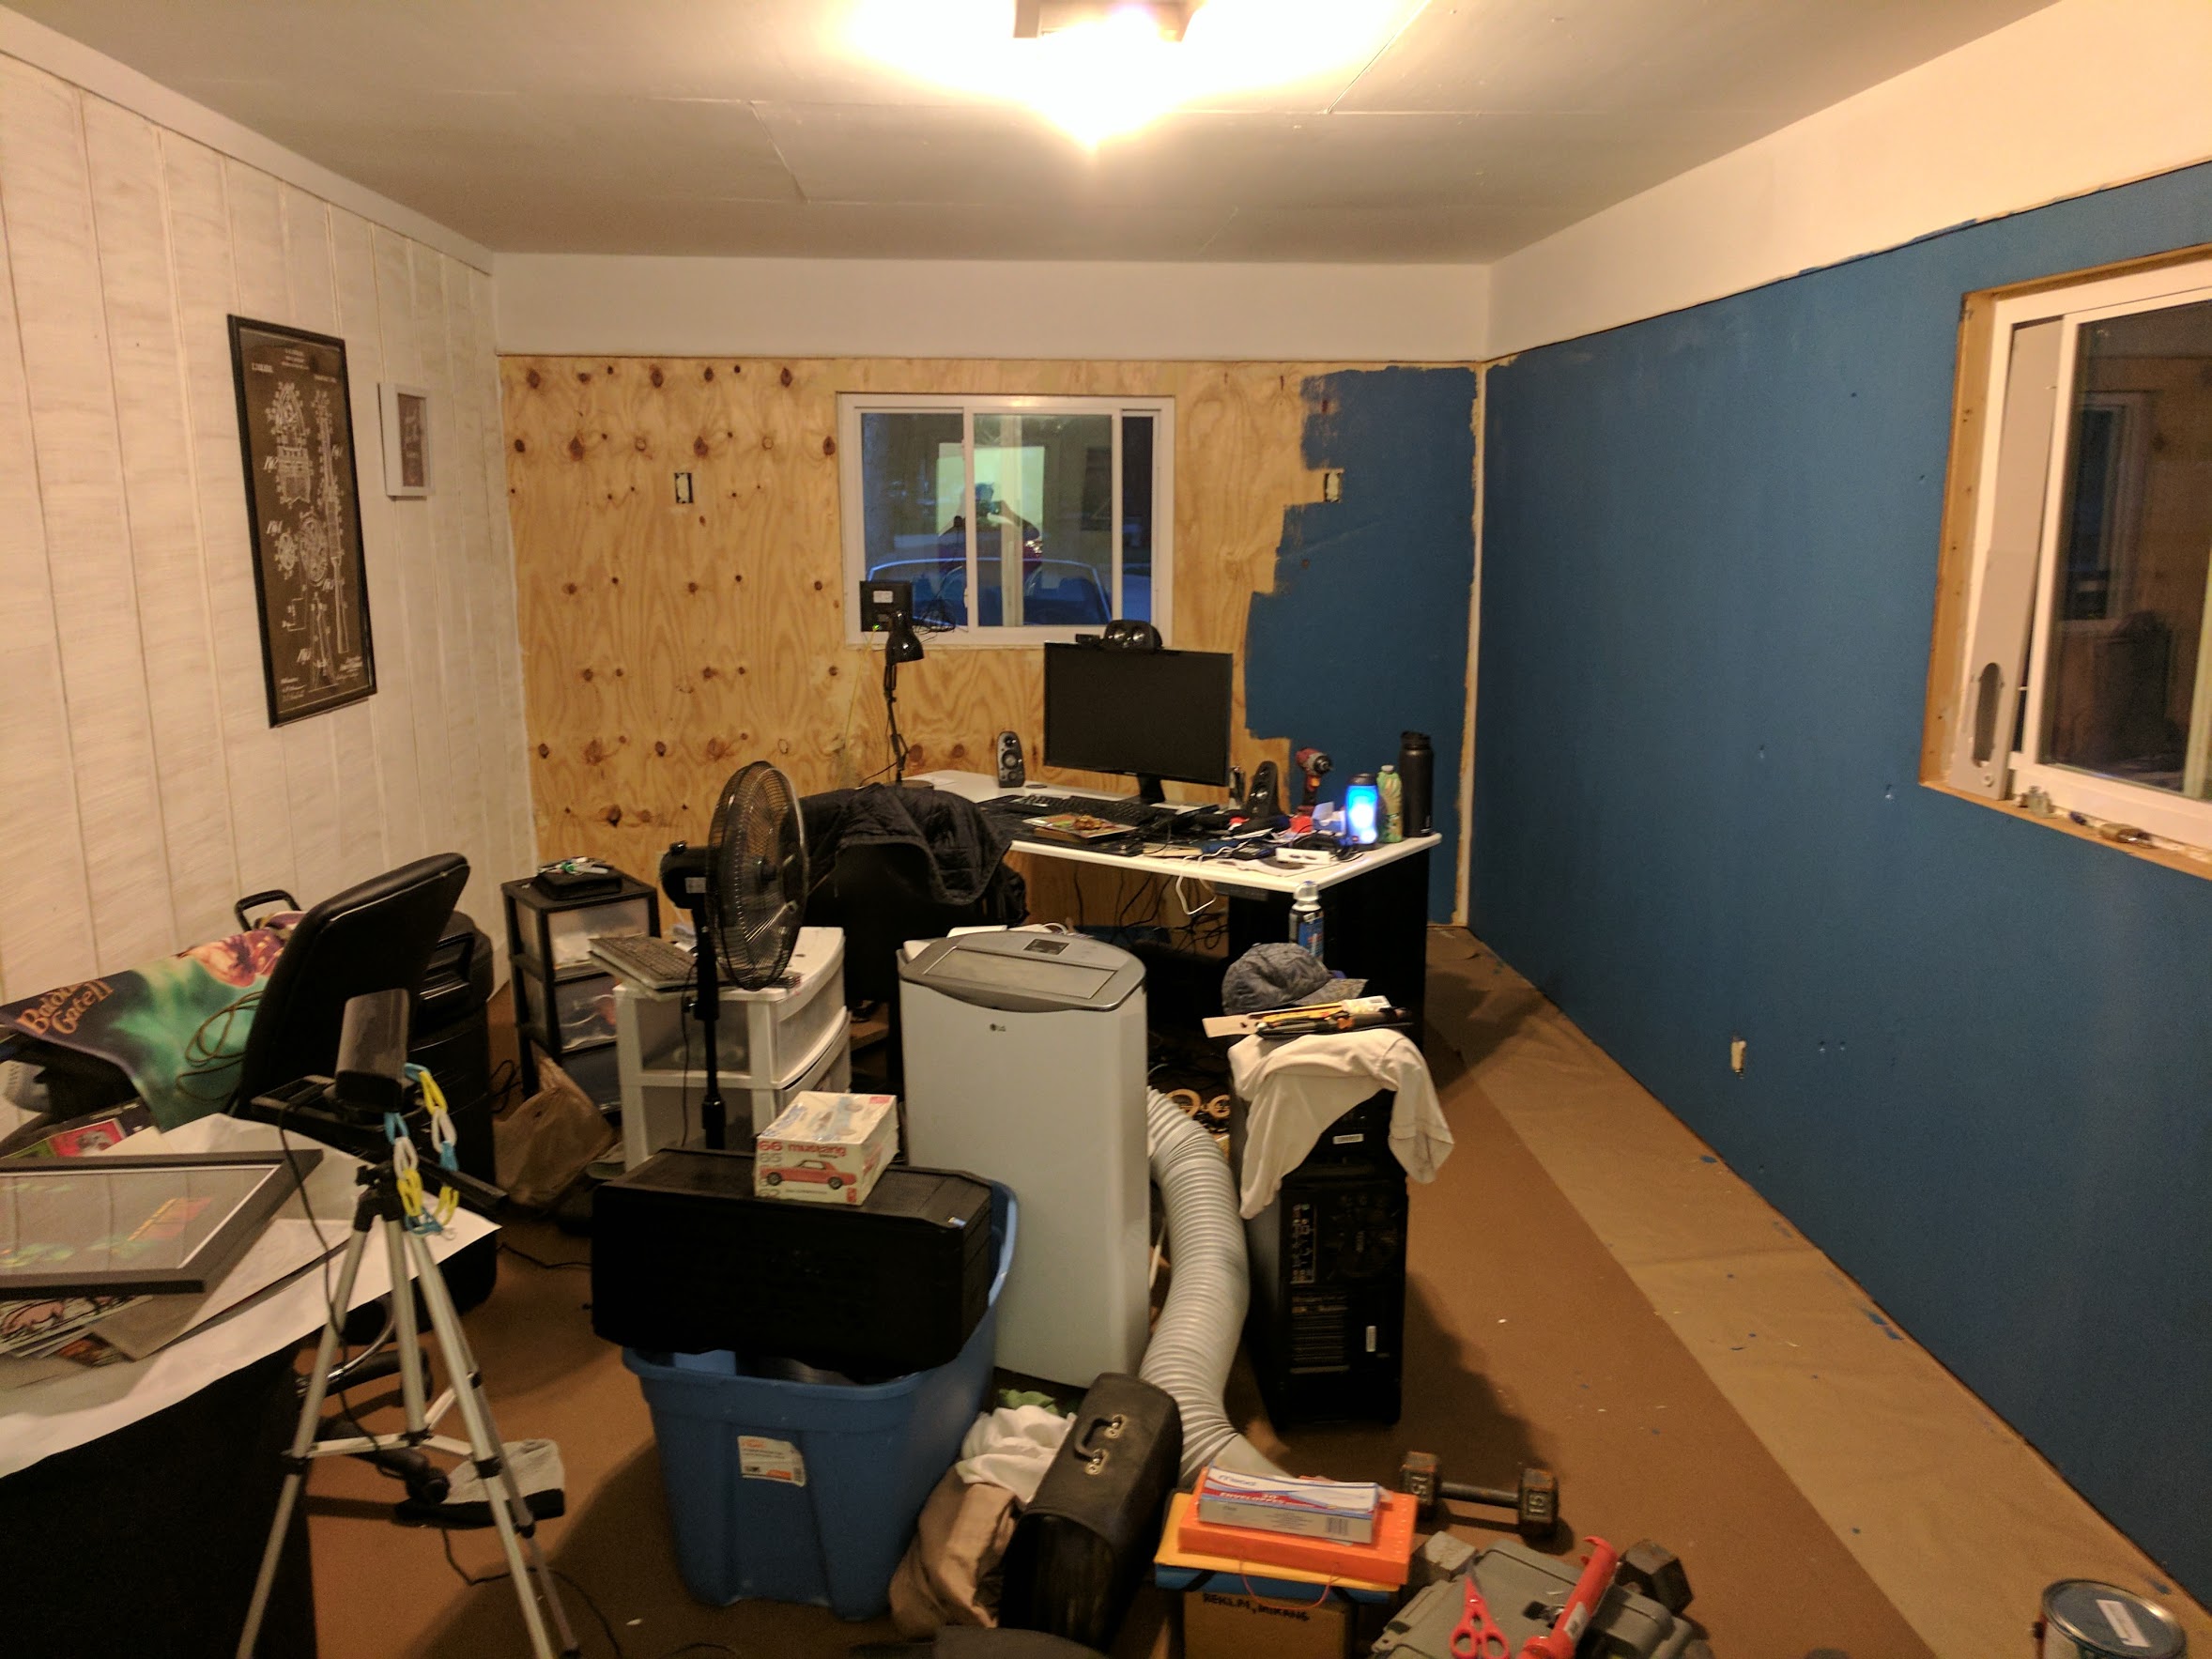
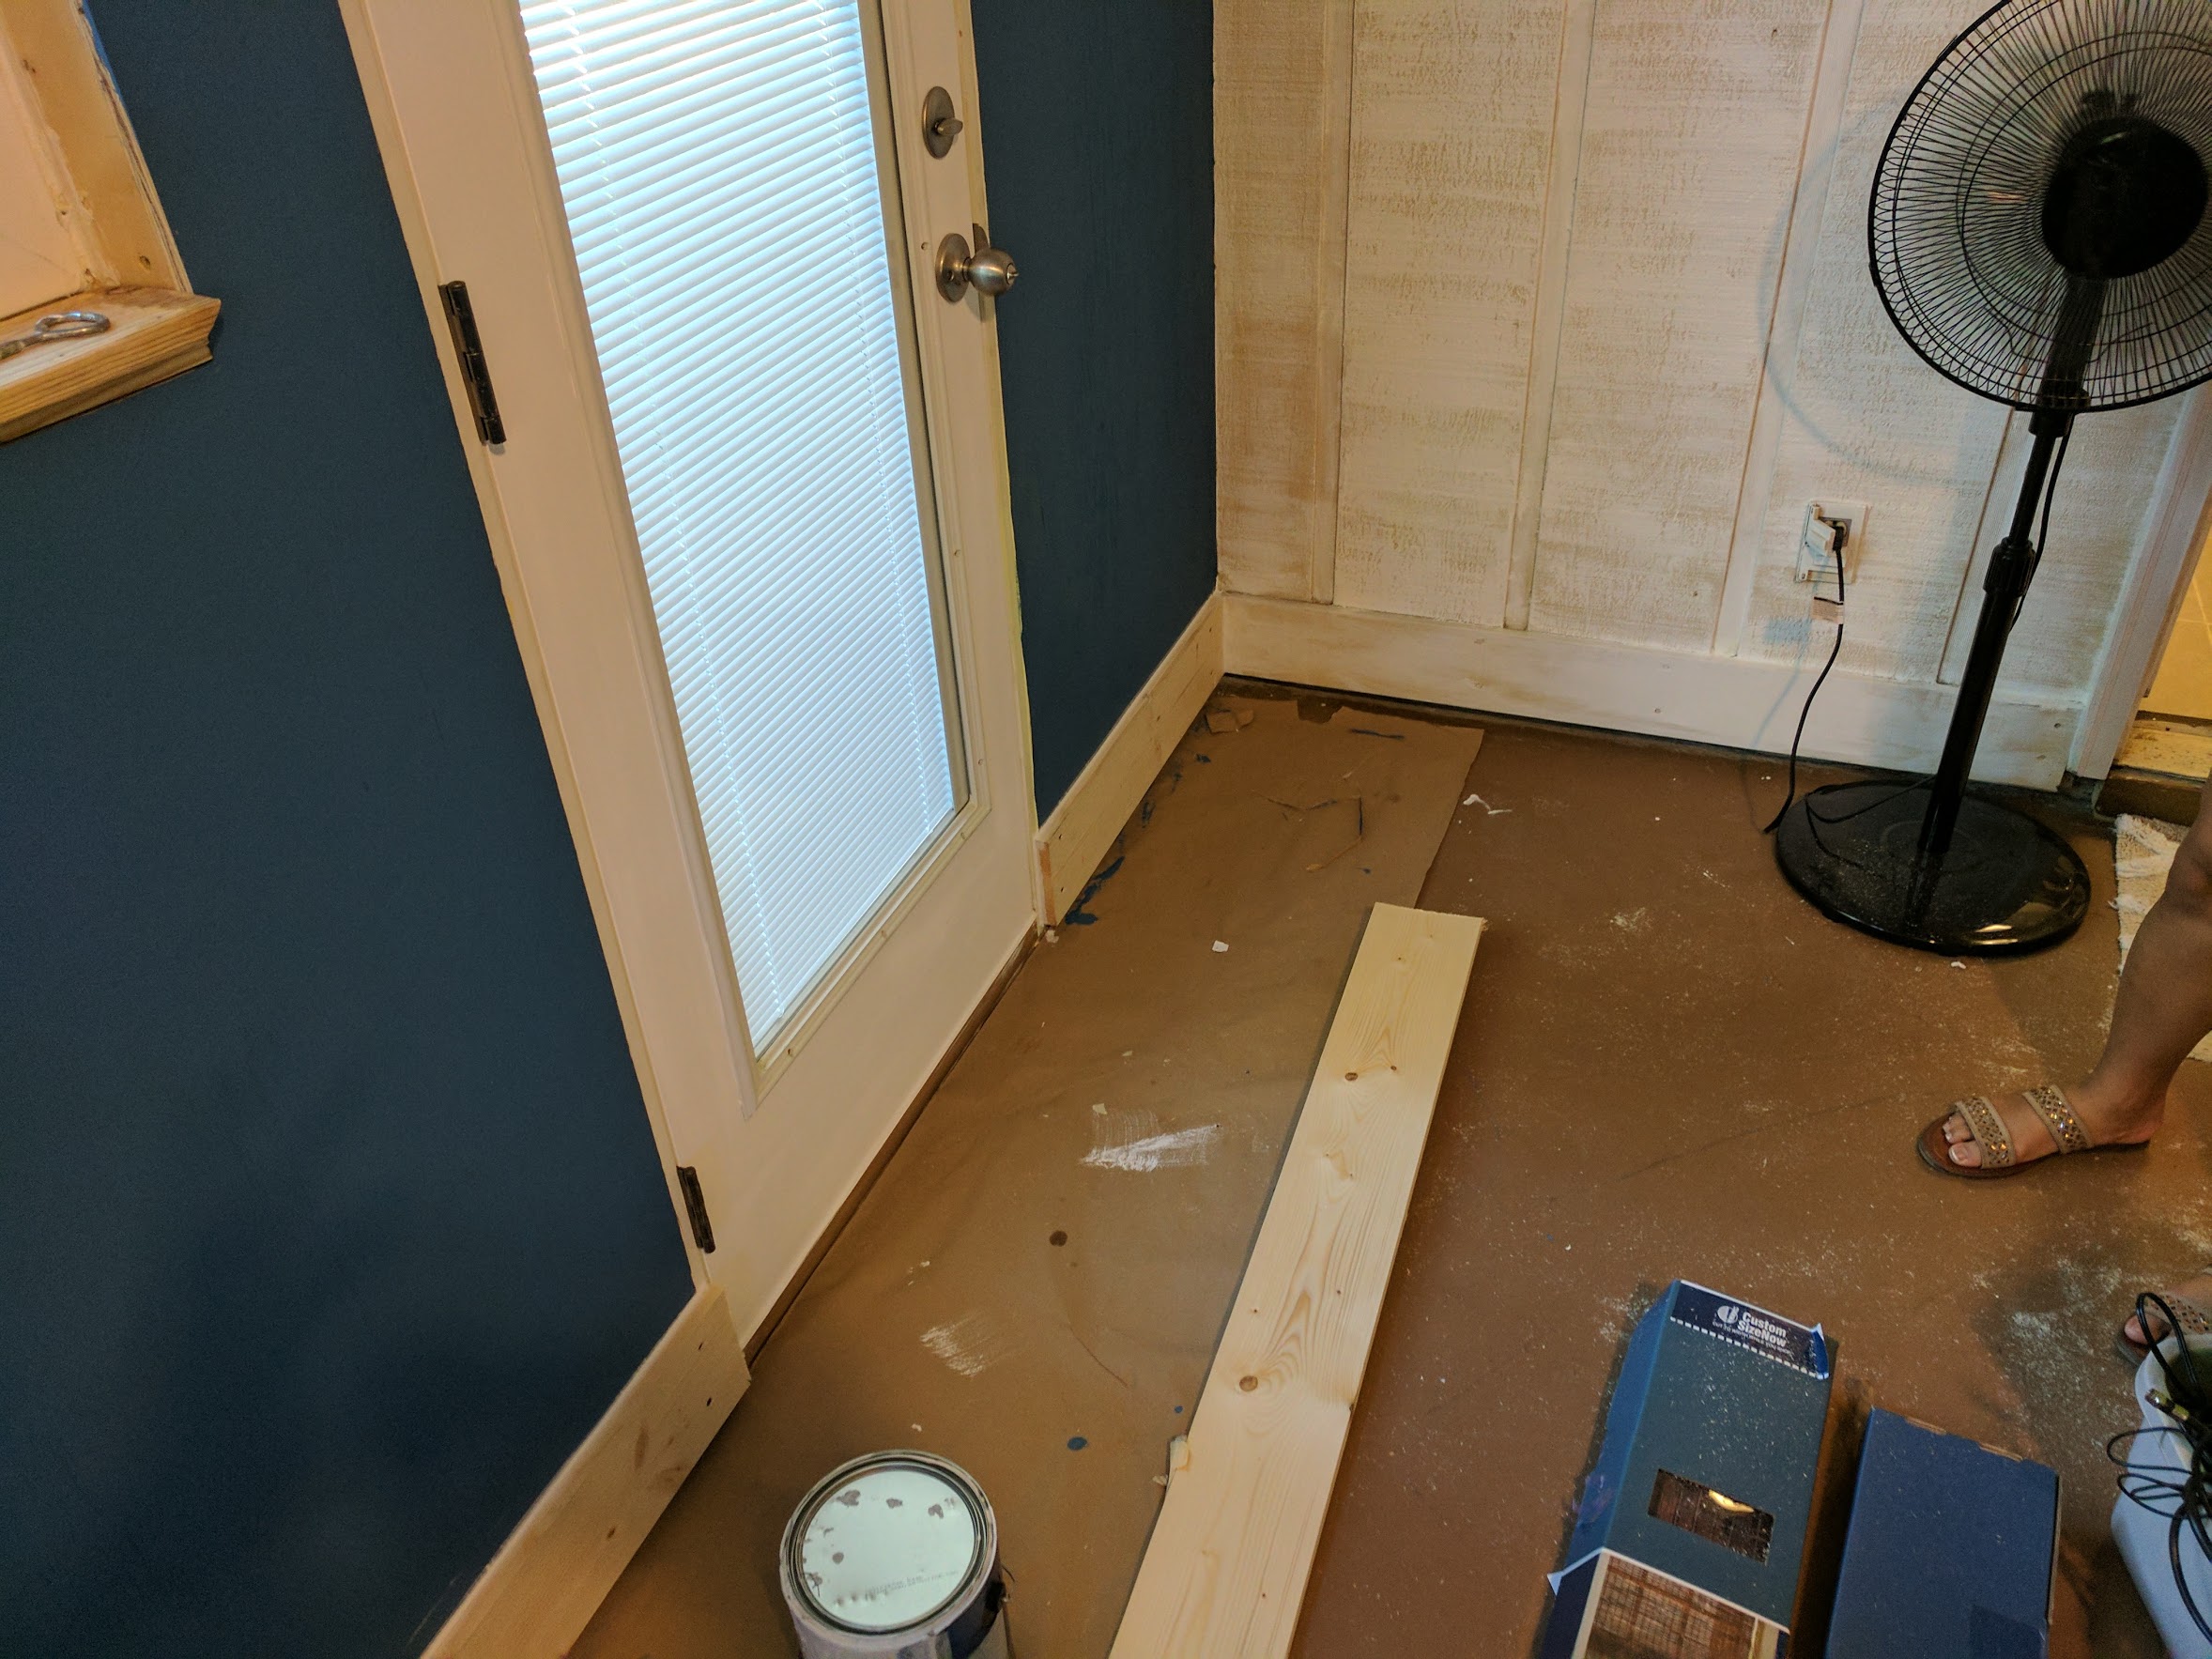
 That is the old computer on a filing cabinet in the top right of the image.
So it was slowly coming together. Now I have a nice place to work and focus on Udacity coursework and also my projects.
Finally, I could go back to work like this.(Yes I know I have too many tabs open. I can't help it. Everything is interesting and I act like I have all the time in the world)
Term 3
This was the final term and from what I heard was the chance to put everything we learned into practice into a real vehicle. I was excited about the opportunity and also excited to work with a team of people. I saw a few article posts and videos from the projects people were doing and it was pretty amazing. I couldn't wait to dig in, but I still had a lot of research to do and other projects going on in the background. The first project was "Path Planning Project".
The Path Planning Project
This project was primarily building on the previous projects from term two, but we used something called Splines. The simplest way I can explain it is you have a bunch of dots that are our way-points on the road. Sometimes the road curves, of course, so we need a mathematical function that can fit that curve and still keep us on the road and match those points. It is actually some what similar to our Advanced Lane Lines project because we are breaking our line into multiple parts. Anyway we break up our fit into segments and then have a nice smooth ride. Another interesting tidbit of information I thought was another eye opener for me was how we were able to transform the common Cartesian(x,y) coordinate plane into a Frenet(s,d) plane. This is extremely useful in this project. This is just another one of those strange things that when you learn about it is a tool you can use for the rest of your life on an array of multi-disciplinary problem sets.
In order to accomplish the task without jerking about I had to make sure the car took the way points given and smoothed them out. A couple methods to do this were suggested, but using a spline was the one I used. Before the way points could be used though I had to define lane information that was important for lane change considerations. I first calculated distances of cars in the lanes around my car and also in front of me. Using a simple boolean flag I triggered the turn event to process as long as a few conditions were met. First I wanted to make sure we were traveling at a good speed, meaning not too slow and not too fast. I made sure our event took place where a lane change was warranted, meaning we were at our max_s distance away from a car ahead of the vehicle which I set to 30 meters. After those conditions were met I made sure we didn't make other changes during the step process and until a lane change has completed as well as being a safe distance away. Also can't forget speeding up to a safe speed as this is meant to be a highway after all. At this point I took reference points of where my car was and plotted a tangential set of points along the longitudinal axis. To do this I made sure when starting, if our vector was too small, to just use some simulated points from our starting position and vehicle yaw after that I could draw on previous points and projected points about 30 meter increments apart. Once the tangent points were created I could feed it into the spline to smooth out our points. Once my spline points were created I broke them up using the same 30 "meters" and using a Euclidean distance formula. At this point I rotated the points back from zero using covariant transformation. Then we just send our generated line off to the simulator and watch the car make it's way around and around. Pretty awesome!
Here is a link to the project - https://github.com/Goddard/path-planning and now the next up is the "Semantic Segmentation".
The Semantic Segmentation Project
This project was one that really interested me. I watch a lot of videos online where people were classifying every pixel in the image/video. This to me seemed very useful and if possible without using too much processing power would be really useful. Here is the project I submitted - https://github.com/Goddard/semantic-segmentation


Here is a graph file for this model.

In this project I am using vgg16 model that is pre-trained and the kitti dataset. I also add fcn8 network demonstrated in the paper Fully Convolutional Networks For Semantic Segmentation[^5^]{#dW2M8ZLz9uii6O2WsPvlU .abt-citation .noselect .mceNonEditable data-reflist="["3351546809"]" data-footnote="undefined"}. This model gets so many more nodes and edges when it is frozen and cut down into 8 bit. Look at the github project source for more details.
This piece wasn't a required portion of the project, but I wanted to see performance of the method we were using on a real live video. Obviously the technique doesn't really perform well enough for my liking. It ran very slowly and as you can see did somewhat classify the road correctly, but made a lot of false positives. I am looking forward to going over this technique later on, but the next project up is "Functional Safety of a Lane Assistance System".
The Functional Safety Project
This project was something I briefly started, but it wasn't a required project. I didn't finish it during the course, but went over it afterwards. I must say, this kind of stuff is required by governmental regulators. I do think the tools I got to get a glimpse at were interesting. It is a great example of how to bring some project from the shed or garage and into the corporate and governmental world. I would of liked to do this project as well, but I didn't have enough time, so that brings us to the last project of term three. The project is called "System Integration".
The System Integration Project
This project was by far the most complicated. It required a team of developers, documenters and people providing a bit of social lubricate. I was in the "Course Crashers" group and we had four people in the group. I think our group leader did a great job of mediating work and trying to make sure things were done. The individual projects we broken up were as follows: course path planning, documentation and process outline, classification, and of course organization. We finished all the projects at a decent rate and began fairly early on, but later then some other groups. We had good accuracy in the simulator, and also any where from 80% to 99% accuracy using the ROS bag files that were given in the course work. Then we got to put our code on a real self driving car. The name for that vehicle is Carla. Why name a vehicle you ask? Or maybe you say What is in a name? Well personally I think it is pretty important!
Sensors
The make up of most self-driving cars starts with an array of sensors. The most common sensors are GPS, LiDar, Inertial measurement unit(IMU), Ultra Sonic, and Radar. This is usually categorized as the sensor sub-system. The next sub-system is the perception sub-system.
Perception / Localization
This category obviously uses its sensors to perceive the world. Perception of the world can be done with many sensors, but mostly used are cameras, Lidar, and radar. Another key component to the localization portion of this is map data which of course uses a GPS sensor.
Planning
Inside this category is another grouping of sub-categories. They are route planning, prediction, behavioral planning, and trajectory planning. The route planning portion is most similar to what smart phones have as their routing planning in a map application. The prediction piece would make estimations on what actions other objects in the world would likely take. Behavioral planning is charged with figuring out what the vehicle itself should do, like stopping at a stop light for example. Lastly, the trajectory category takes in sensor data to figure out which path is best given the earlier flow of control. Talking about control that is our next sub-system.
Control
In this sub-system it is actually easy to visualize given the fact that previous projects in this article are in fact apart of this. For instance, the PID or MPC controller. This controls the thrust, braking, and steering.
Operating System
The next important piece in this puzzle is the underlying operating system that runs on hardware and uses sensors. The one I used in this project is Robot Operating System, or ROS for short. ROS isn't a traditional operating system like say for instance Linux. It actually operates on top of Linux. It helps control hardware and also has a specific and well defined communication protocol. It also has a build and package management system, very similar to a Linux distribution such as Kubuntu. Another thing that makes ROS nice is it also comes with tools to visualize, store, and simulate. The last thing I would say makes it a strong candidate for any project is the fact it is an existing robotics community to pull support and knowledge from. ROS also has its own break down of categories similar to the ones described above. Now that I have described ROS I will break down how it works in greater detail.
ROS
In ROS everything is controlled with ROS Master. Each unix sub-process is a node. Each node can be dedicated to each sensor, or a specific task such as estimating the position, behavior execution, or motor control. ROS Master maintains a registry of all the nodes and allows other nodes to communicate with each other. ROS Master also has a database of parameters called the Parameter Server. This is an important architectural decision and I think really saves resources as you can store one variable and use it in multiple locations. If you have any experience in programming multi-threaded applications this makes it easier to deal with. Personally I use a framework called Qt which is a C++ frame work and it uses something called signals and slots. I think I like the parameters server idea better, but this might not be required for all projects. Another way nodes share data is passing a message over what is called a "topic". It is a named bus you can access and list. It works like a client server relationship, but the wording is slightly different. The client "subscribes" and the server "publishes". Any node though can publish and subscribe to many "topics". Now lets get to the types of messages that are passed. ROS has pre-defined message types. Those types are quantities, sensor readings, and many more. I won't list them all, but it is over 200. You can also create your own. For example, say you want to pass a standard definition library string, you would stick to naming convention and call it std_msgs/String, so as a template it is package/name where package is the library and name is the class. Now lets discuss a new type of communication protocol between nodes. That is called ROS Services. A service operates like a client/server, but has an additional requirement of response added. I should also note that services do not have "subscribers" and "publishers". The vernacular used here is "request" and "response". The request is sent and the response is given.
Here is the architecture of the final project.
All credit for this graph below belongs to Udacity. I didn't make it.
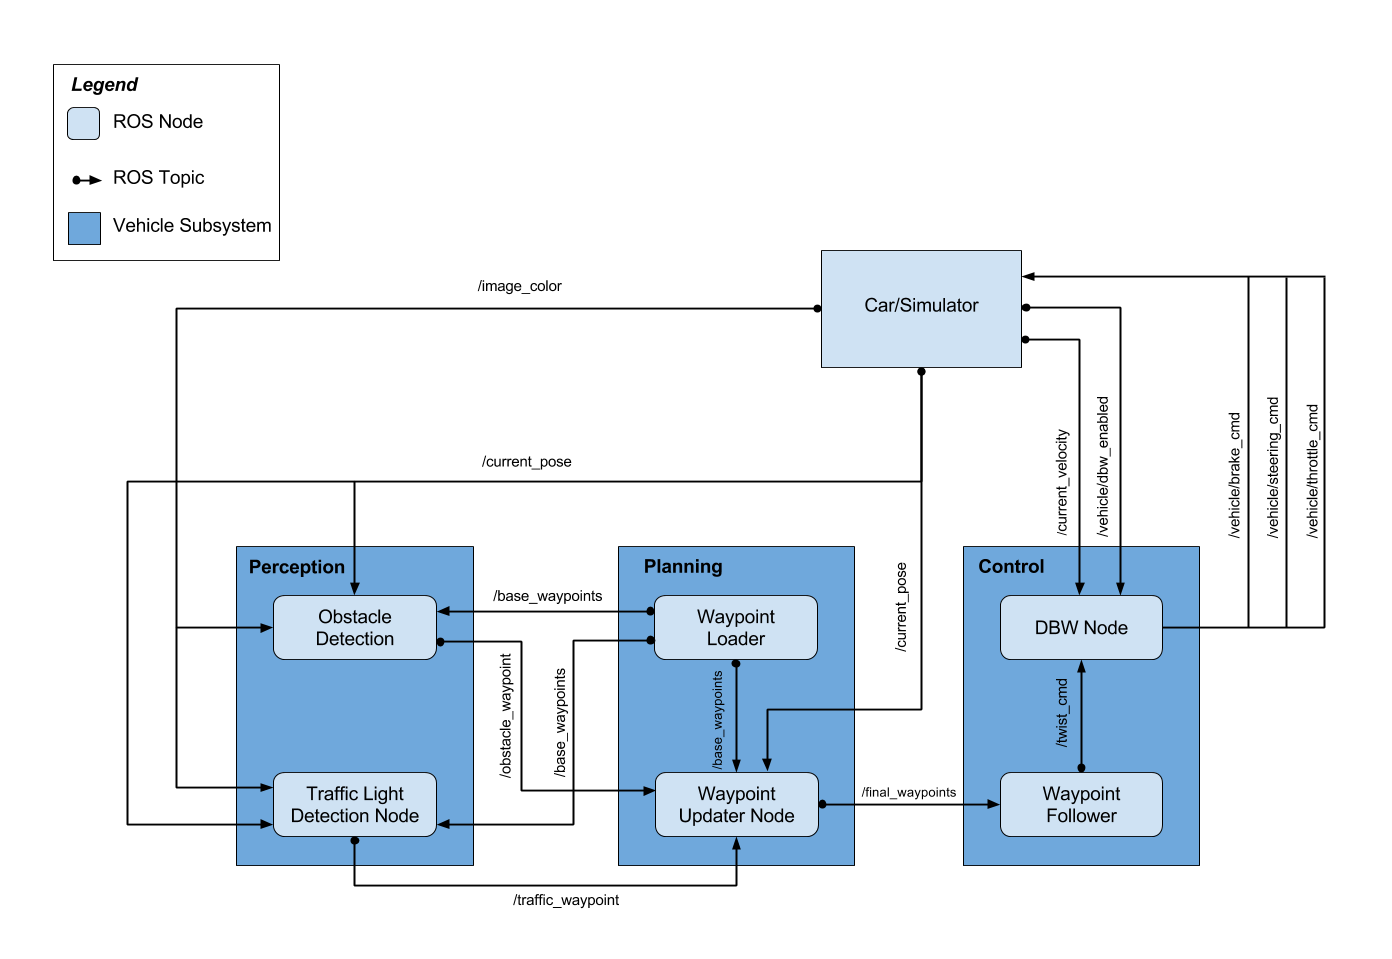
Here is an example of me using ROS along with Tensorflow deep network along with some path planning that is very similar to the examples used before. I think this project below is a great example of having something very reliable and something used in the field by professionals. A fantastic learning experience for anyone interested in robotics and deep learning.
After this project we ran our code on Carla and that was it.
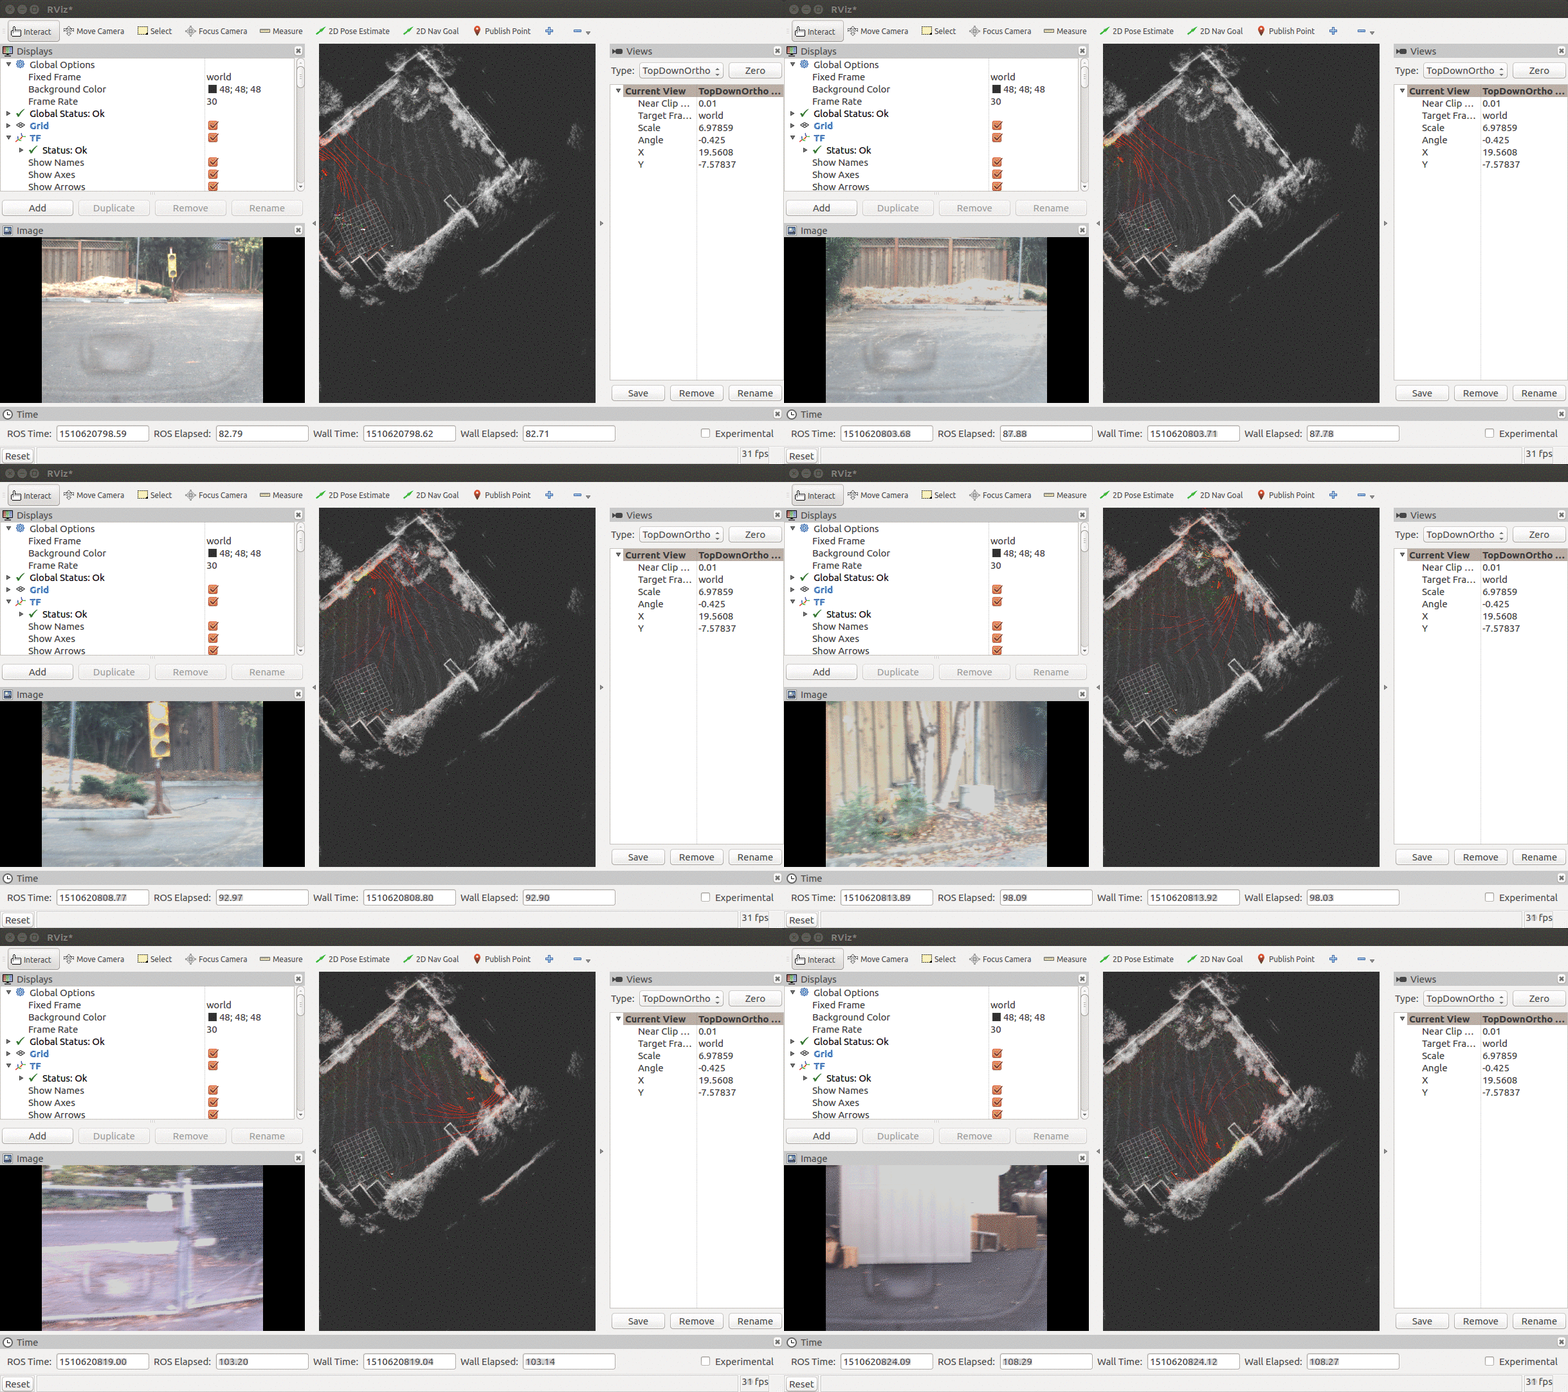
The term was over. I know this is an abrupt ending. I know because it was for me as well. I didn't expect to be done so quickly. Honestly though after writing this article I realize it wasn't that quick. I guess that is just what happens when you are working hard and staying focused on your goals.
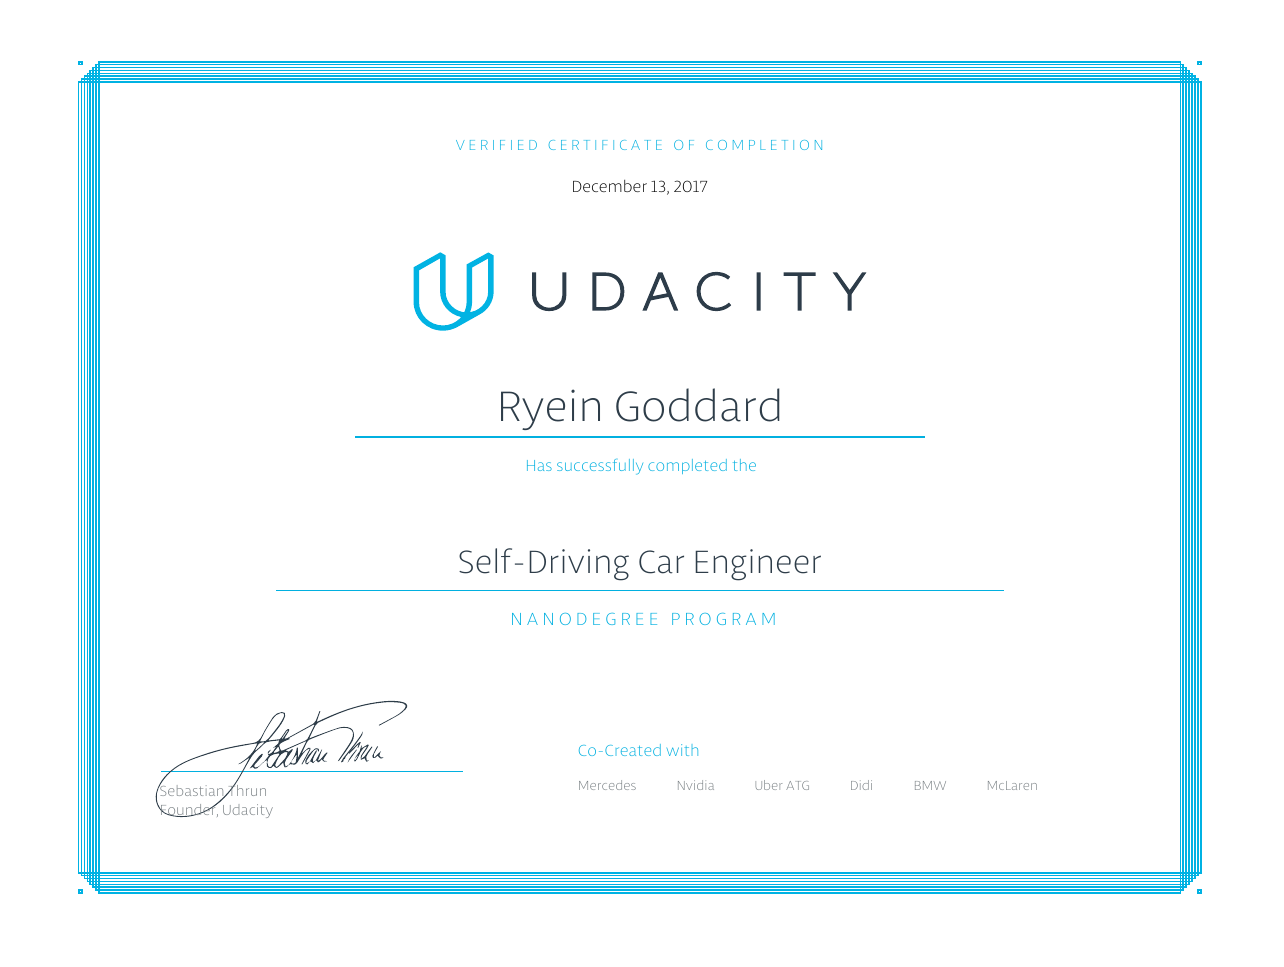
Self Driving Car Engineer Certified!
At this point I was finished with the Udacity course. I am officially certified!
 Don't be sad that the story has ended, remember we still have to talk about the Prismatic Dragon Computer build!
The really fun part, a new build!
So the build turned out pretty good, although it is far from finished. I still need to add many more GPUs, of course for deep learning, and also add some more memory and storage would be nice, but I was budget constrained. I will have to work for the rest of it after I am done with my education investment time.
This was the first custom water cooled computer build. I decided I was going to do this one exactly how I wanted it this time. My previous build worked decently well, but I really wanted to experience building a water cooled system. On top of it being my first custom water loop it, I also used hard line tube so had to bend each tube. Below is a few snap shots of the system along with a couple videos of the process.
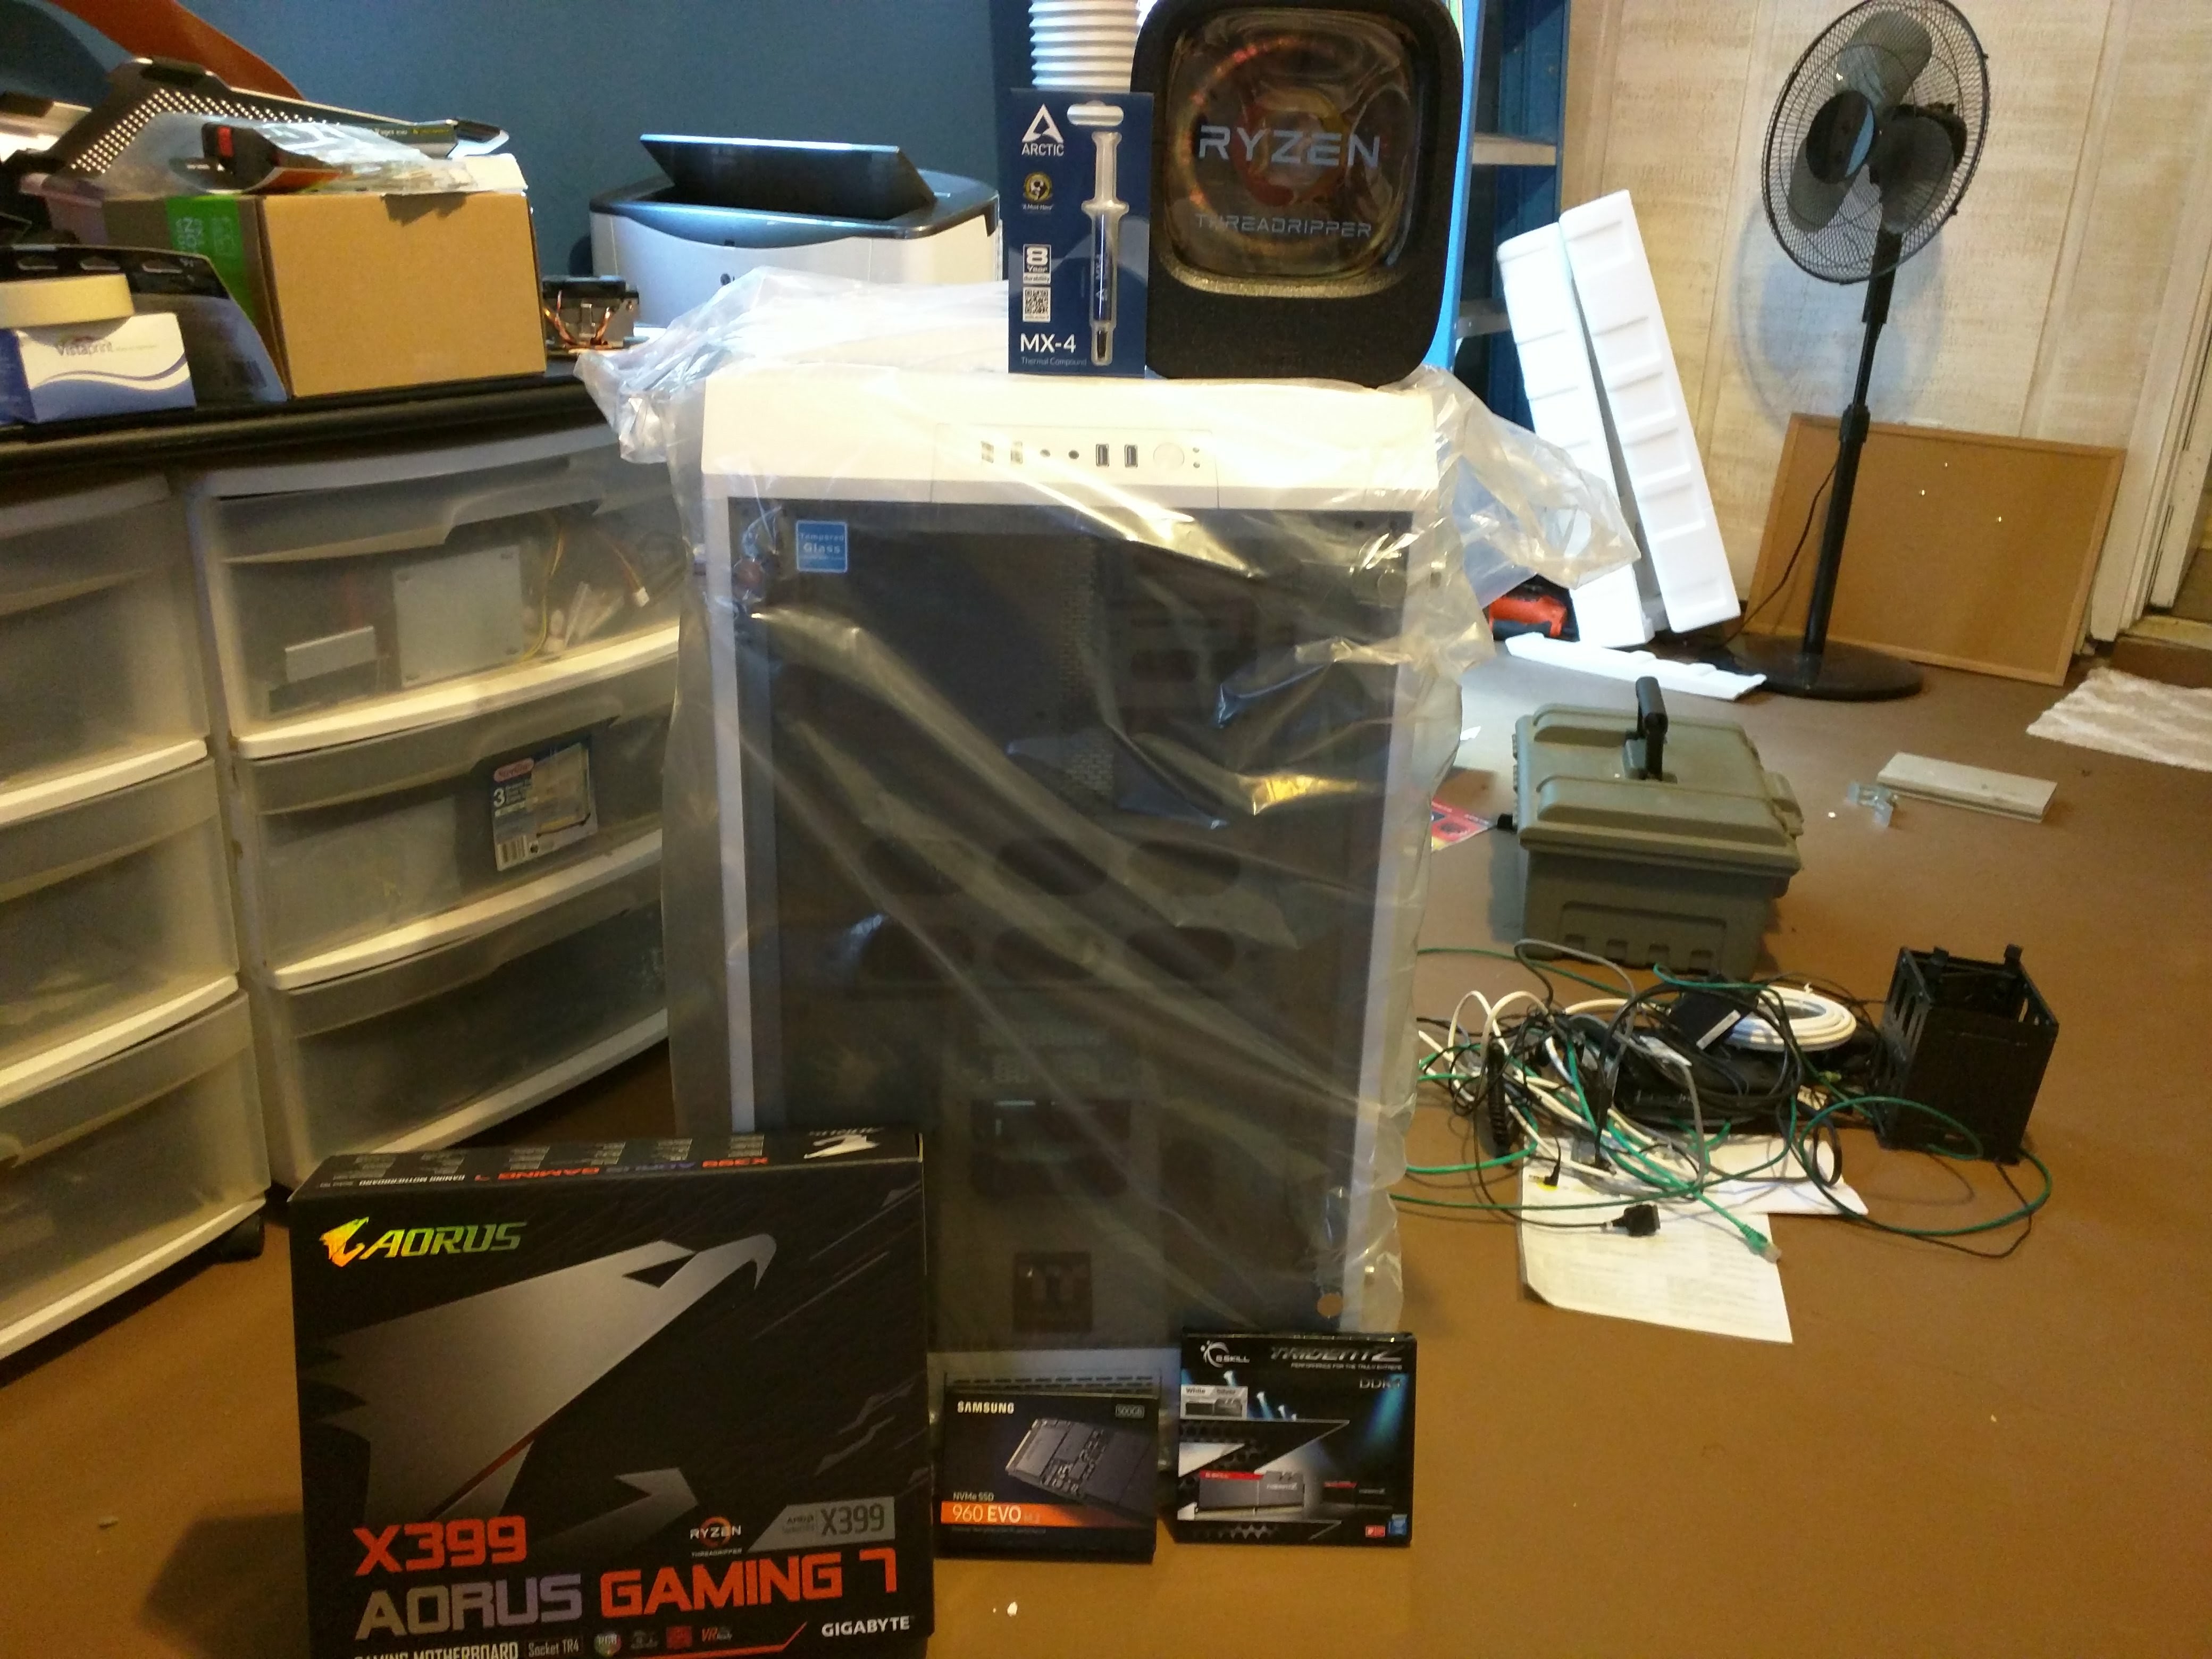
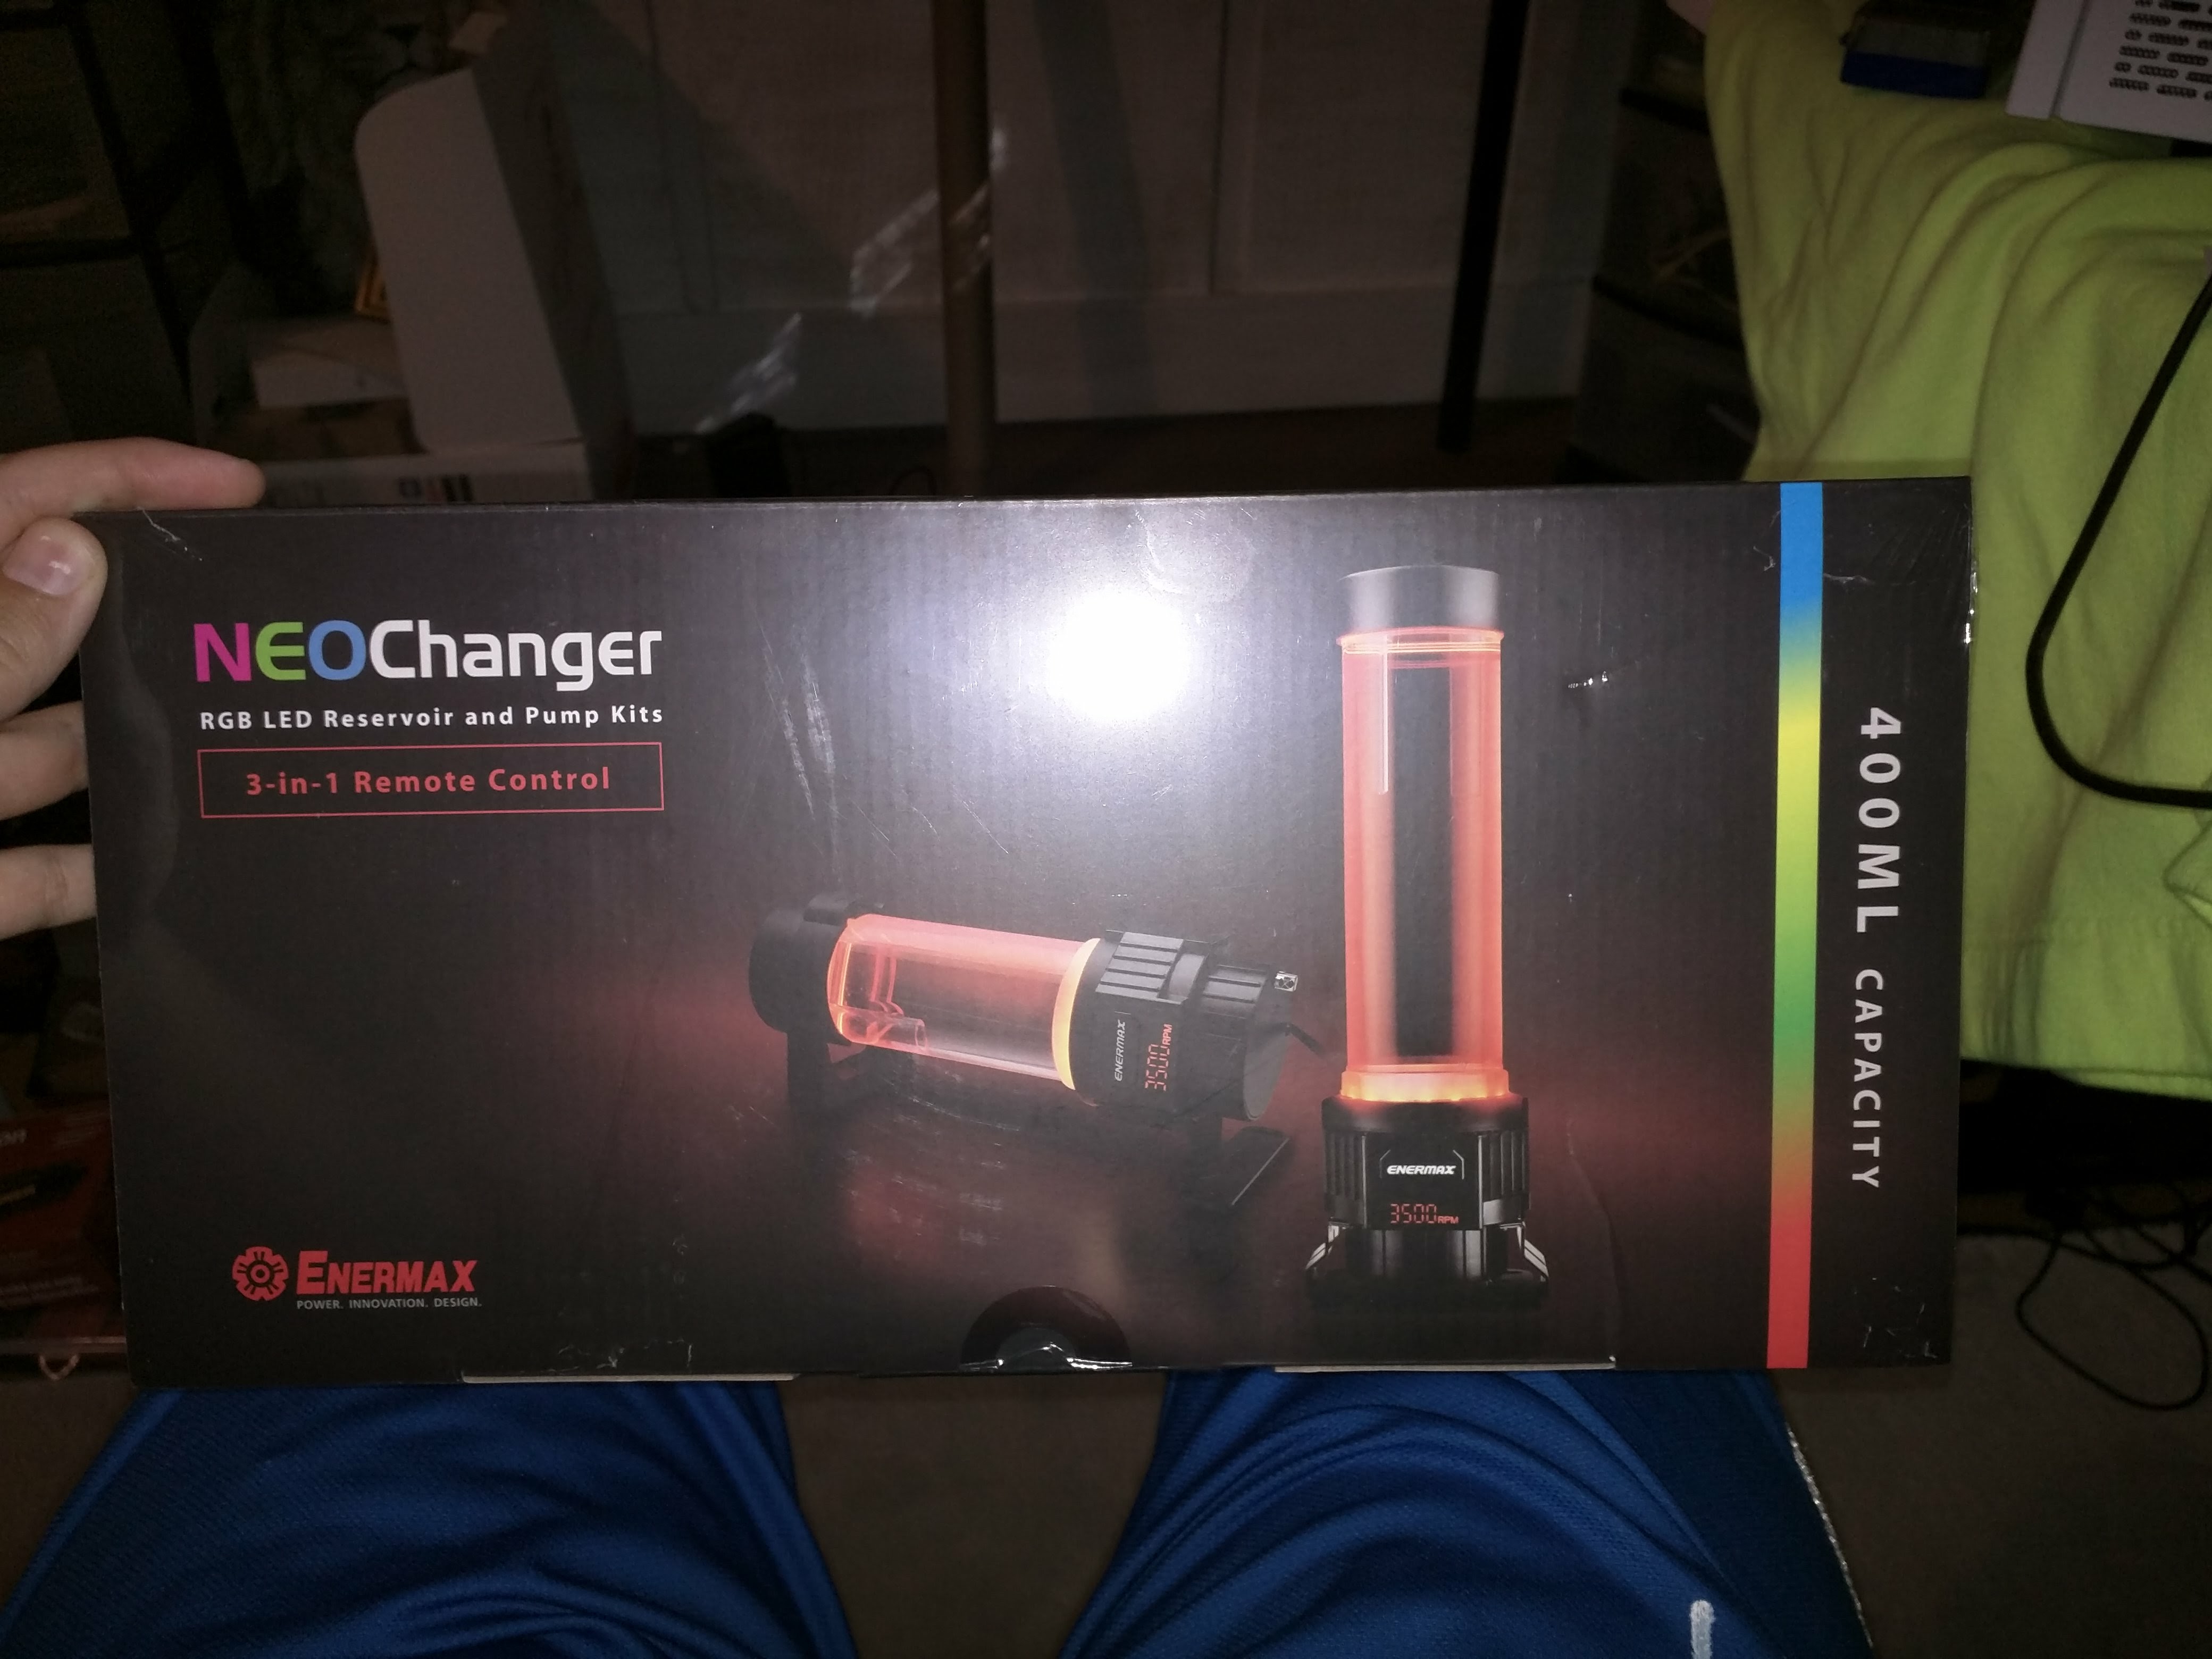
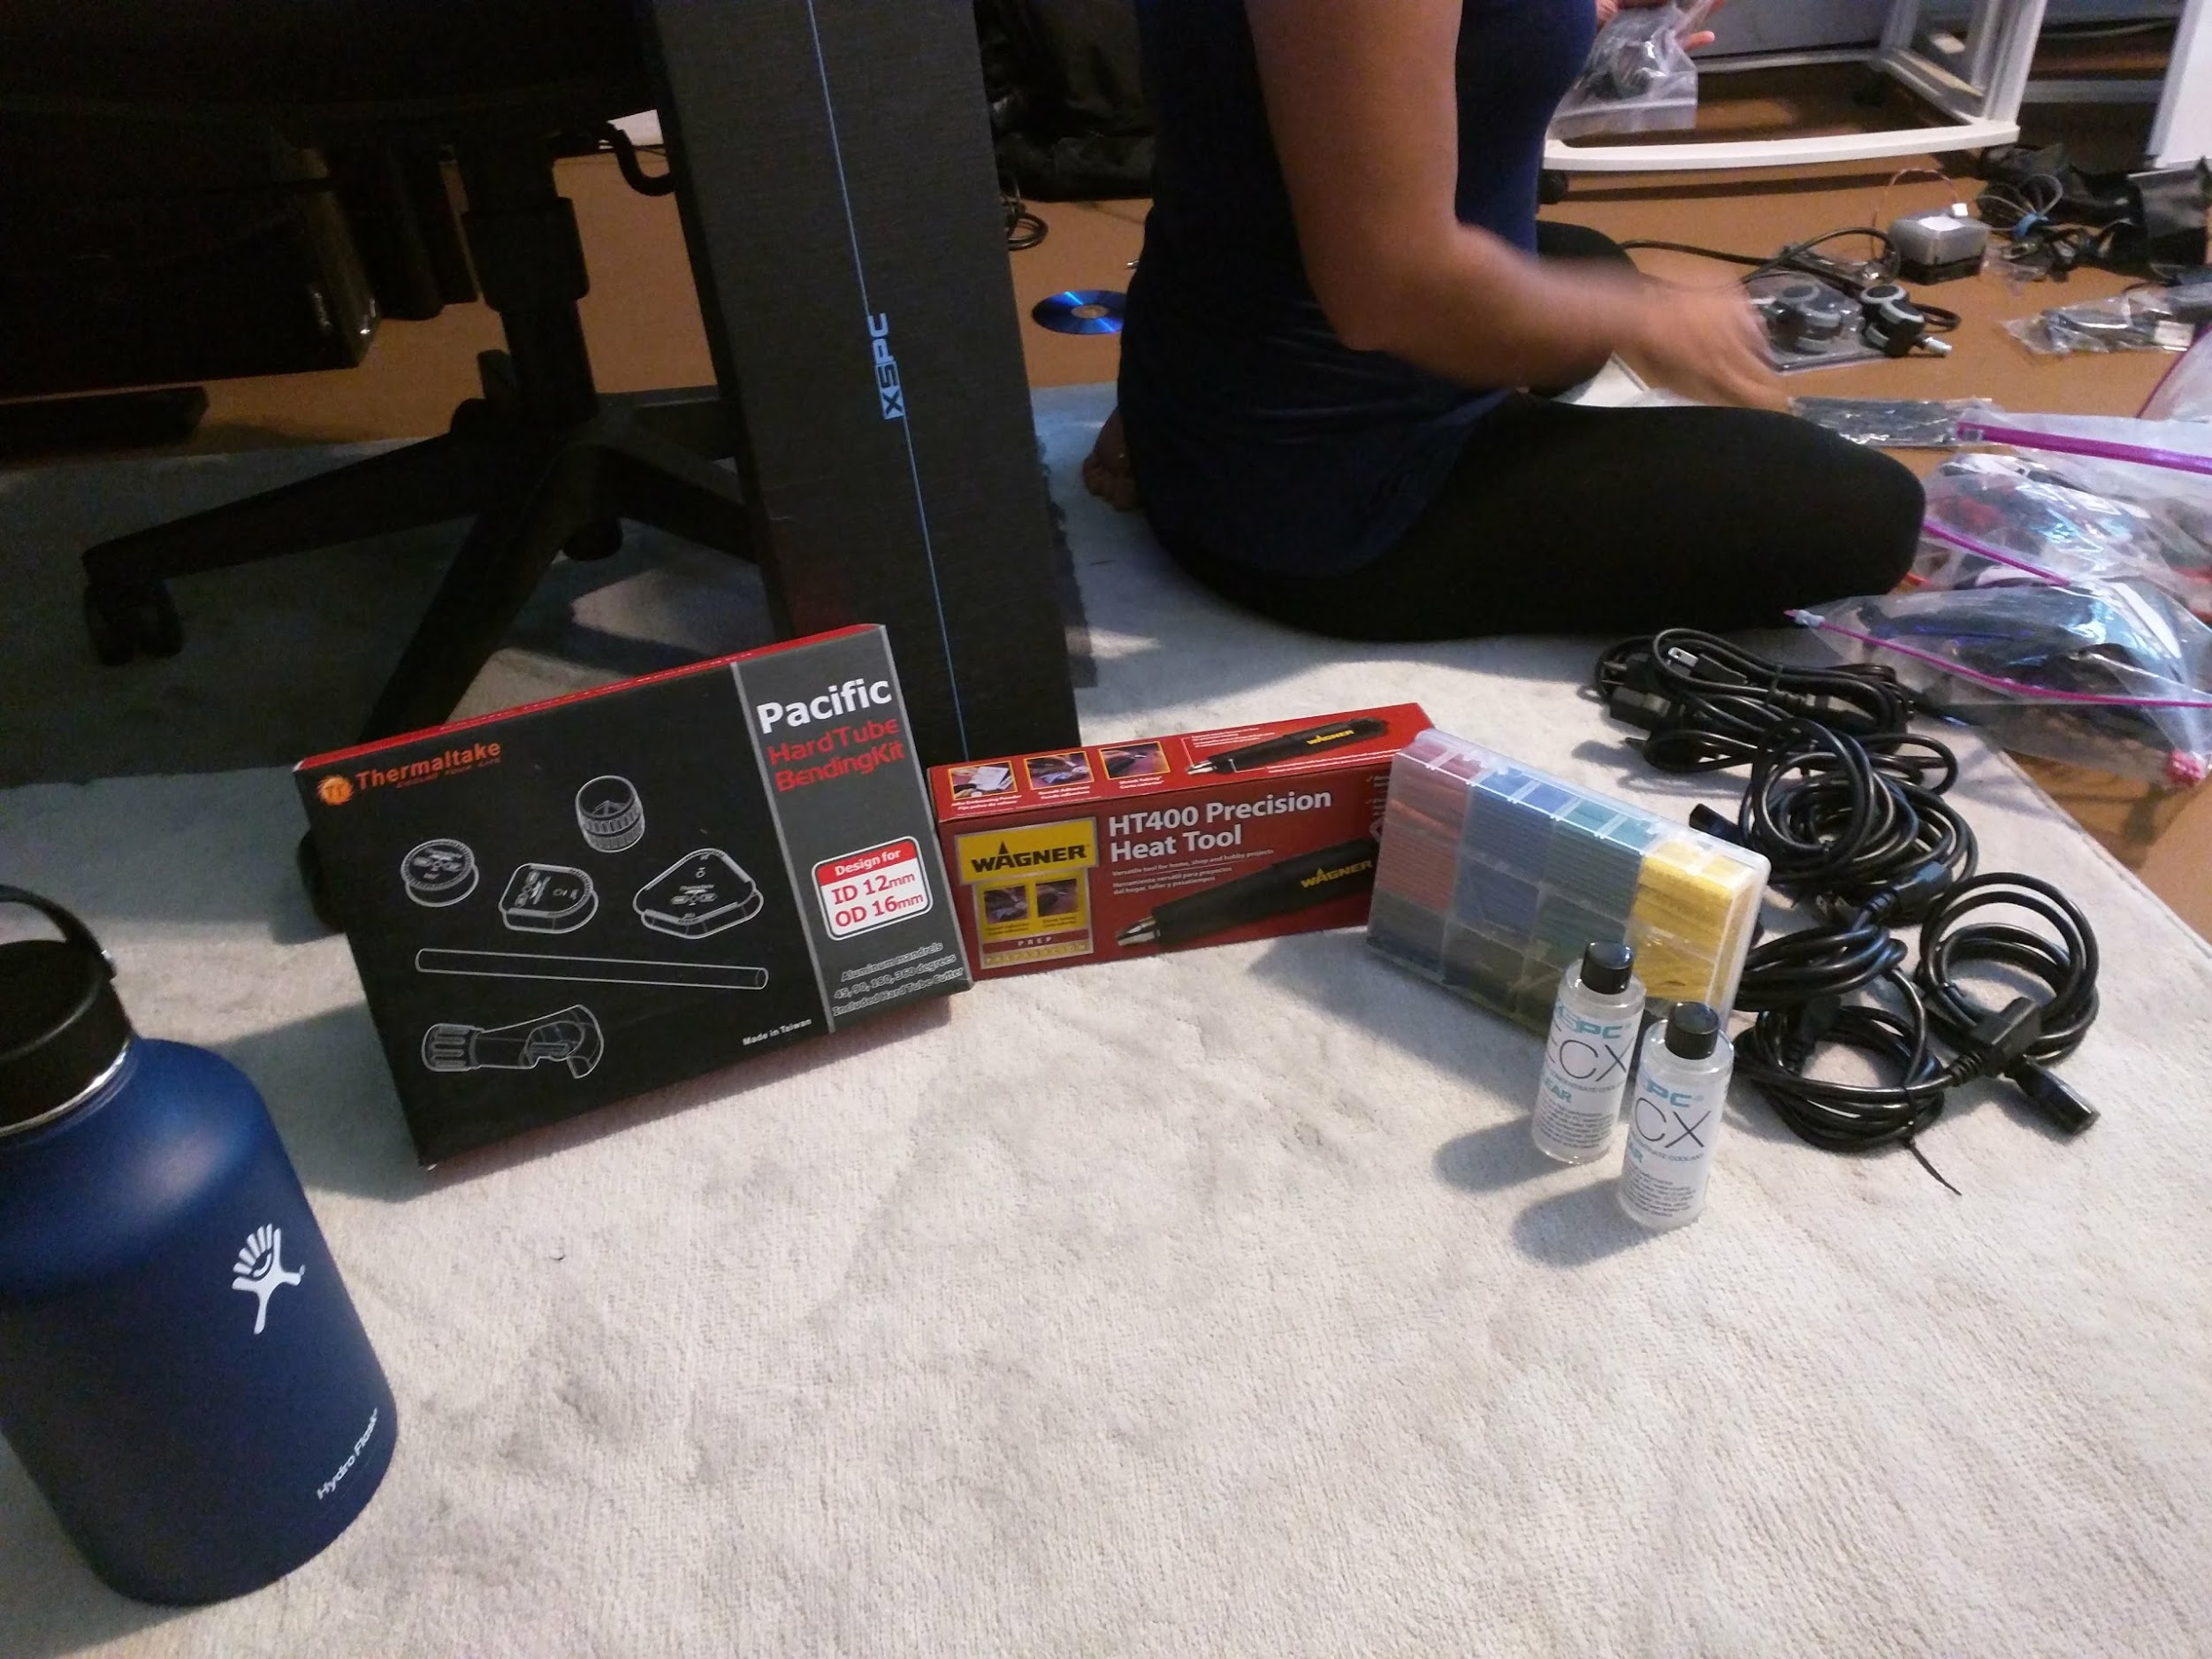
I also made a little video that is pretty long and I didn't edit much, so even has the bloopers include at no extra charge! This was my first water cooled build. I really wanted to give it a shot. I am pretty happy with it, but I would love to have a second water reservoir and then cool the GPUs with that.
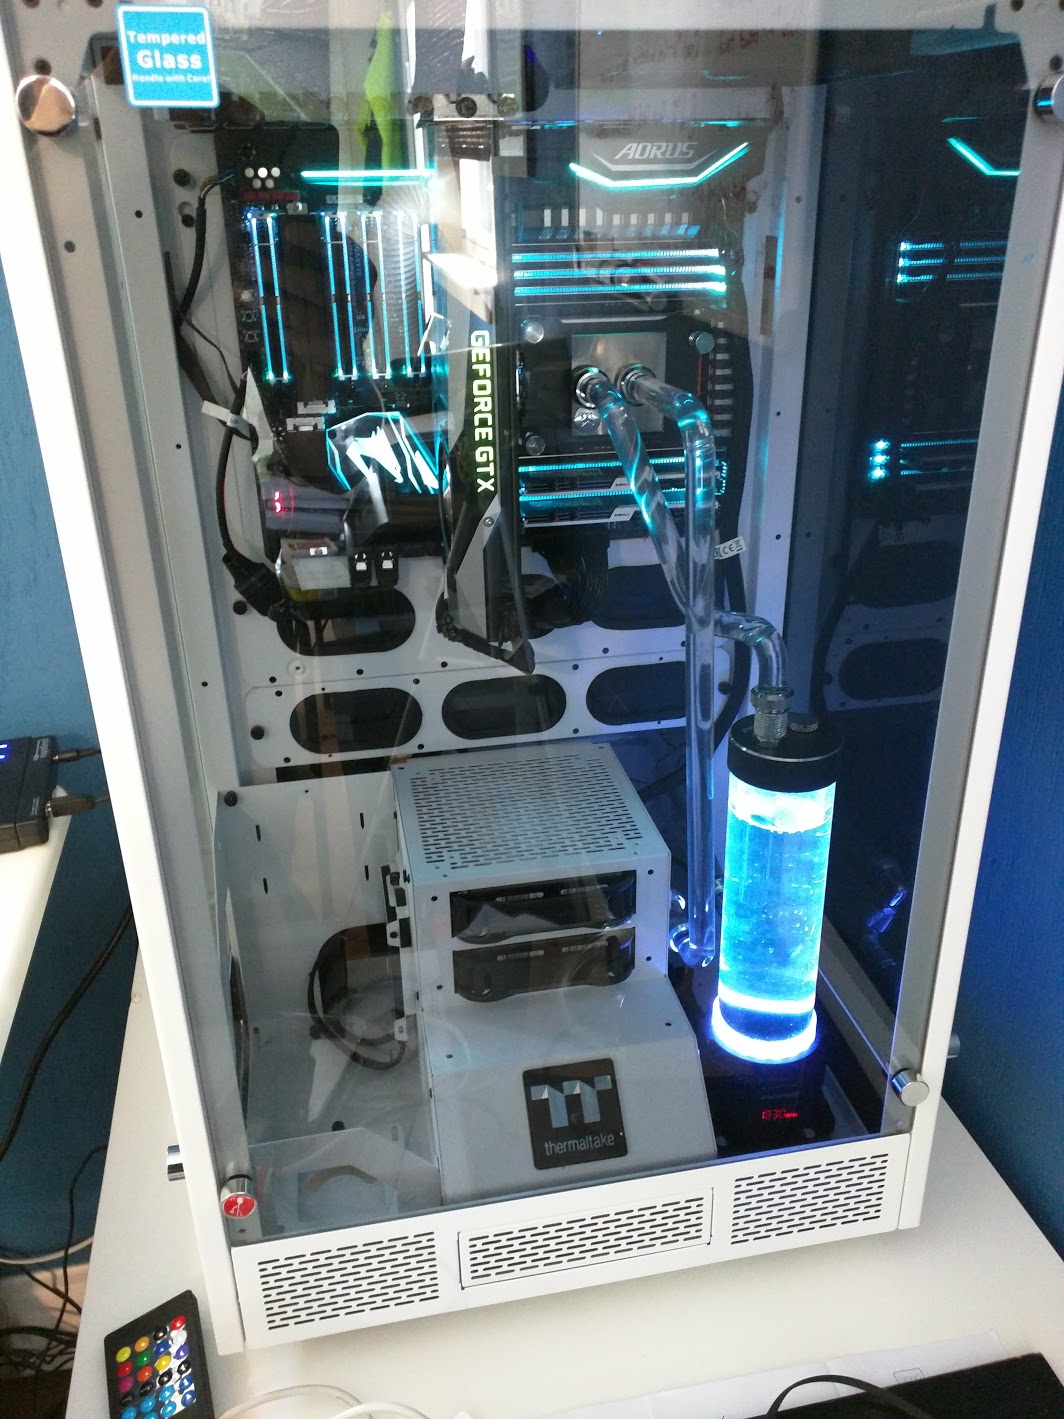
I was thinking I might add benchmarks to this post, but this is becoming a book so I think I will leave the benchmarks for another time, since this post was initially meant to be a kind of recap of my previous year and how I spent my time learning about Self Driving Cars and moving across the country. I hope you enjoyed it. It took me awhile to get my thoughts together and get all the videos made.**
Recap to the Recap
So lets see, I told you nearly everything that happened to me last year. I went over almost all the things I learned and most the big obstacles that stood in my way while trying to achieve a goal. We learned about individual Udacity Self Driving Car Nano Degree course projects. We learned a little about D&D, PC Builds, and Classic Cars. I gotta say, this was fun to write and I hope you enjoy reading it as much as I enjoyed writing it.
Hire me!
I am currently seeking a job. I would love to be involved with some self driving vehicle projects, or even some related field. Get in touch on LinkedIn.
Thanks for reading, and check back later.....
whispering Hey, pssst, look below for a sneak peek at my next project.
Whats next?
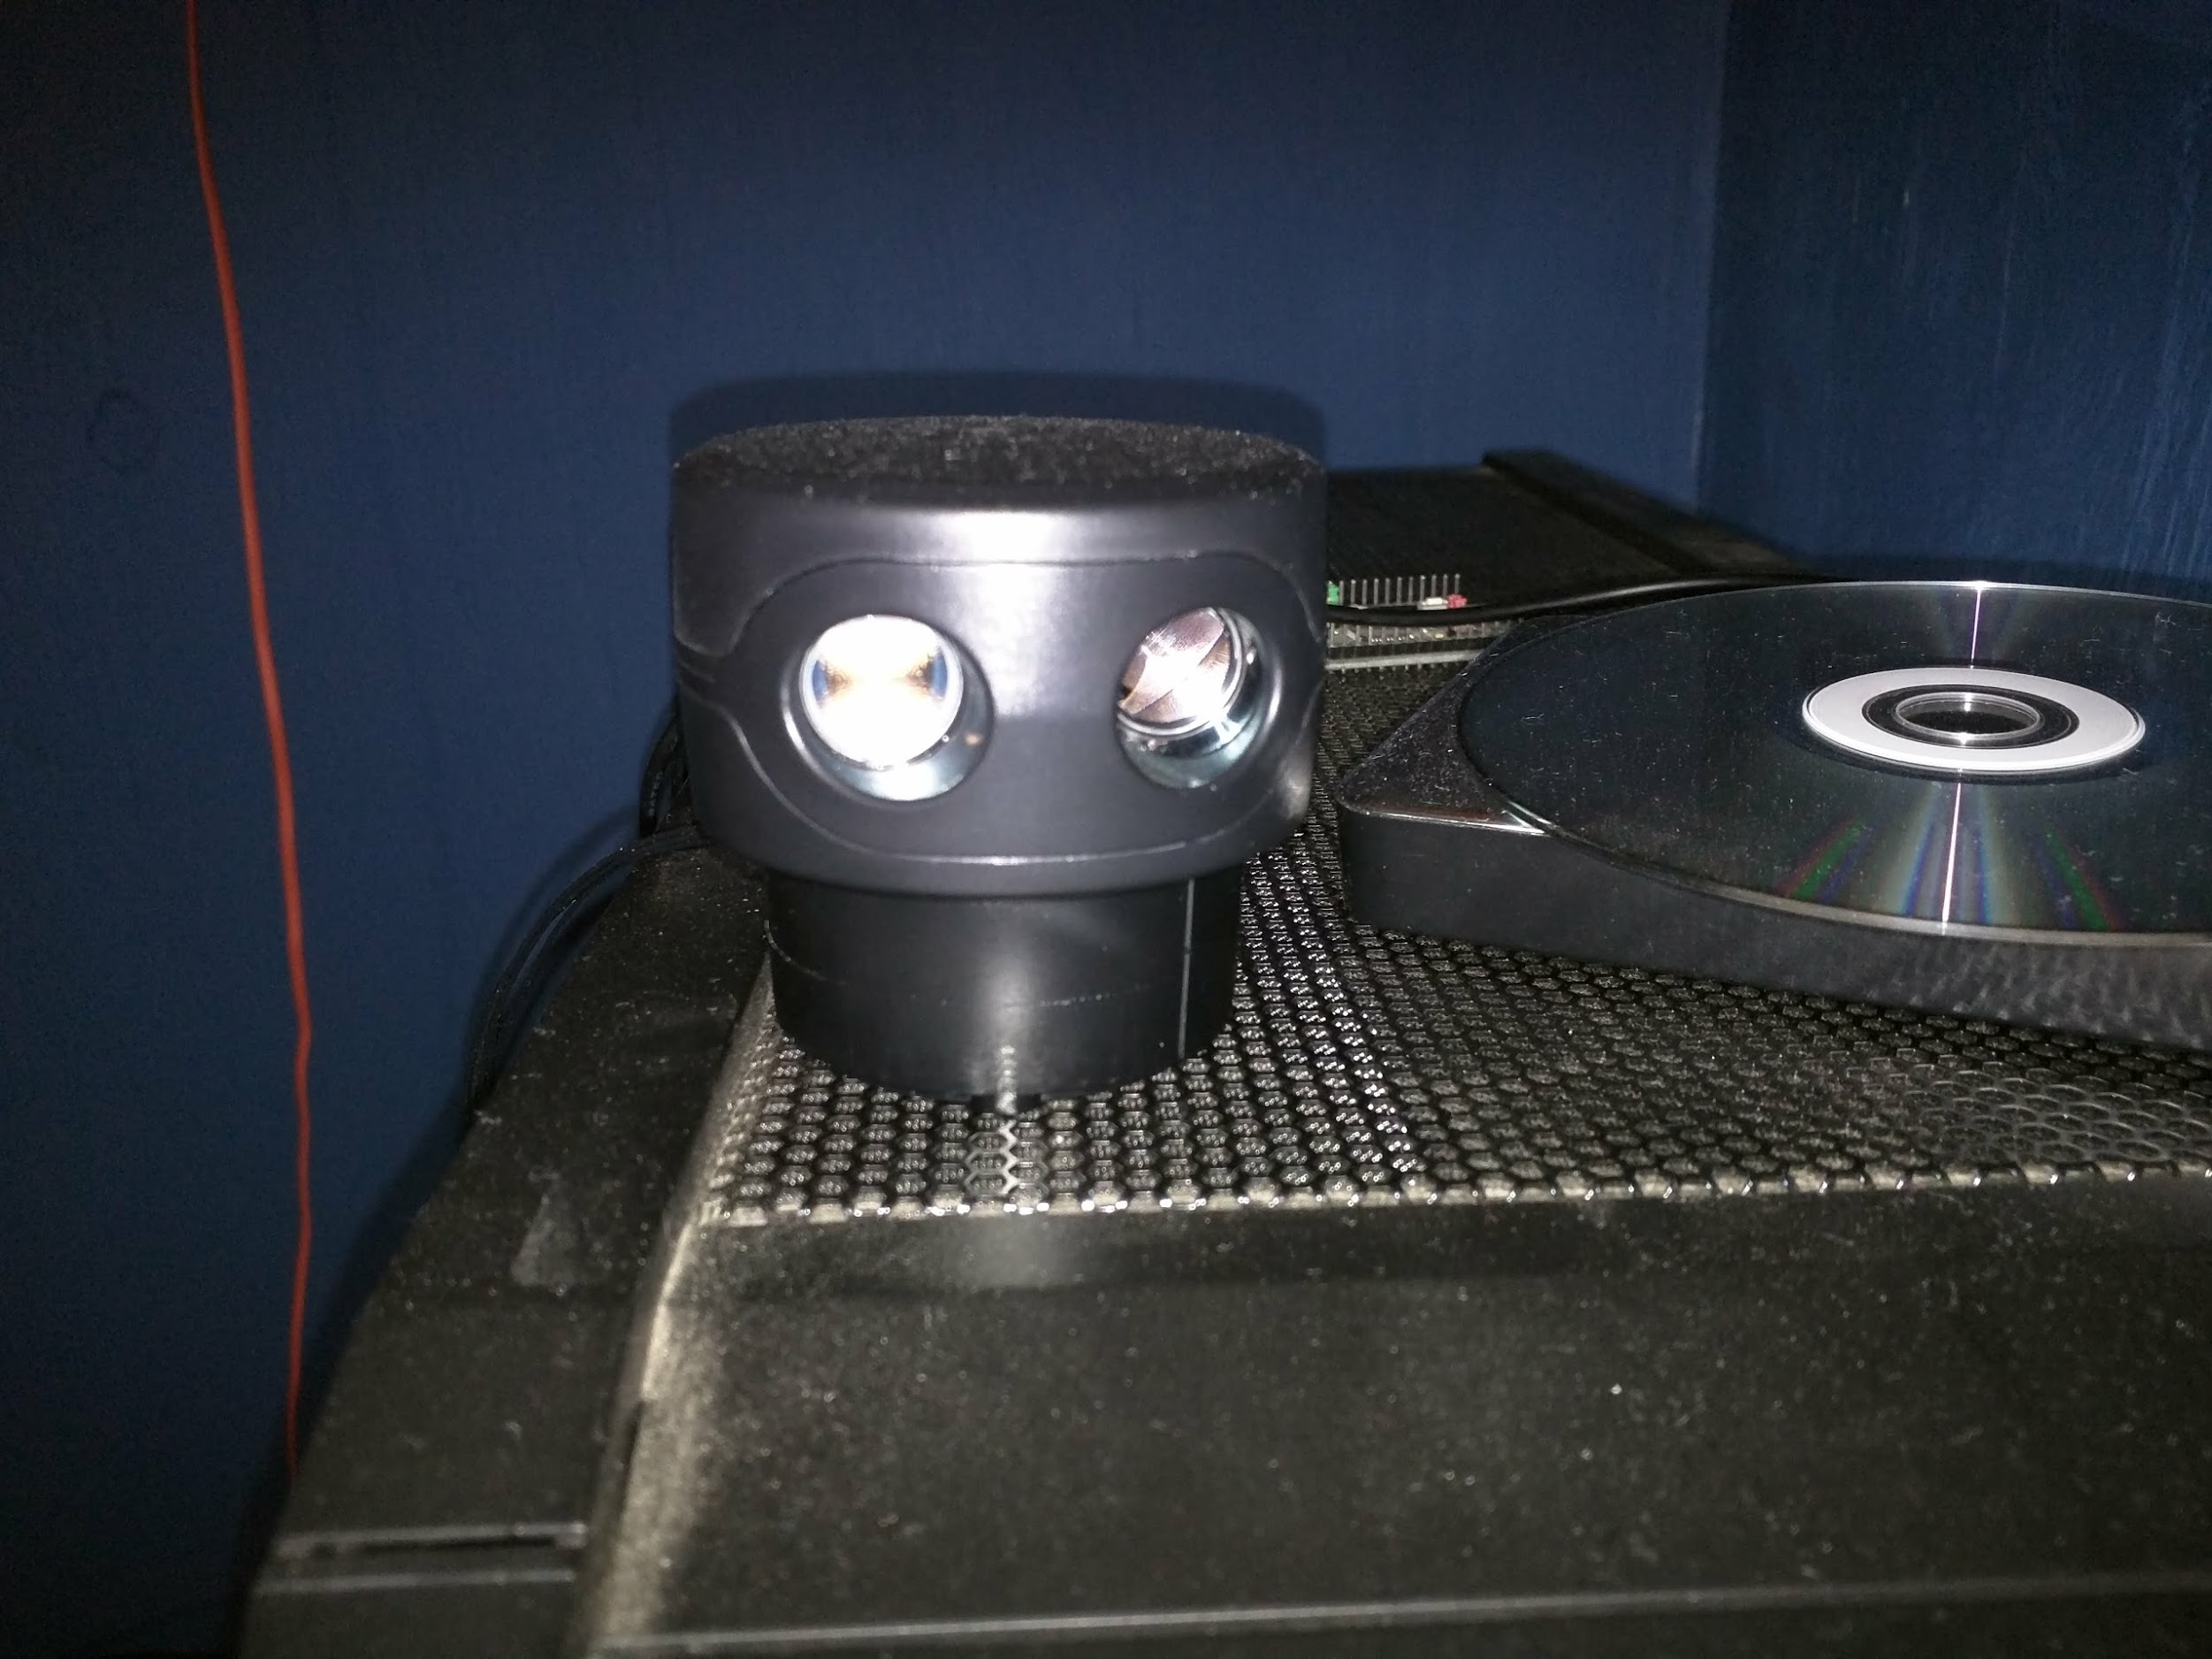
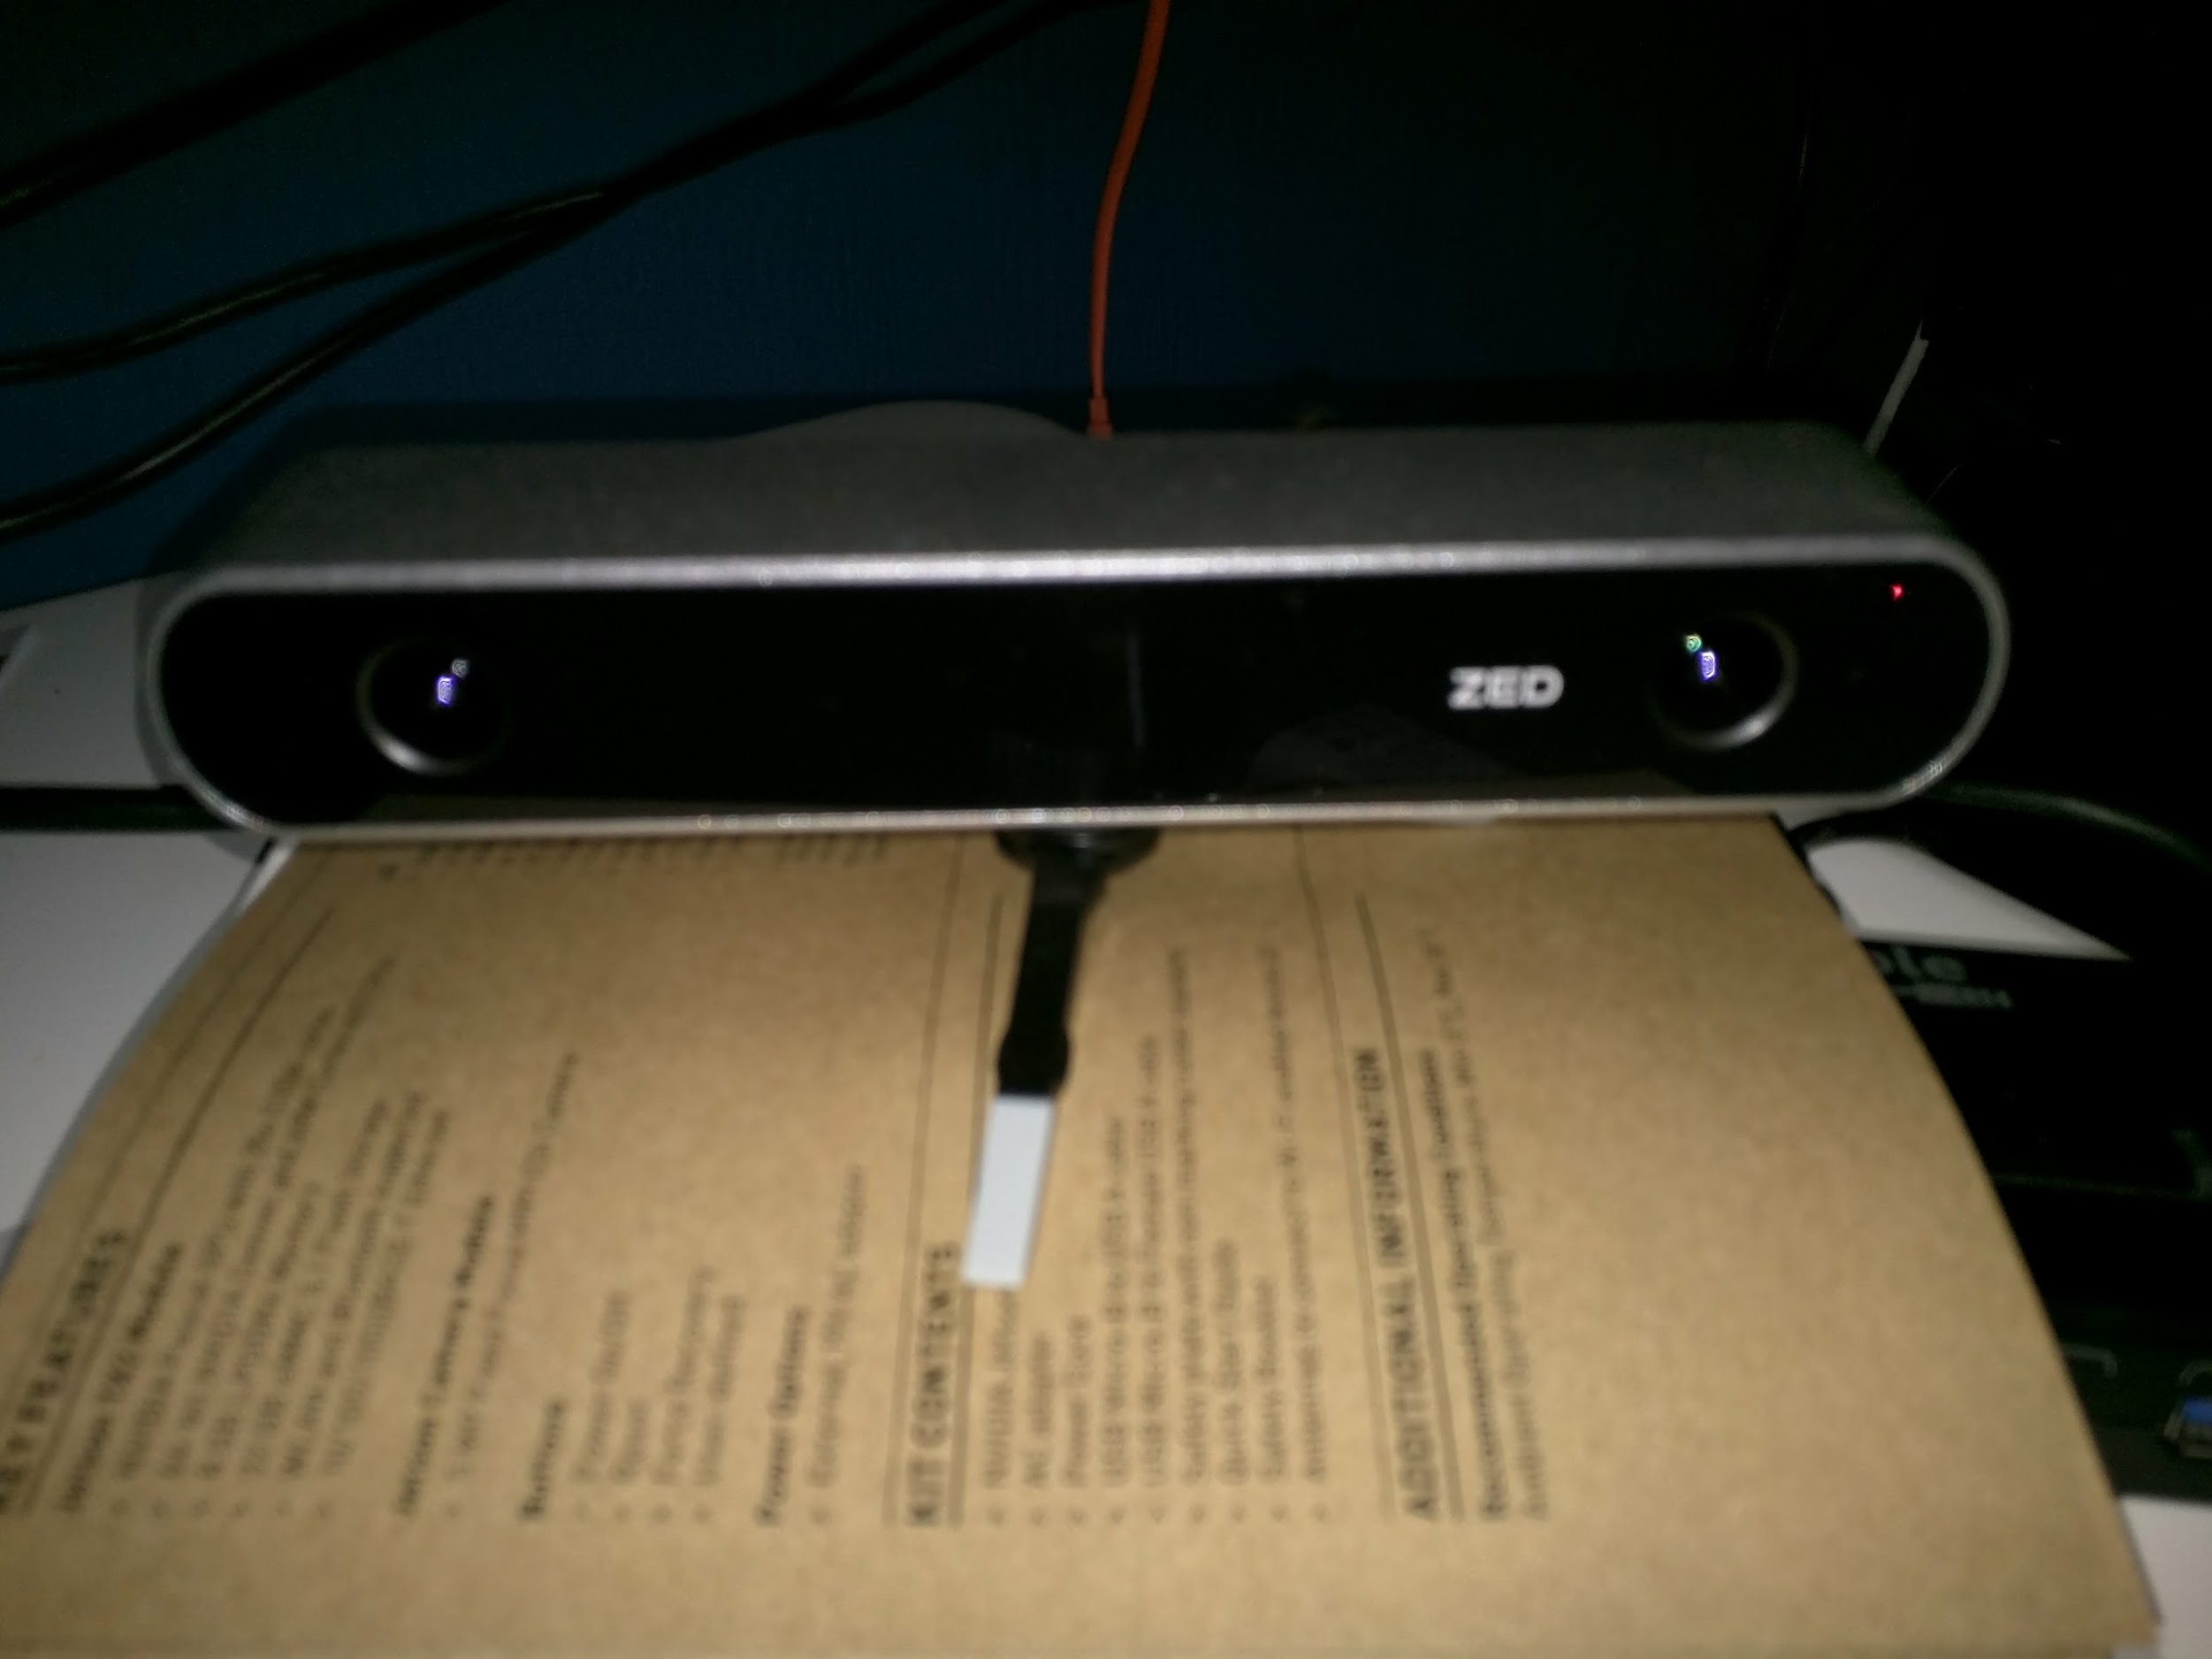
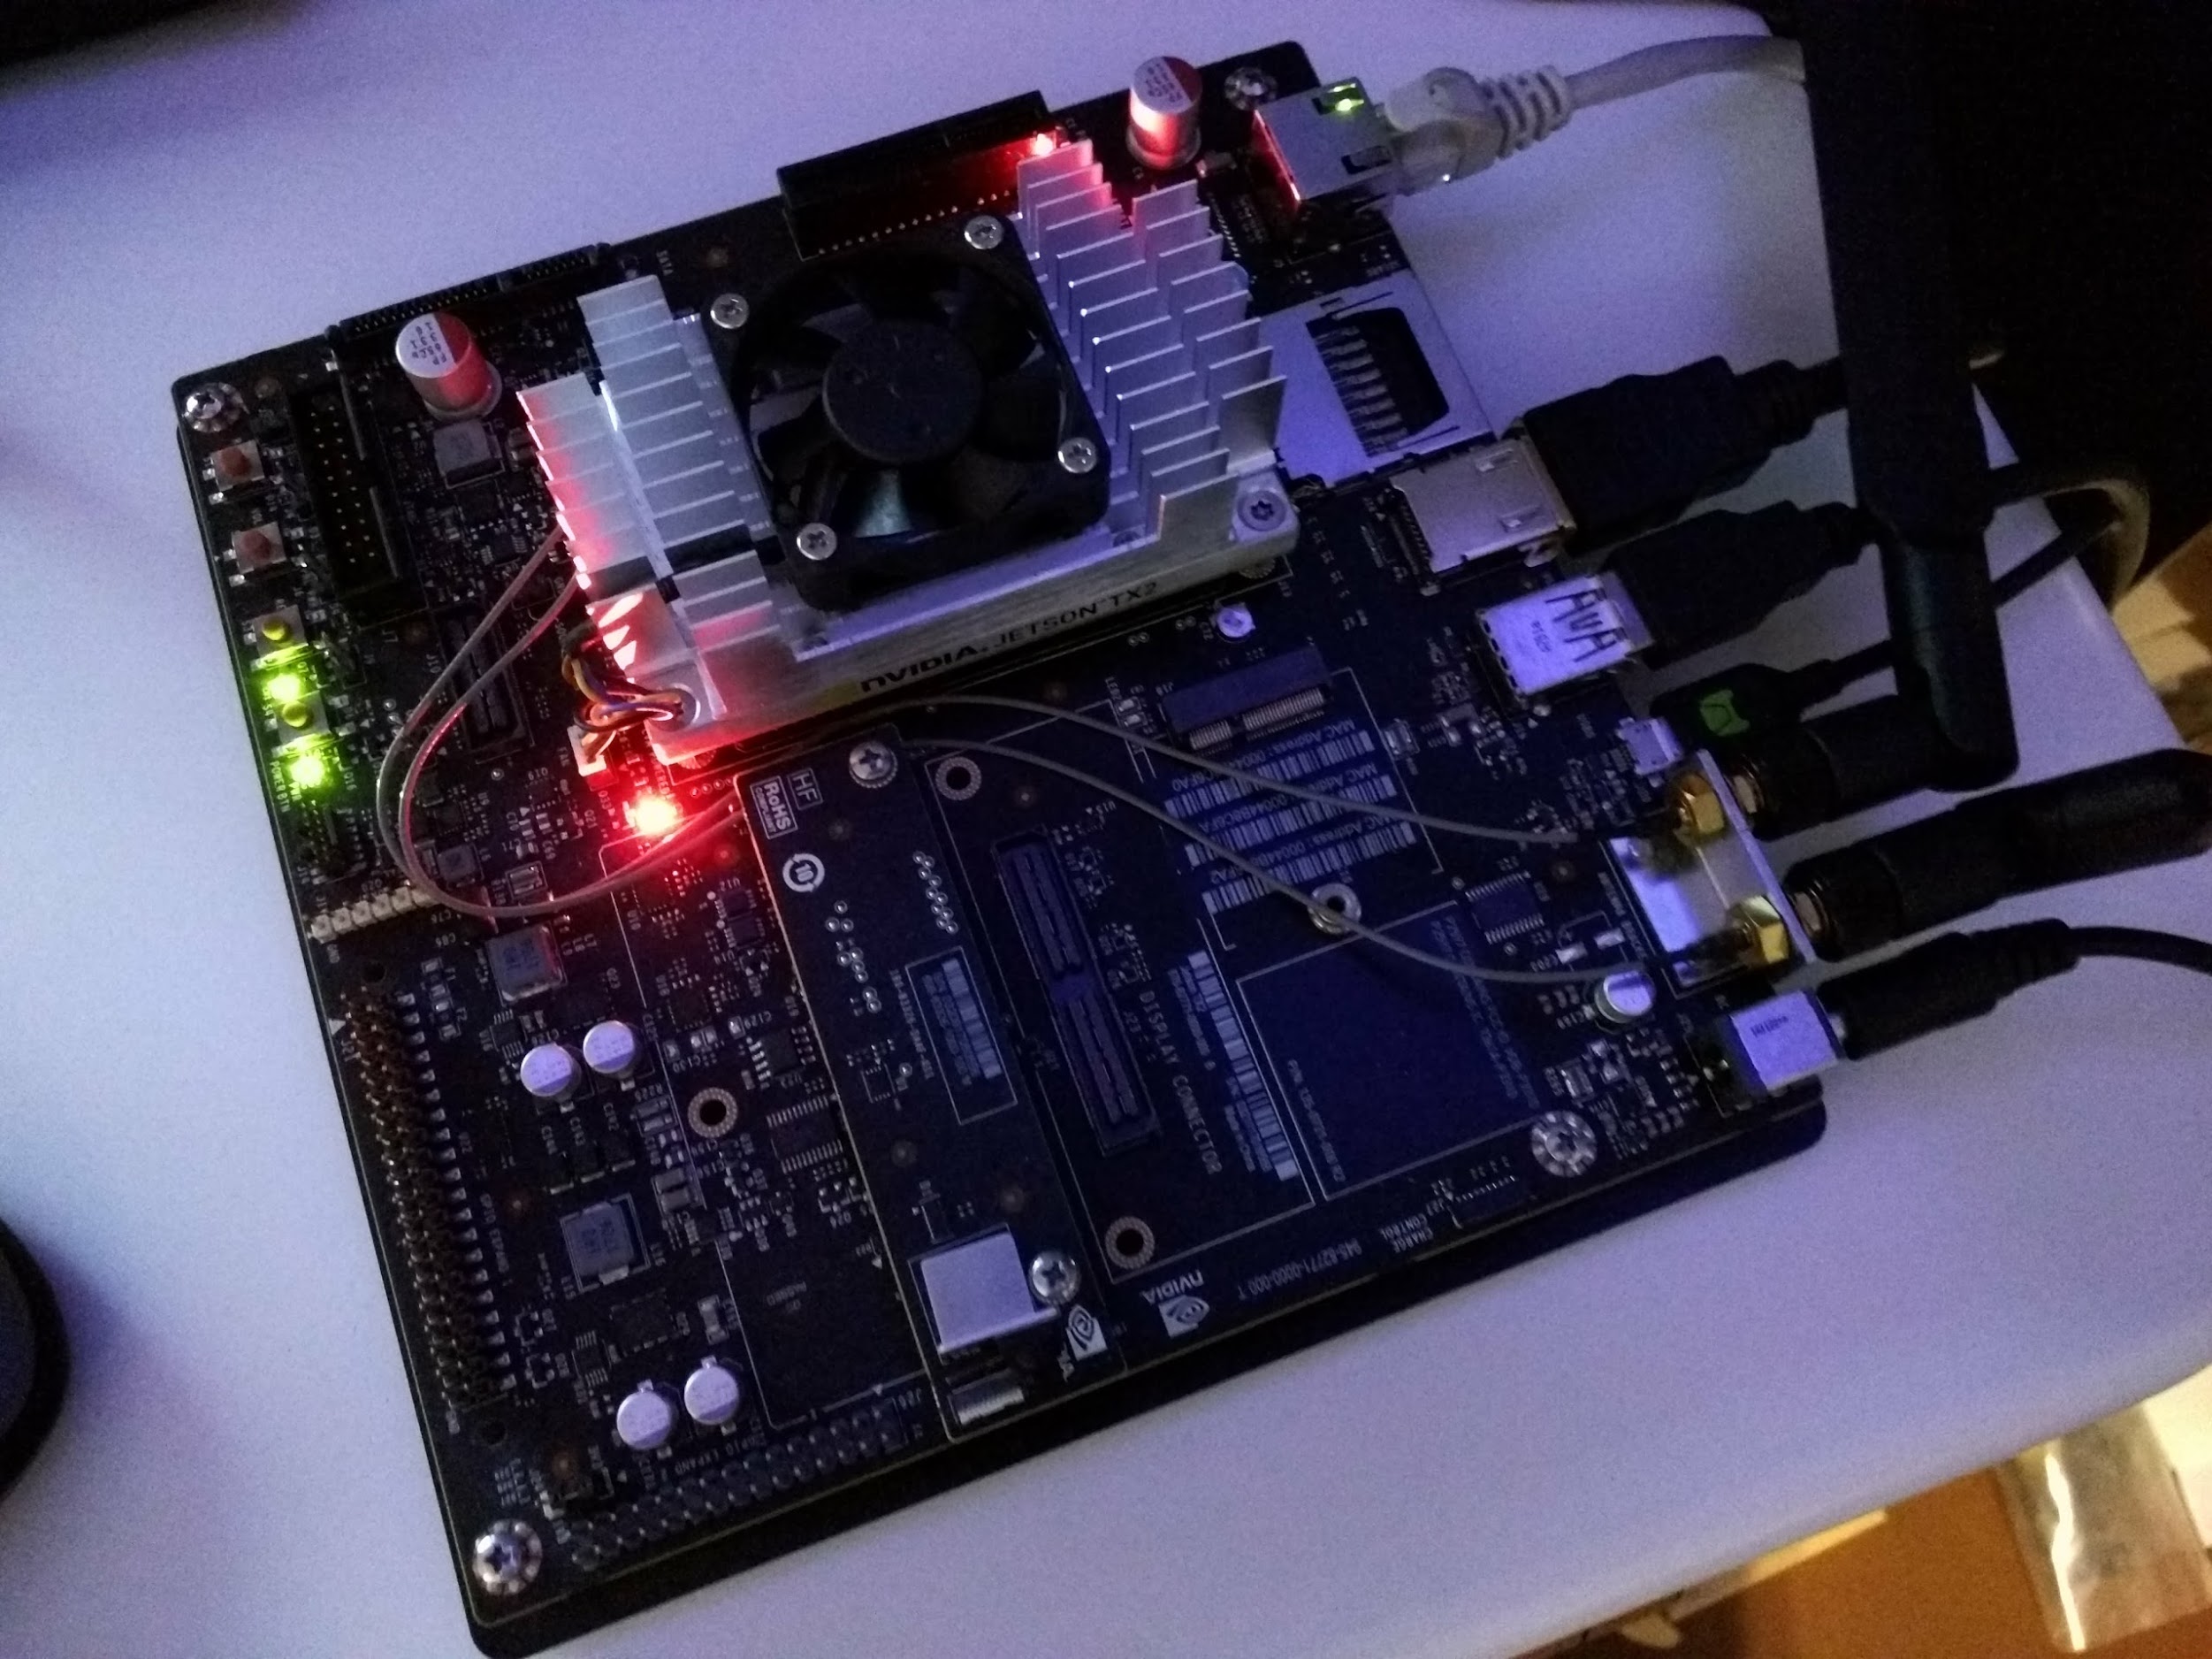
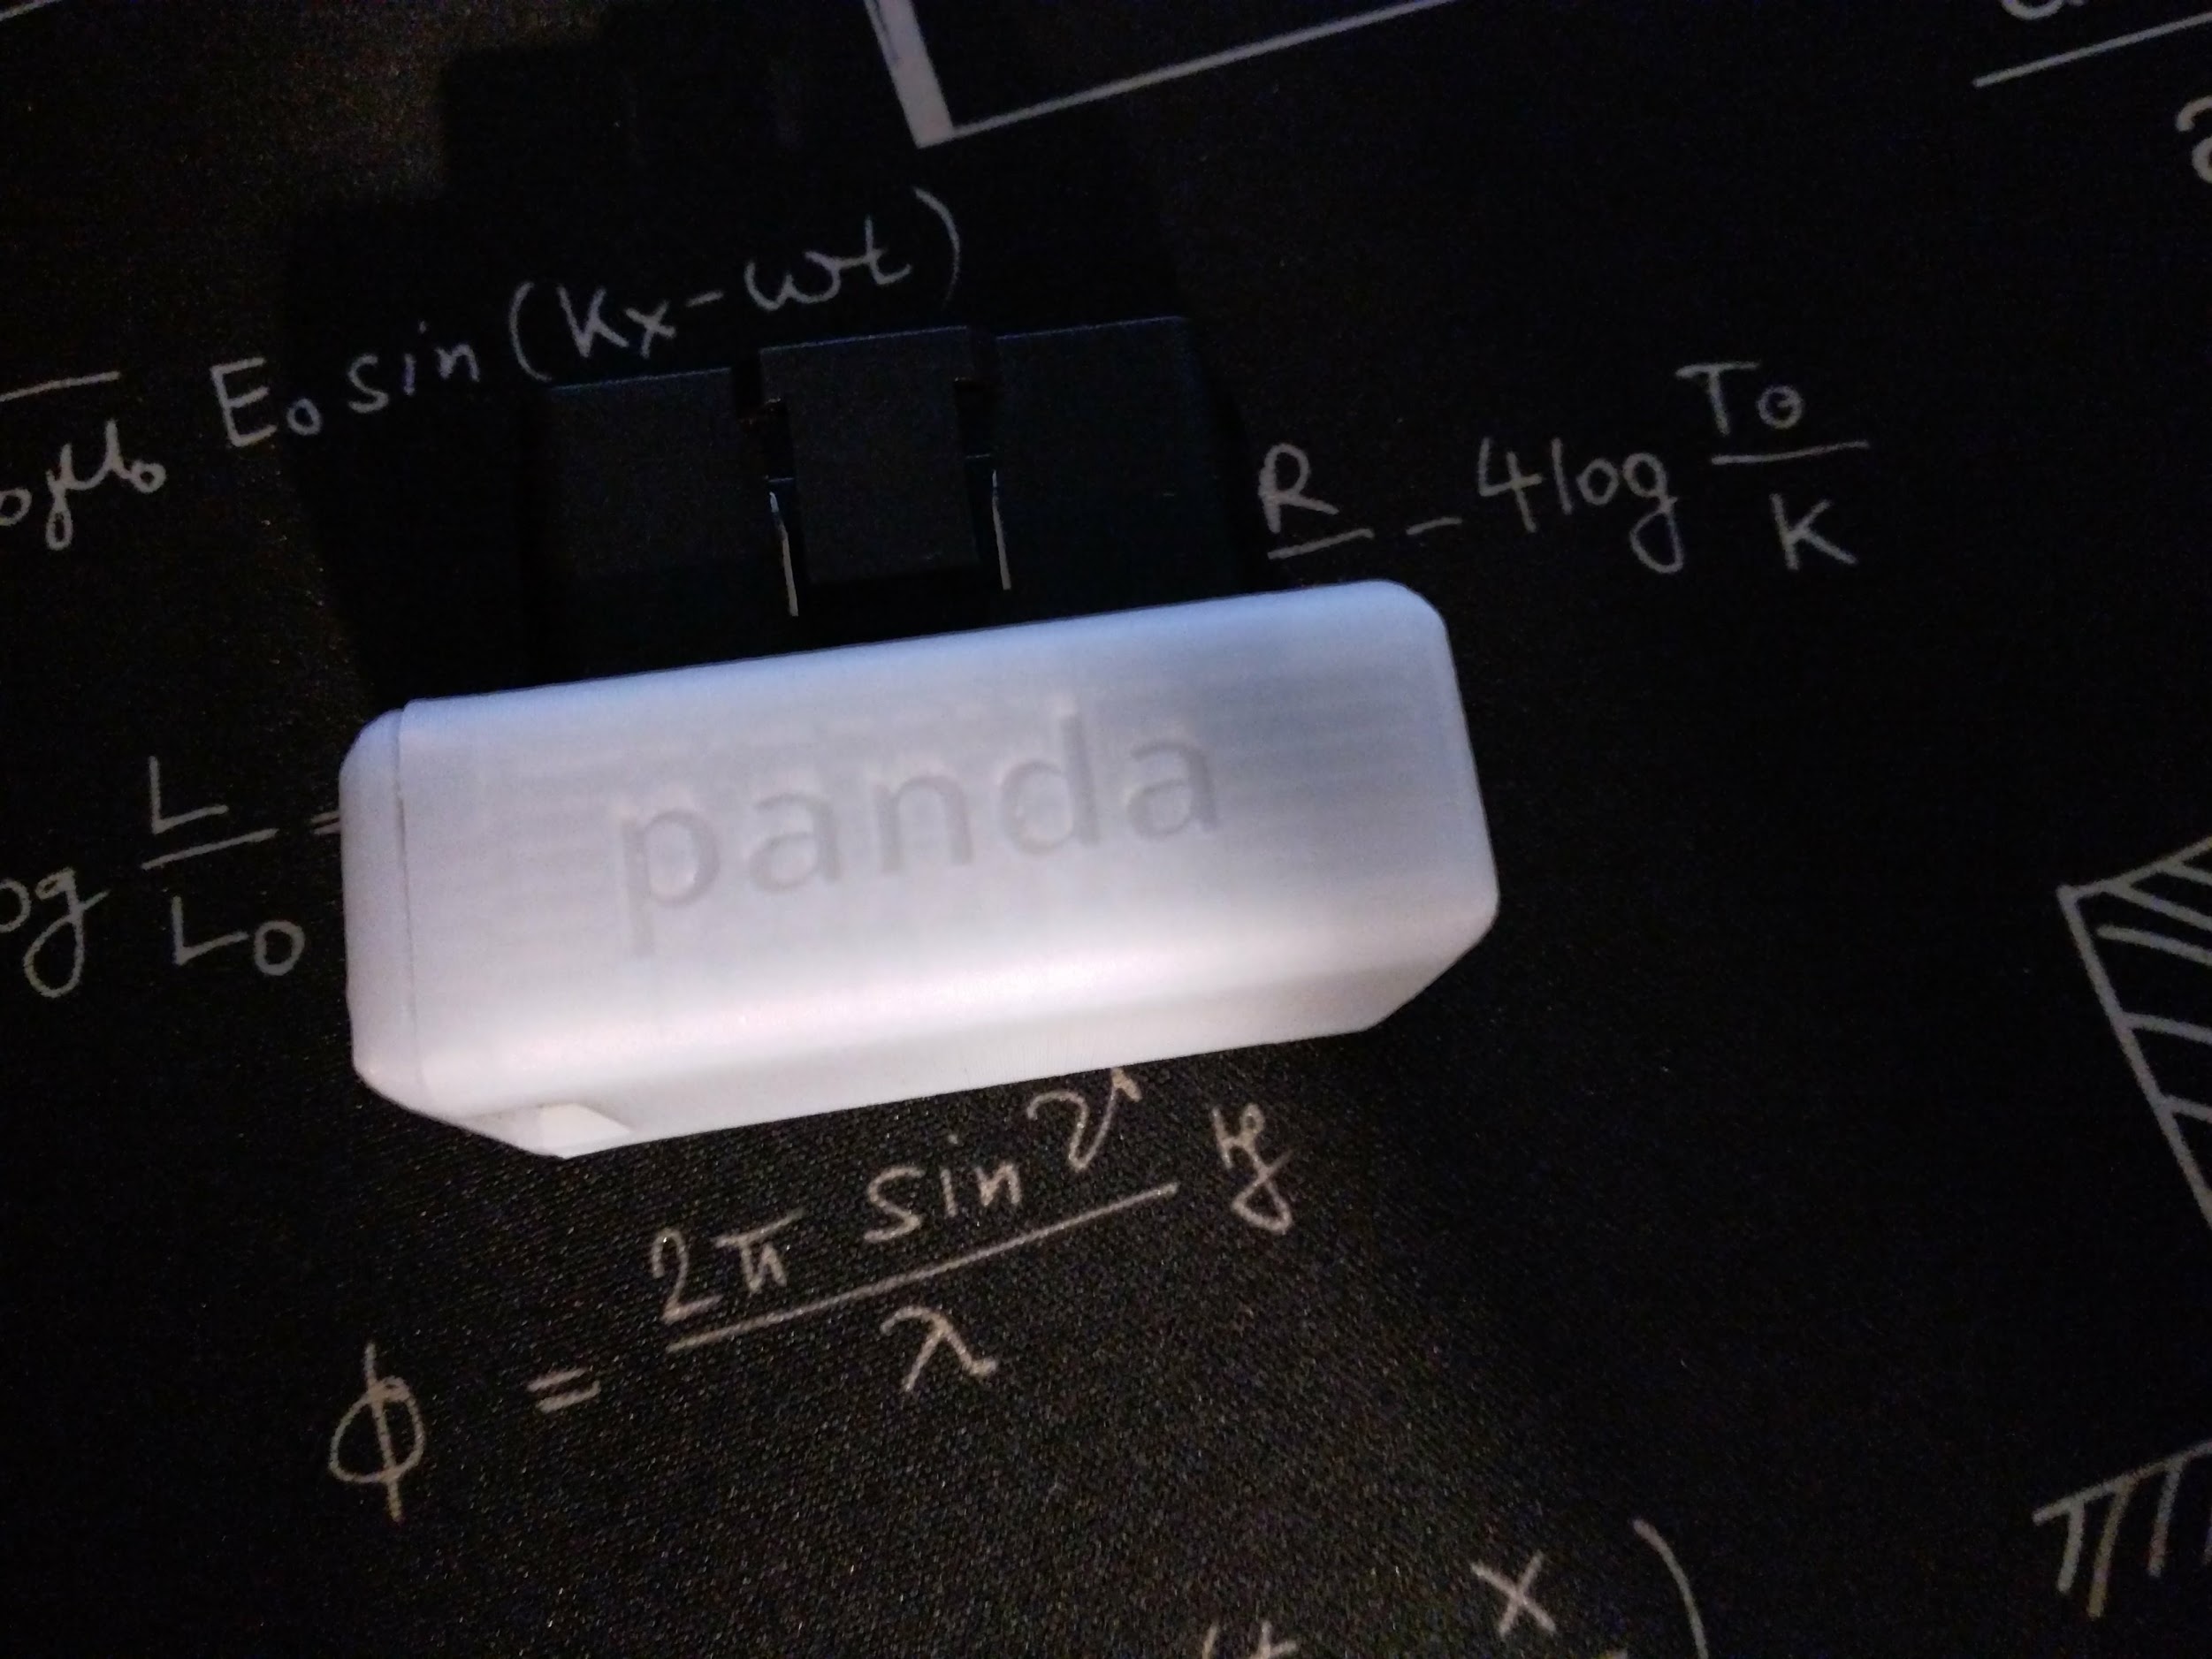
Well I am going to post some teaser photos here, let me know in the comments if you can guess what it is.
